Protected by copyright. Copying for private or commercial purposes, in part or in whole, is not
permitted unless authorised by AUDI AG. AUDI AG does not guarantee or accept any liability
with respect to the correctness of information in this document. Copyright by AUDI AG.
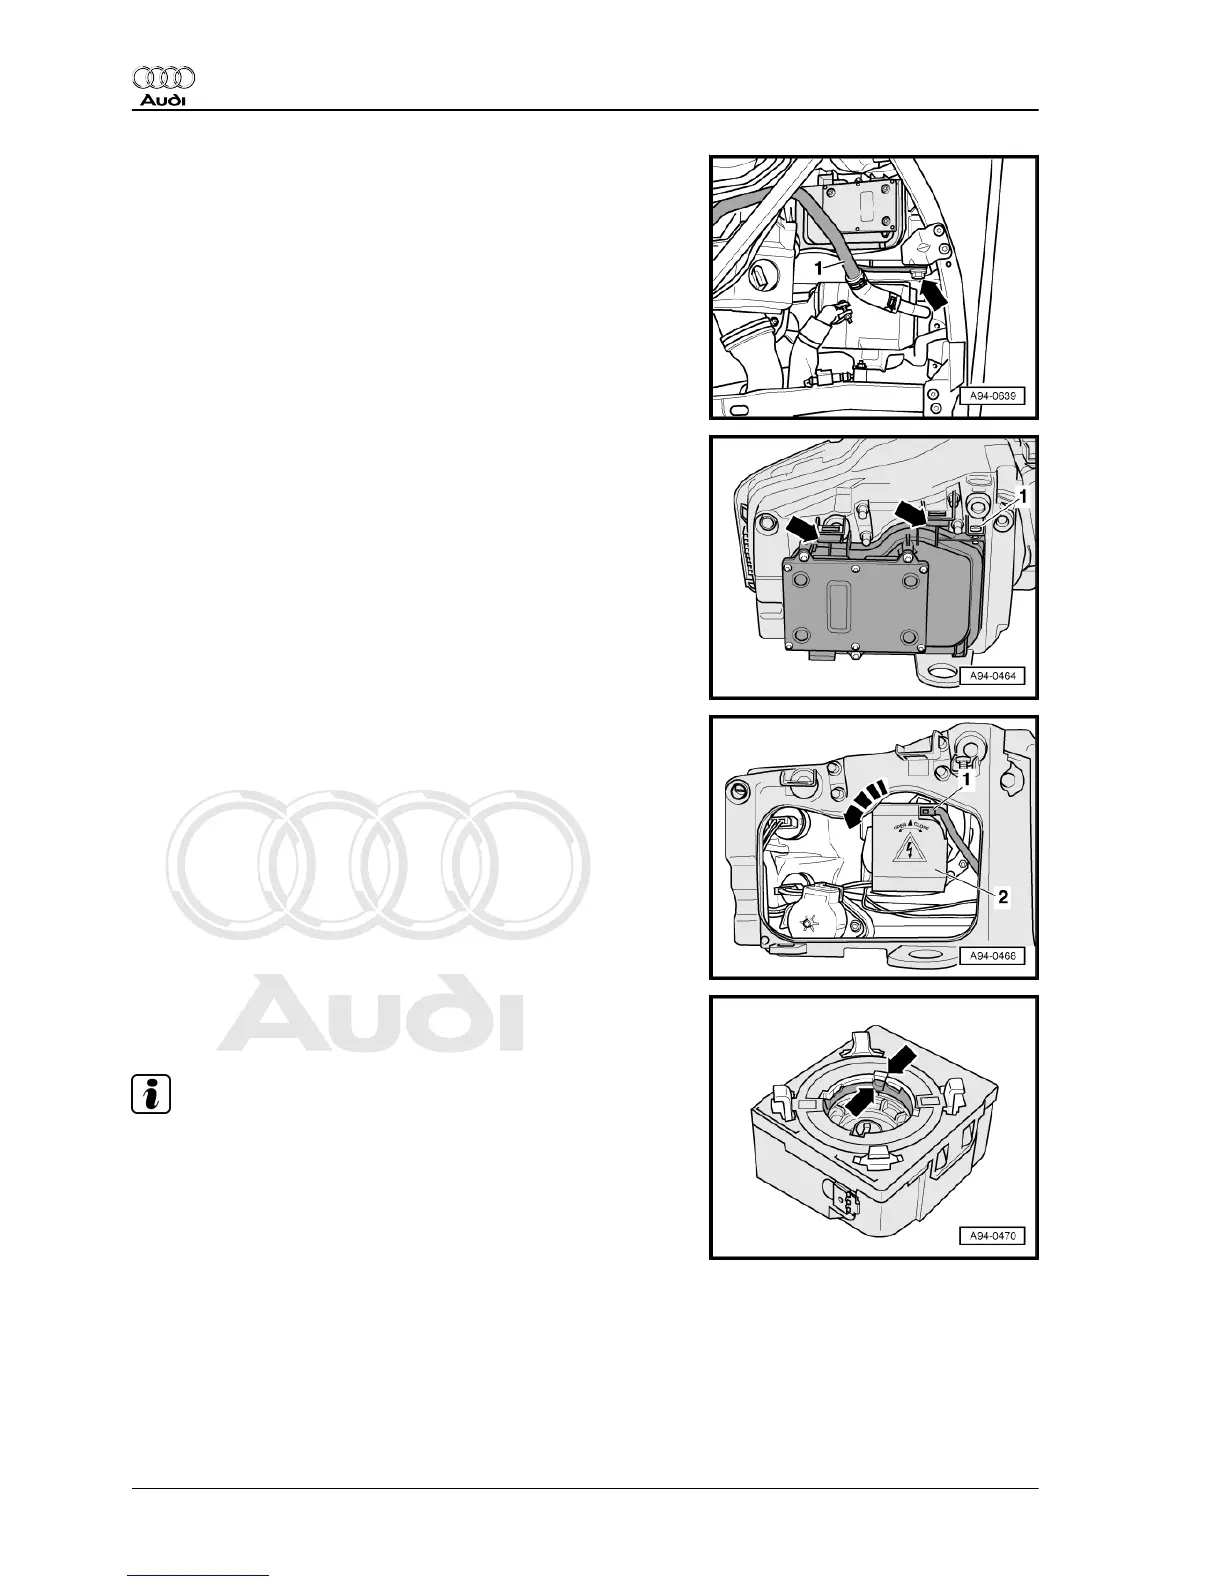
Headlight (right-side) - vehicles with auxiliary heater:
– Unscrew bolt -arrow- for coolant pipe -1- and lock carrier.
All vehicles (continued):
– Loosen locking bolt -1- a few turns.
– Release retaining tabs -arrows- and detach housing cover for
dipped beam headlights from headlight housing.
– Unplug electrical connector -1- at starter unit for gas discharge
bulb.
– Turn starter unit -2- for gas discharge bulb anti-clockwise
-arrow- and detach it.
Installing
Installation is carried out in the reverse order; note the following:
Note
The starter unit must be installed before attaching the connector.
– Check whether recess in housing of starter unit for gas dis‐
charge bulb and recess in contact ring coincide exactly
-arrows-.
– Fit starter unit for gas discharge bulb at headlight and turn
clockwise as far as it will go.
• The starter unit should be easy to turn.
• Arrow on housing faces upwards.
– Re-attach connector.
– Close housing cover and secure with locking bolt.
– Install front wheel housing liner ⇒ Rep. gr. 66 .
Audi A8 2003 ➤
Electrical system - Edition 08.2014
160 Rep. gr.94 - Lights, bulbs, switches - exterior