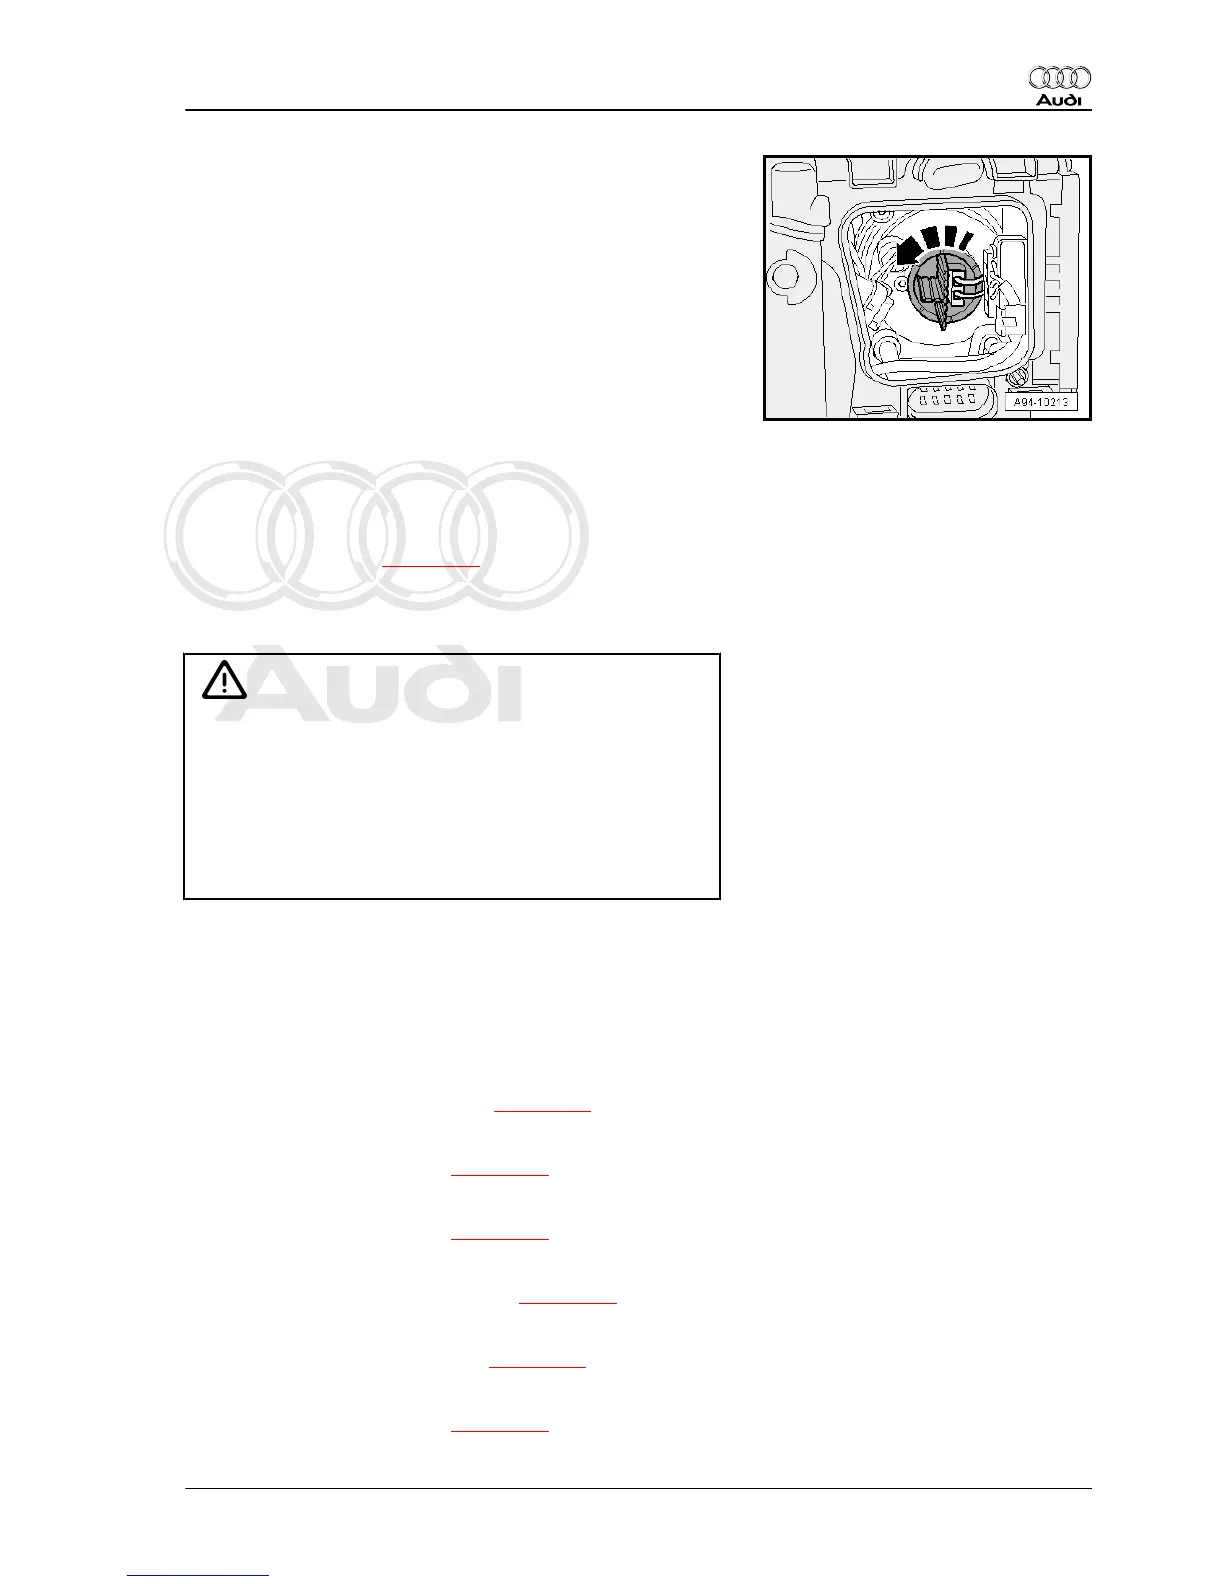
– Turn bulb holder anti-clockwise -arrow- and pull out of head‐
light housing.
Installing
Installation is carried out in the reverse order; note the following:
– Insert new bulb in bulb holder, taking care not to touch glass
bulb with bare hands.
– Secure bulb holder by turning clockwise.
– Close housing cover.
4.11 Renewing LED light
The LED light module is located in the headlight housing in place
of the bulb for the main beam or daytime running light. It cannot
be renewed separately in the event of a fault.
– Renewing headlight ⇒ page 149 .
4.12 Renewing bulb for static cornering light
Removing
WARNING
High voltage! Danger to life!
♦ Ensure that any part of the gas discharge headlights
marked with yellow high-voltage warning symbols are de-
energised when you are working on them.
♦ Switch off ignition and all electrical equipment and remove
ignition key.
♦ Do not flash the headlights.
– Turn light switch to position “0”.
– Switch off ignition and all electrical equipment and remove ig‐
nition key.
– Do not flash the headlights.
Headlight (left-side) - vehicles with 6-cyl. or 8-cyl. petrol engine,
vehicles with 6-cyl. TDI engine:
– Remove power steering reservoir ⇒ page 152 .
Headlight (left-side) - vehicles with 10-cyl. petrol engine:
– Remove air cleaner housing ⇒ page 153 .
Headlight (left-side) - vehicles with 12-cyl. petrol engine:
– Remove air cleaner housing ⇒ page 156 .
Headlight (left-side) - vehicles with 8-cyl. TDI engine:
– Remove left air cleaner (top section) ⇒ page 157 .
Headlight (right-side) - vehicles with 6-cyl. or 8-cyl. petrol engine:
– Remove air cleaner (top section) ⇒ page 153 .
Headlight (right-side) - vehicles with 10-cyl. petrol engine:
– Remove air cleaner housing ⇒ page 155 .
Audi A8 2003 ➤
Electrical system - Edition 08.2014
4. Gas discharge headlights 165