System 3505 Installation & Operation Manual
Digitize, Inc. 700248-0002 Rev. C 02/16
Specification Subject to Change Without Notice
8-2
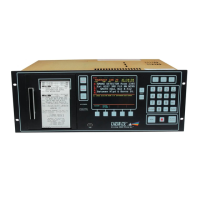
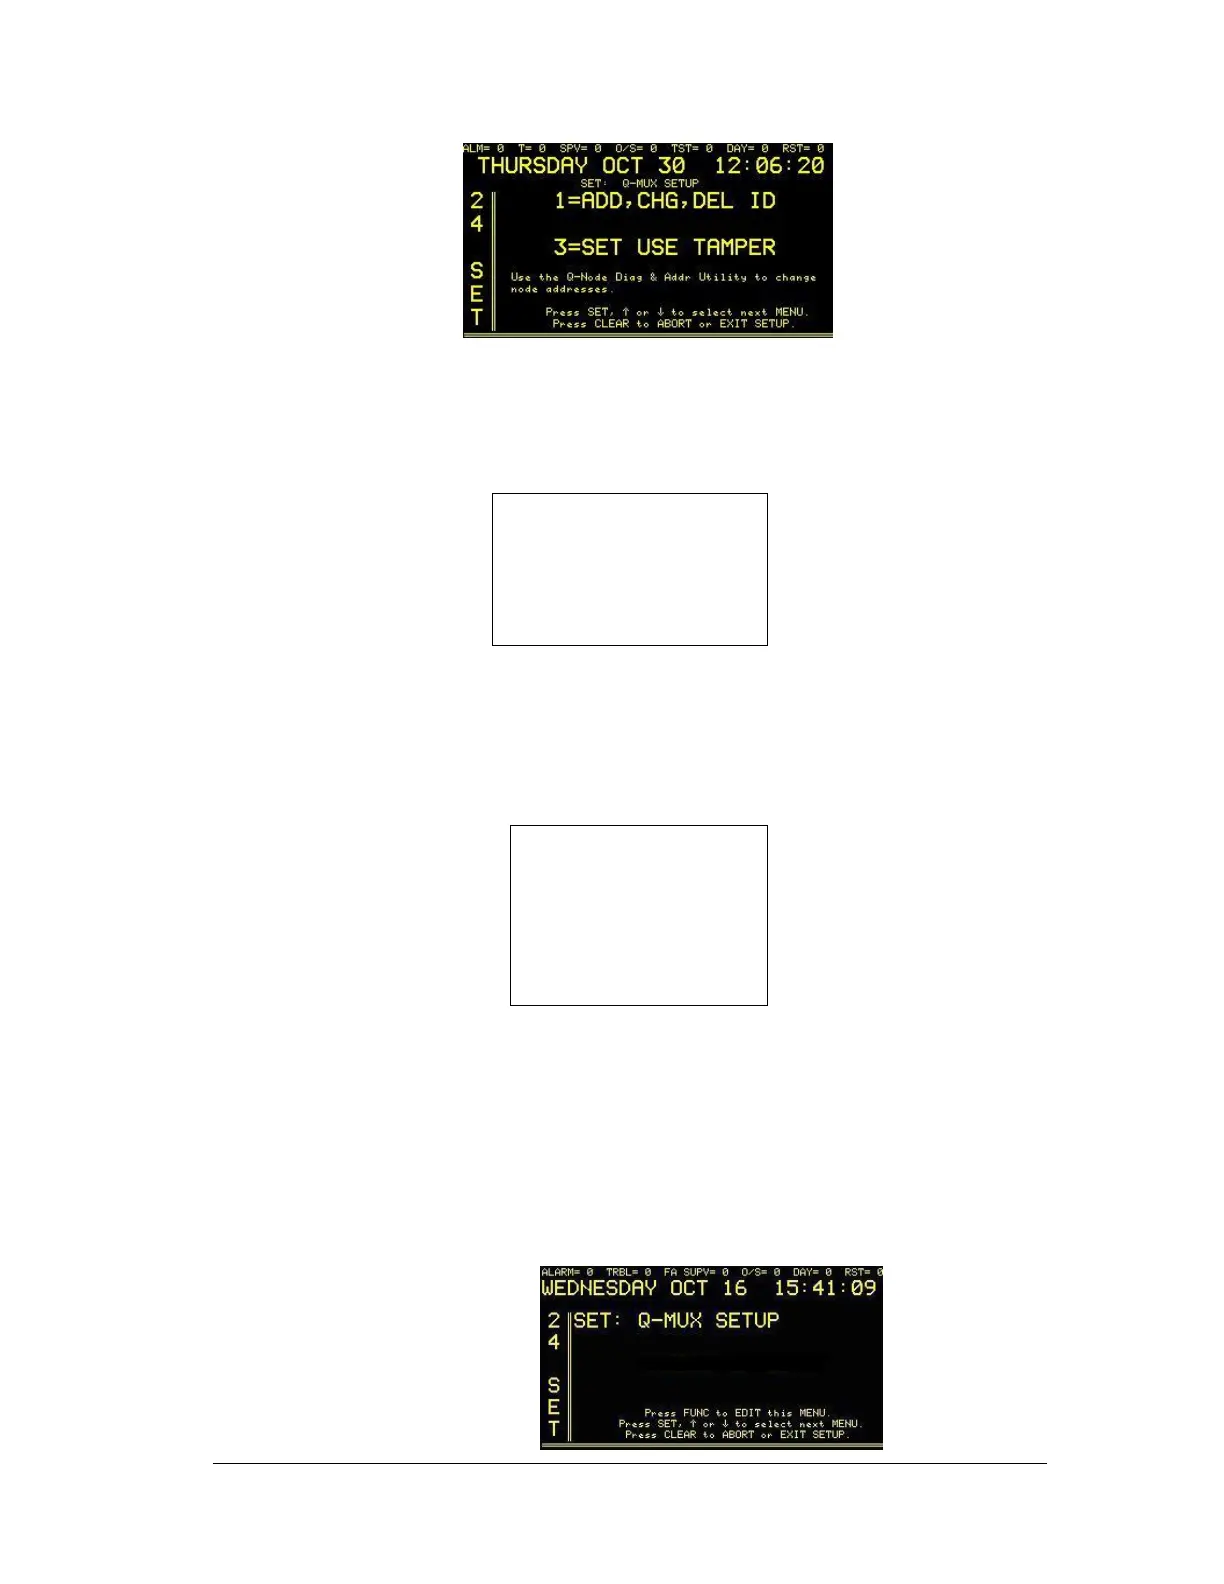
• Press SET, ↑ or ↓ to select next MENU. Press CLEAR to ABORT or EXIT SETUP.
-or-
• 1=ADD, CHG, DEL ID: pressing 1 on the numeric keypad will take the user to a sub-menu to
select ADD, CHG, DEL ID MENU. The next screen will read:
1=DRVR# NONE
NODE #9001 =NONE
ID# 1 NONE
Press SET, ↑ or ↓ to select next
MENU.
Press CLEAR to ABORT or EXIT
SETUP
Press the FUNC key to move between fields. Use ↑ or ↓ or the numbers on the front panel key
pad to change values. Press the CLEAR key to save changes and return to main set menu.
-or-
• 3=SET USE TAMPER: pressing 3 on the soft keypad will take the user to a sub-menu to select
SET USE TAMPER. The next screen will read:
USER TAMPER SW
CONNECTED TO
NODE #9001 = NO
Use the Q-Node Diag & Addr Utility to
change node addresses.
Press SET, ↑ or ↓ to select next
MENU.
Press CLEAR to ABORT or
EXIT SETUP
Press the FUNC key to move between fields. Use ↑ or ↓ or the numbers on the front panel
key pad to change values. Press the CLEAR key to save changes and return to main set
menu.
After Q-MUX has been installed, the operator will access the Set Up Mode through the
SYSTEM 3505 front panel keypad. By pressing the SET button, the operator may step
through all available menus. If pressed for over one second, the SET button will auto repeat.
Direct access to the Q-MUX menu is possible by entering the menu number (24) and pressing
the SET button. After pressing 24 SET, the display will read: