System 3505 Installation & Operation Manual
Digitize, Inc. 700248-0002 Rev. C 02/16
Specification Subject to Change Without Notice
5-5
5.13
ADDRESSABLE LINE PRINTER OPTION SET UP MODE
Addressable Line Printers act as System status indicators for the System 3505. Information
displayed at the System 3505 is also printed, selectively, on an Addressable Line Printer. For
instance, a printer can be specified to print only burglar alarms, another to print fire alarms, or
any combination of the available options. Each line printed on a printer represents the complete
display of each screen (page) entered in the setup for a specific zone. The System 3505
Addressable Line Printer option normally supports up to eight addressable line printers.
Software to support additional printers may be ordered as a custom option.
It is recommended that the printers be configured for RS-485, to allow for expansion of
multiple printers. However, a single printer may be configured for RS-232, or current loop.
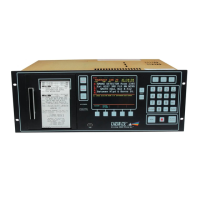
Enter “15”, and press the SET button. The display will read:
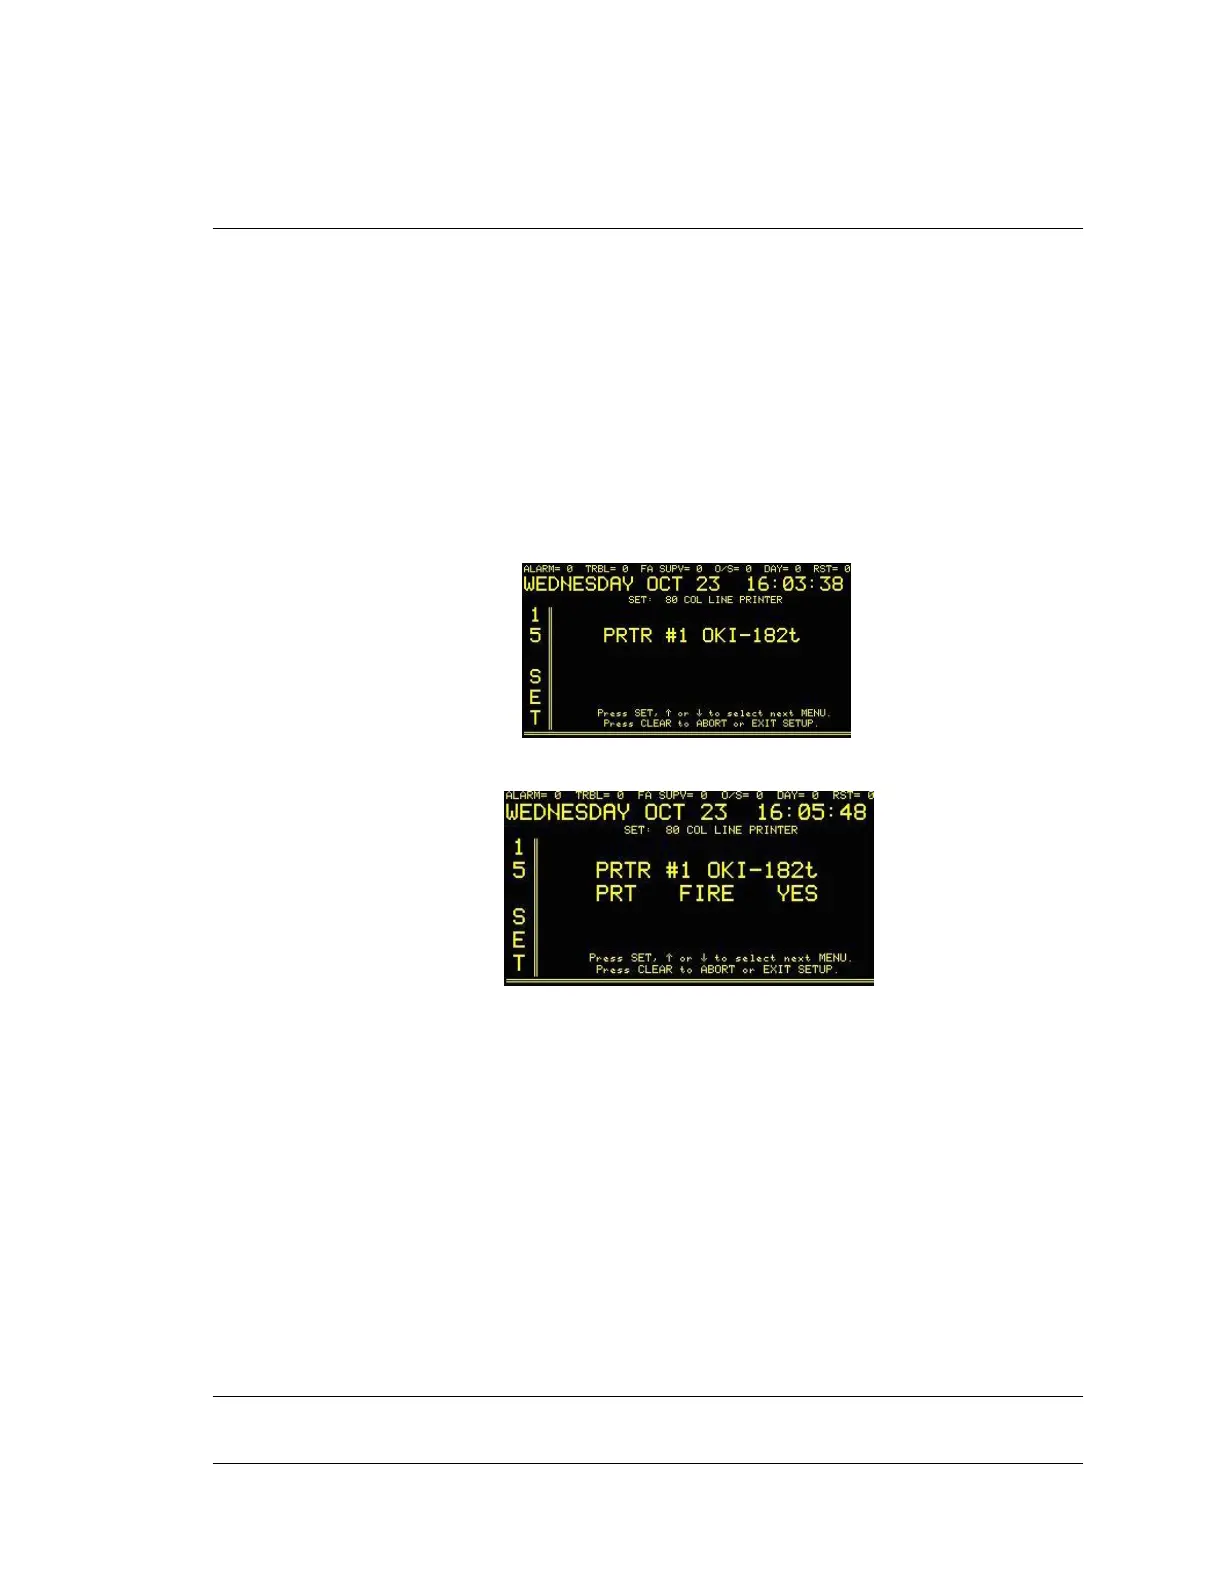
Press the FUNC button to Edit this menu. The display will read:
Use the ↑ or ↓
keys to change the number to designate the printer of choice. Once a printer
number has been entered, functions can be assigned to that printer by using the FUNC button to
move to successive fields. As each printer is configured, the user is able to change to another
printer. Proceed similarly until all the printers attached to the System are configured. All
changes to configuration are accepted as soon as they are entered. Reset of the SYSTEM 3505
is not required.
5.13.1
Printer Supervision
The System 3505 provides an option that continuously monitors the Addressable
Line Printer(s). In the event that the Data line fails, or the printer is powered
down, a trouble message will be displayed on the System 3505. The trouble
sound will alert the operator (at the System 3505 console) to this condition. The
operator must ACKnowledge the trouble condition.
5.14 ALPHA NUMERIC PAGER SETUP
Enter “17”, press the SET button and the display will read: