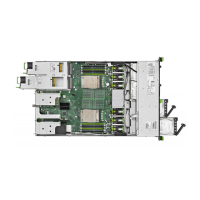
Figure 219: Installing the heat sink (B)
▶
Push the four latches outward (see arrows).
▶
Fasten the four captive screws in the sequence printed on the heat sink (1 to
4), by proceeding as follows:
T
orque: 0.9 Nm -1.0 Nm
▶
First, tighten the captive screw 1 to 50 %, then tighten the captive screw 2
to 50 % .
▶
After that, tighten the captive screw 3 to 50 %, then tighten the captive
screw 4 to 50 % .
▶
Finally, tighten the captive screws in the sequence 1-2-3-4 completely.
Processor (CPU)
RX2540 M7 Upgrade and Maintenance Manual 359

 Loading...


