71
Configuring the service page logo
1. Select VPN > SSL VPN > Page Customization > Partial Customization from the navigation
tree.
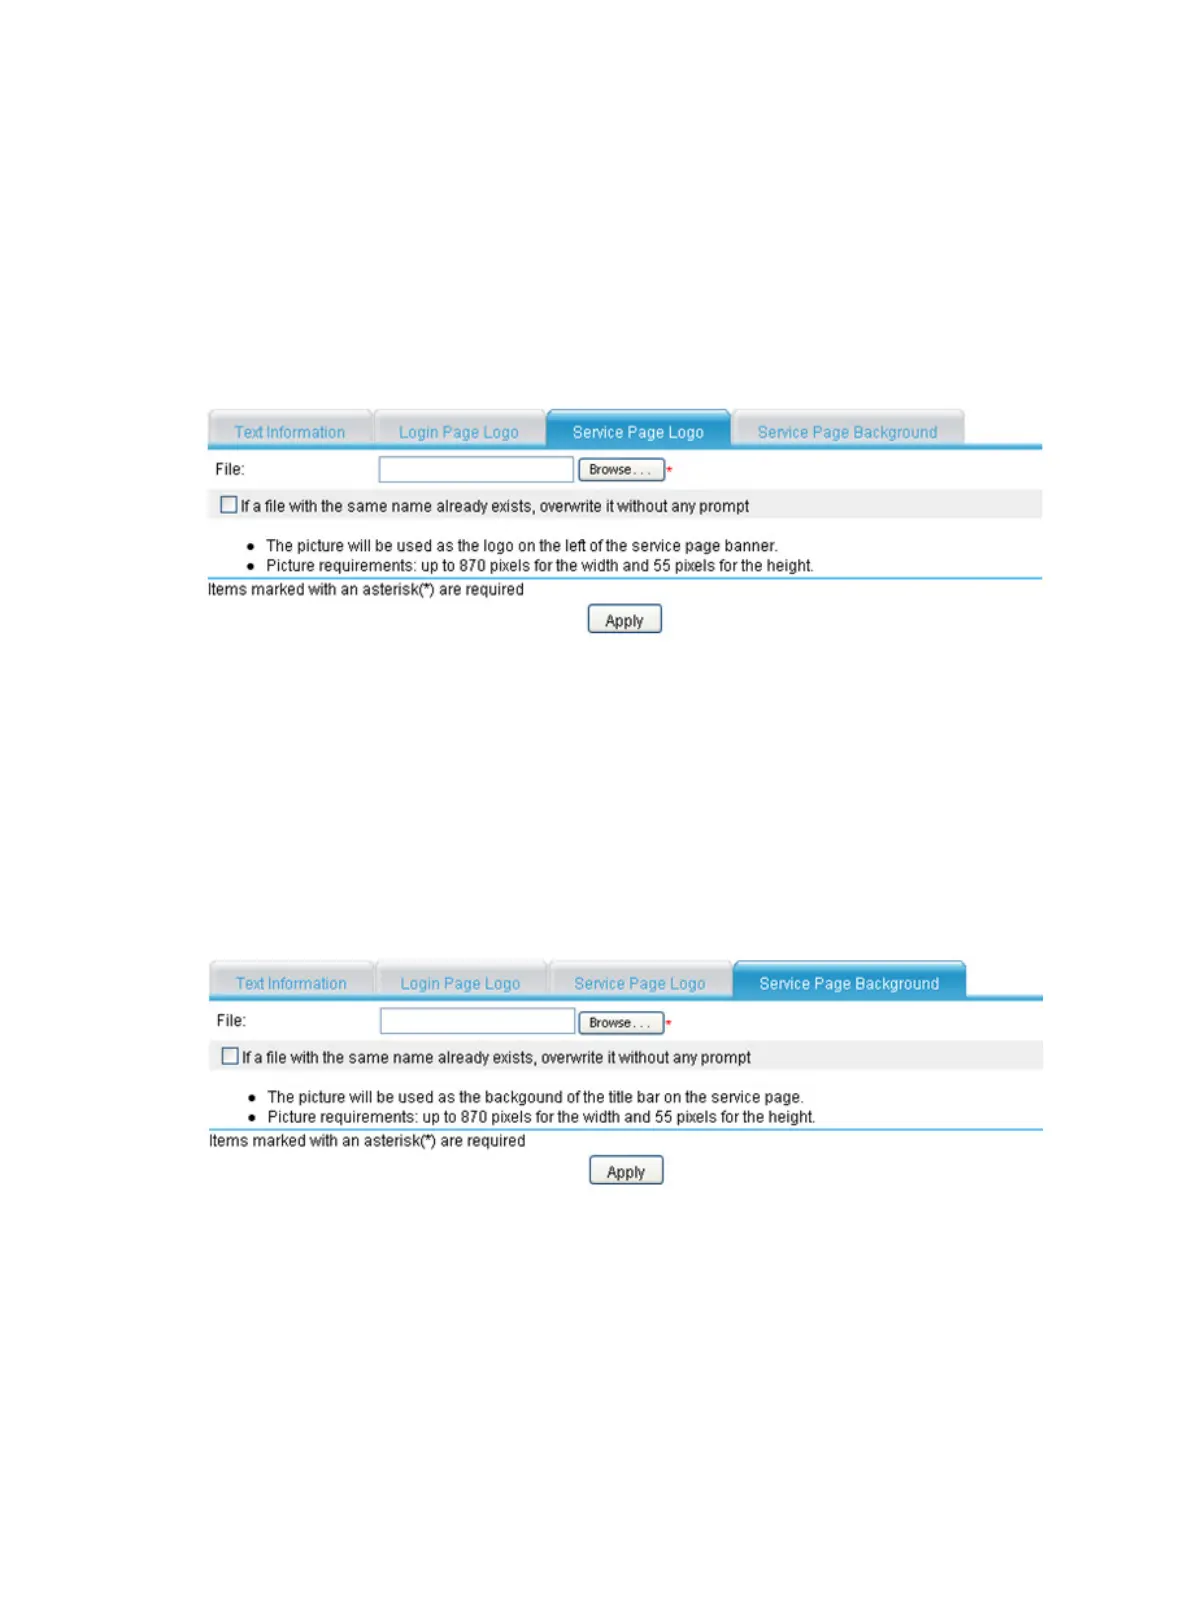
2. Click the Service Page Logo tab to enter the page shown in Figure 437.
3. Click Br
o
wse to select a local picture file.
4. Set whether to directly overwrite the file with the same name on the device.
5. Click Apply to upload the picture file to the SSL VPN system and use it as the logo picture on
the service page.
Figure 437 Specifying a service page logo picture
Configuring the service page background
1. Select VPN > SSL VPN > Page Customization > Partial Customization from the navigation
tree.
2. Click the Service Page Background tab to enter the page shown in Figure 438.
3. Click Br
o
wse to select a local picture file.
4. Set whether to directly overwrite the file with the same name on the device.
5. Click Apply to upload the picture file to the SSL VPN system and use it as the service page
background picture.
Figure 438 Specifying a service page background picture
Customizing the SSL VPN interface fully
Before full customization of the SSL VPN interface, upload the customized page file to the SSL VPN
gateway through FTP or TFTP.
1. Select VPN > SSL VPN > Page Customization > Full Customization from the navigation tree.
The full customization page appears.
 Loading...