Keysight N9915-90020 User’s Guide 681
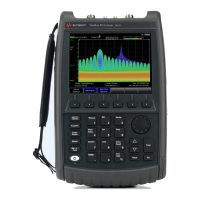
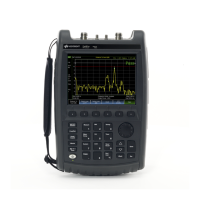
Noise Figure Mode (Option 356)
How to Define a Noise Figure Measurement
—
“Example: Typical Noise Figure Measurement Procedure” on page 681
— “Overview of Softkey Menus” on page 682
— “How to Use DUT Measurement Setups” on page 690
— “Single / Continuous / Restart” on page 707
— “Points ” on page 707
— “Resolution Bandwidth (Res BW)” on page 708
— “Alignments” on page 708
— “Calculating Noise Figure Measurement Uncertainty” on page 709
— “Using ENR Tables” on page 714
— “Using Markers (Noise Figure)” on page 717
To learn more about Smart Noise Sources, refer to
https://www.keysight.com/us/en/products/noise-figure-analyzers-noise-so
urces/noise-sources.html
.
Example: Typical Noise Figure Measurement Procedure
This section briefly reviews the steps in setting up a noise figure measurement.
If you are not familiar with this process or would like more information, refer to
“Overview of Softkey Menus” on page 682 and “How to Use DUT
Measurement Setups” on page 690
.
1. Set up a Noise Source ENR Table:
(Meas Setup
> Noise Source > ENR Table Edit/Save/Recall).
2. Set the resolution bandwidth: BW
> Res BW
3. Set the frequency range: Freq/Dist >
— Start,
—
Stop,
—
Center, and
—
Span
4. Set the number of points: Sweep > Points (minimum = 3 points, maximum
= 1001 points, default = 21)
5. Use Meas Setup > Integration Setup Integration (See also “How to use
Auto-Integration” on page 724
.)
— Max. Time/Pt.
(Available when Mode = Auto) or
—
Time/Pt. (available when Mode = Fixed)
6. Perform a Receiver Calibration: (Cal
> Run Receiver Cal and follow
prompts).
7. Enter DUT setup type: Meas Setup
> DUT > Type