9. 1. 4. Network Setting > Network Setting >
Configuring the IP Address Using the Printer Control Panel
This topic describes how to configure the printer's IP address on the Control Panel.
1.
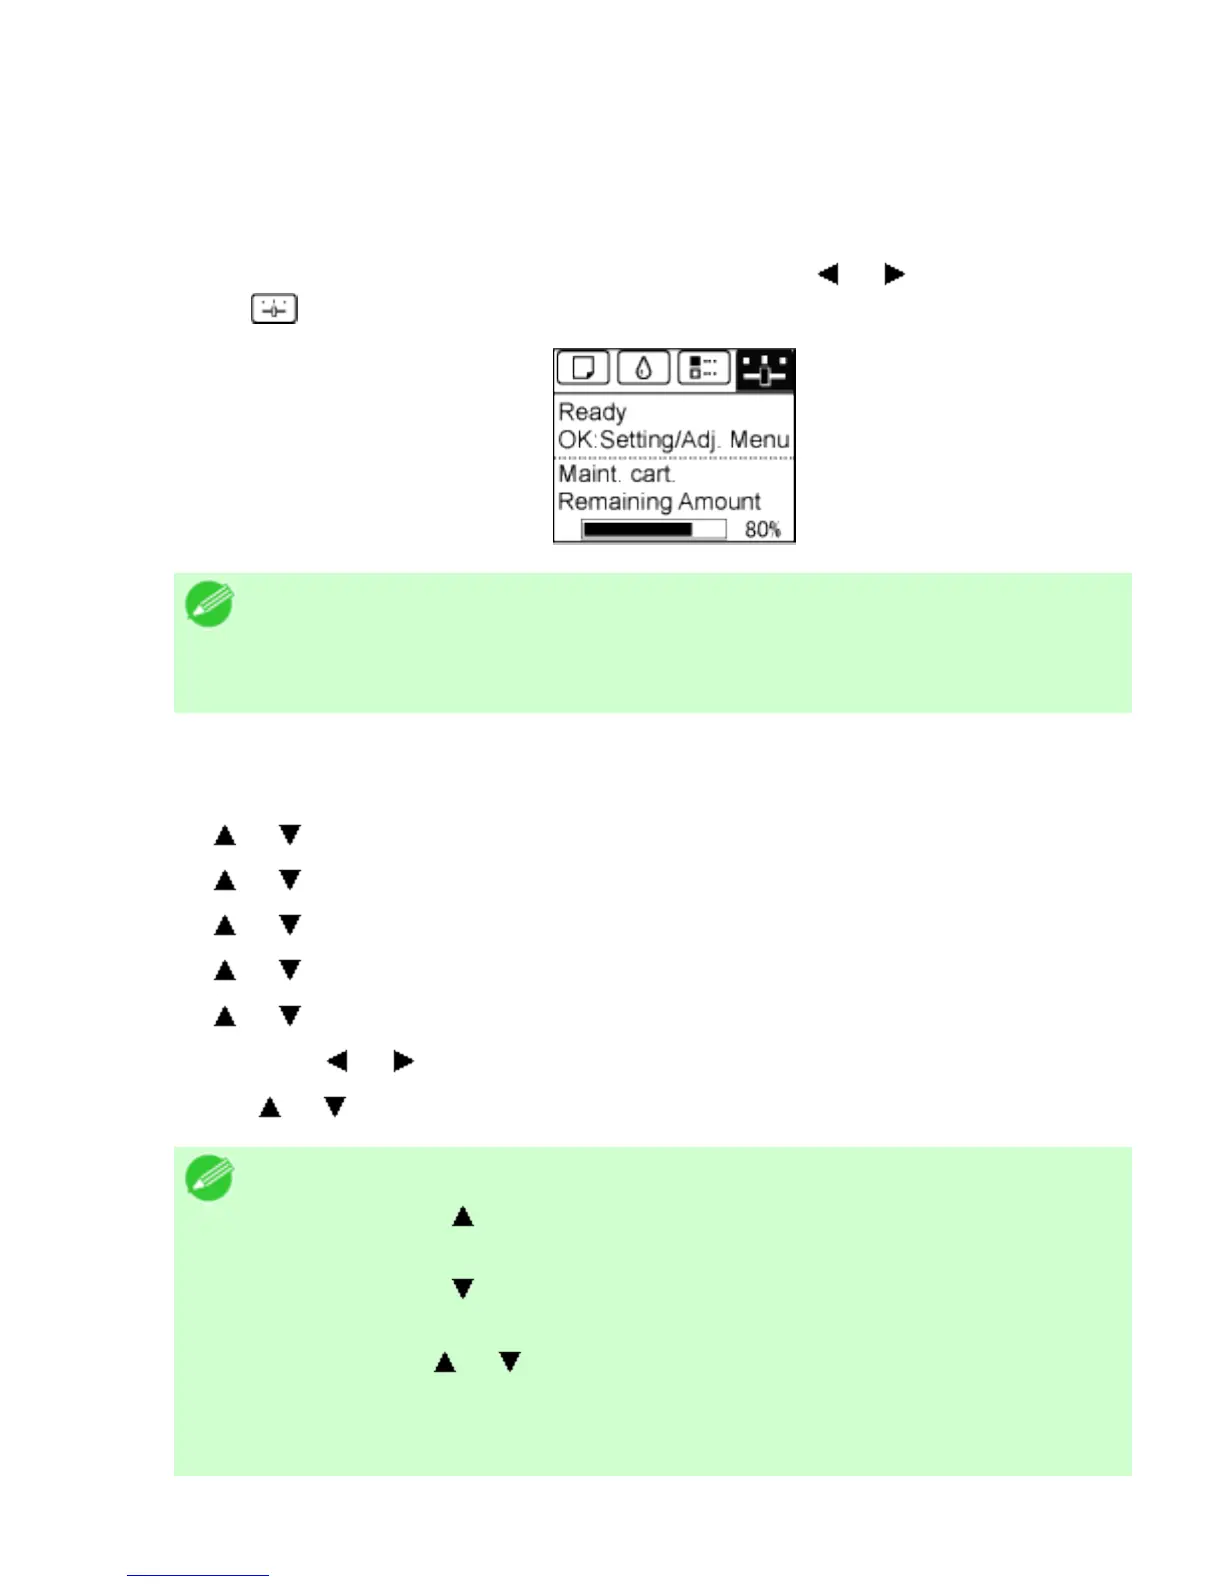
On the Tab Selection screen of the Control Panel, press or to select the Settings/
Adj. tab (
).
Note
・ If the Tab Selection screen is not displayed, press the Menu
button.
2. Press the OK button.
The Set./Adj. Menu is displayed.
3. Press or to select Interface Setup, and then press the OK button.
4. Press or to select TCP/IP, and then press the OK button.
5. Press or to select IPv4, and then press the OK button.
6. Press or to select IPv4 Settings, and then press the OK button.
7. Press or to select IP Address, and then press the OK button.
8. After you press or to select the input field, numerical input is possible.
9. Press the or button to enter the value.
Note
・ Pressing the
button increases the number by 1. The maximum
value is 9, after which 0 is displayed.
・ Pressing the
button decreases the number by 1. The minimum
value is 0, after which 9 is displayed.
・ Hold down
or to increase or decrease the value continuously.
・ Make sure the IP address you enter for the printer is not the same as
any computer IP address in your network.
10. Repeat steps 8 and 9 to complete the settings, and then press the OK button.