DEQX User Manual
ADDING TEXT LABELS TO THE CONFIGURATION TOOLBAR
The toolbar of the configuration window is quite small. Especially when editing a
profile, it can be hard for a novice user to distinguish the buttons. It is simple to add text
labels to this toolbar, as follows:
1. Open the configuration window (if it is not already open).
2. Open the Customize dialog and select the Toolbars tab.
3. Click on “DEQX Configuration” at the left.
4. Turn on the “Show text labels” checkbox.
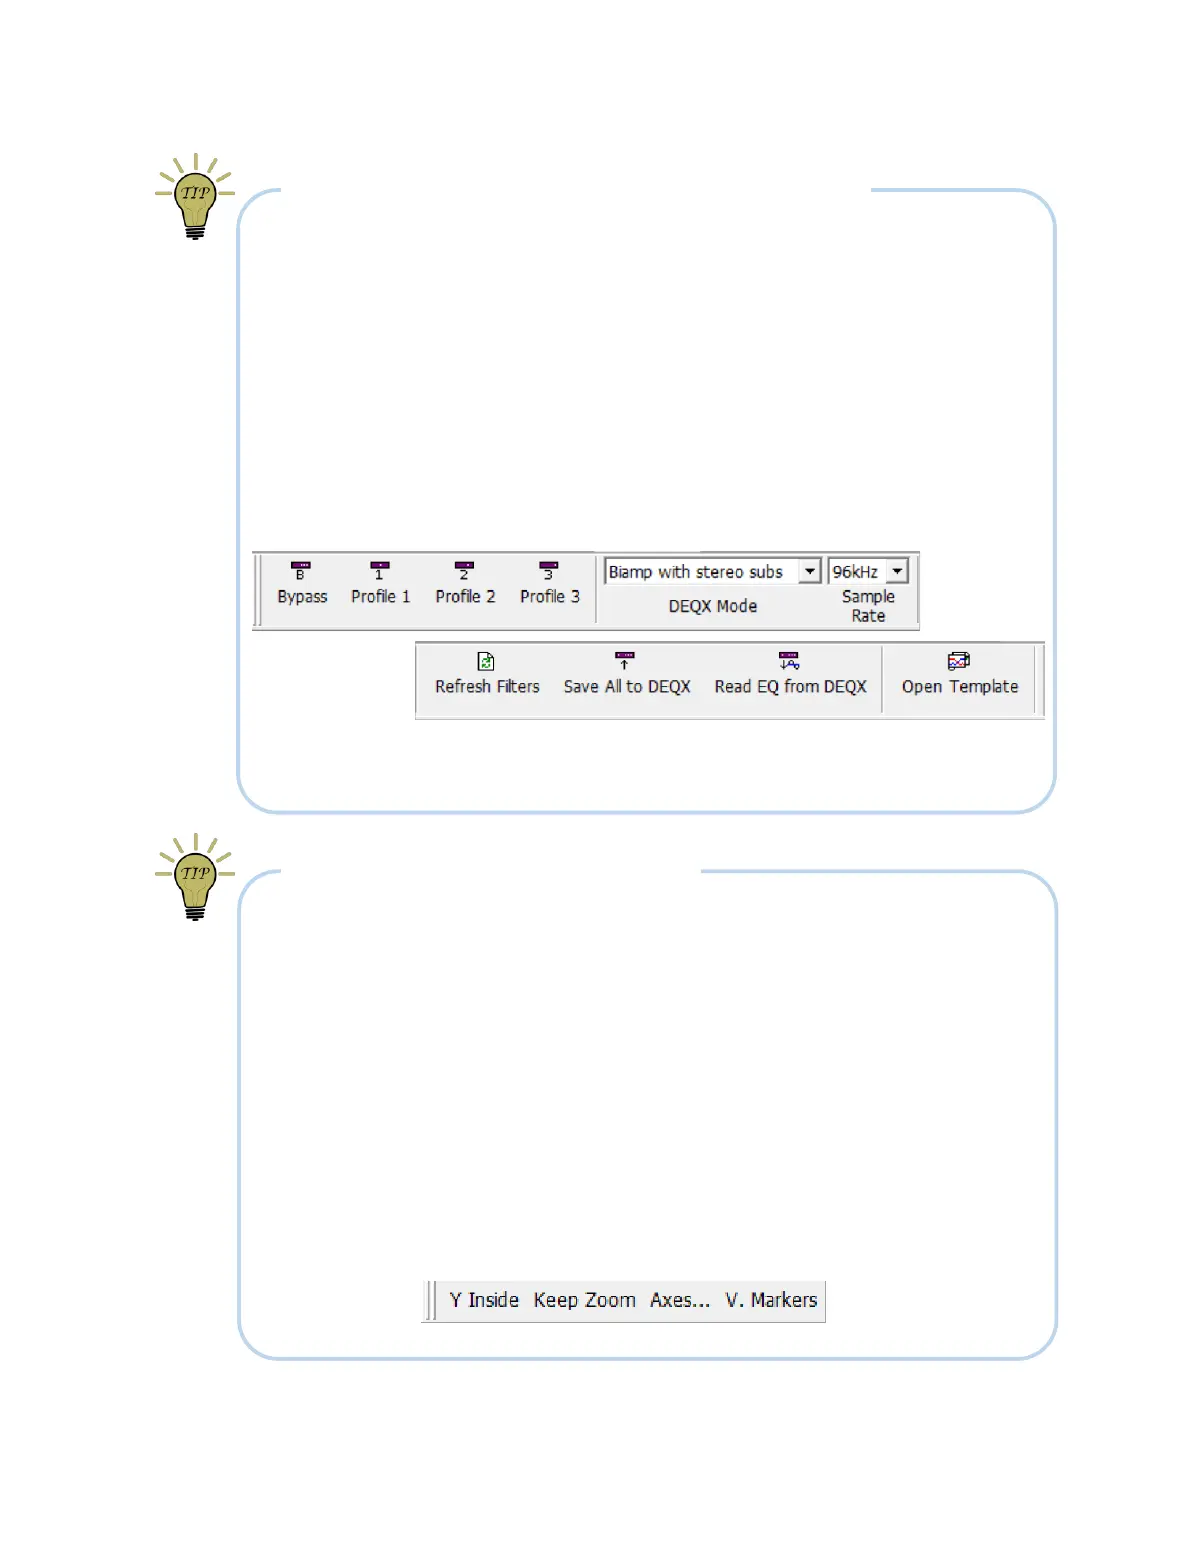
The toolbar of the configuration window will display as shown below (the image shows
the toolbar split for space reasons, but in DEQX-Cal it will be a single row).
Note: if you are an advanced user and have more than one configuration in your project,
this will need to be done separately for each of them.
MAKING AN AUXILIARY CHART TOOLBAR
To create an auxiliary toolbar for common chart operations:
1. Open the Customize dialog and select the Toolbars tab.
2. Click on New, enter “Chart Tools 2” and click OK. A small window appears.
3. Go to the Commands tab, click on the Chart category, and drag these
commands onto the new toolbar window: “Y Labels Inside”, “Keep zoom after
each click”, “Axes Limits...”, and “Vertical”.
4. Right click on each item in the new toolbar window and select “Button
Appearance” to edit the label.
5. Drag the toolbar window onto the main window to dock it.
Here is the result: