DEQX User Manual
5.5 SET UP THE MEASUREMENT MICROPHONE
Accurate measurements are essential for accurate speaker calibration. Each new DEQX
is supplied with a calibrated measurement microphone in the form of the Standard
Calibration Kit. An upgraded Reference Calibration Kit is an optional additional
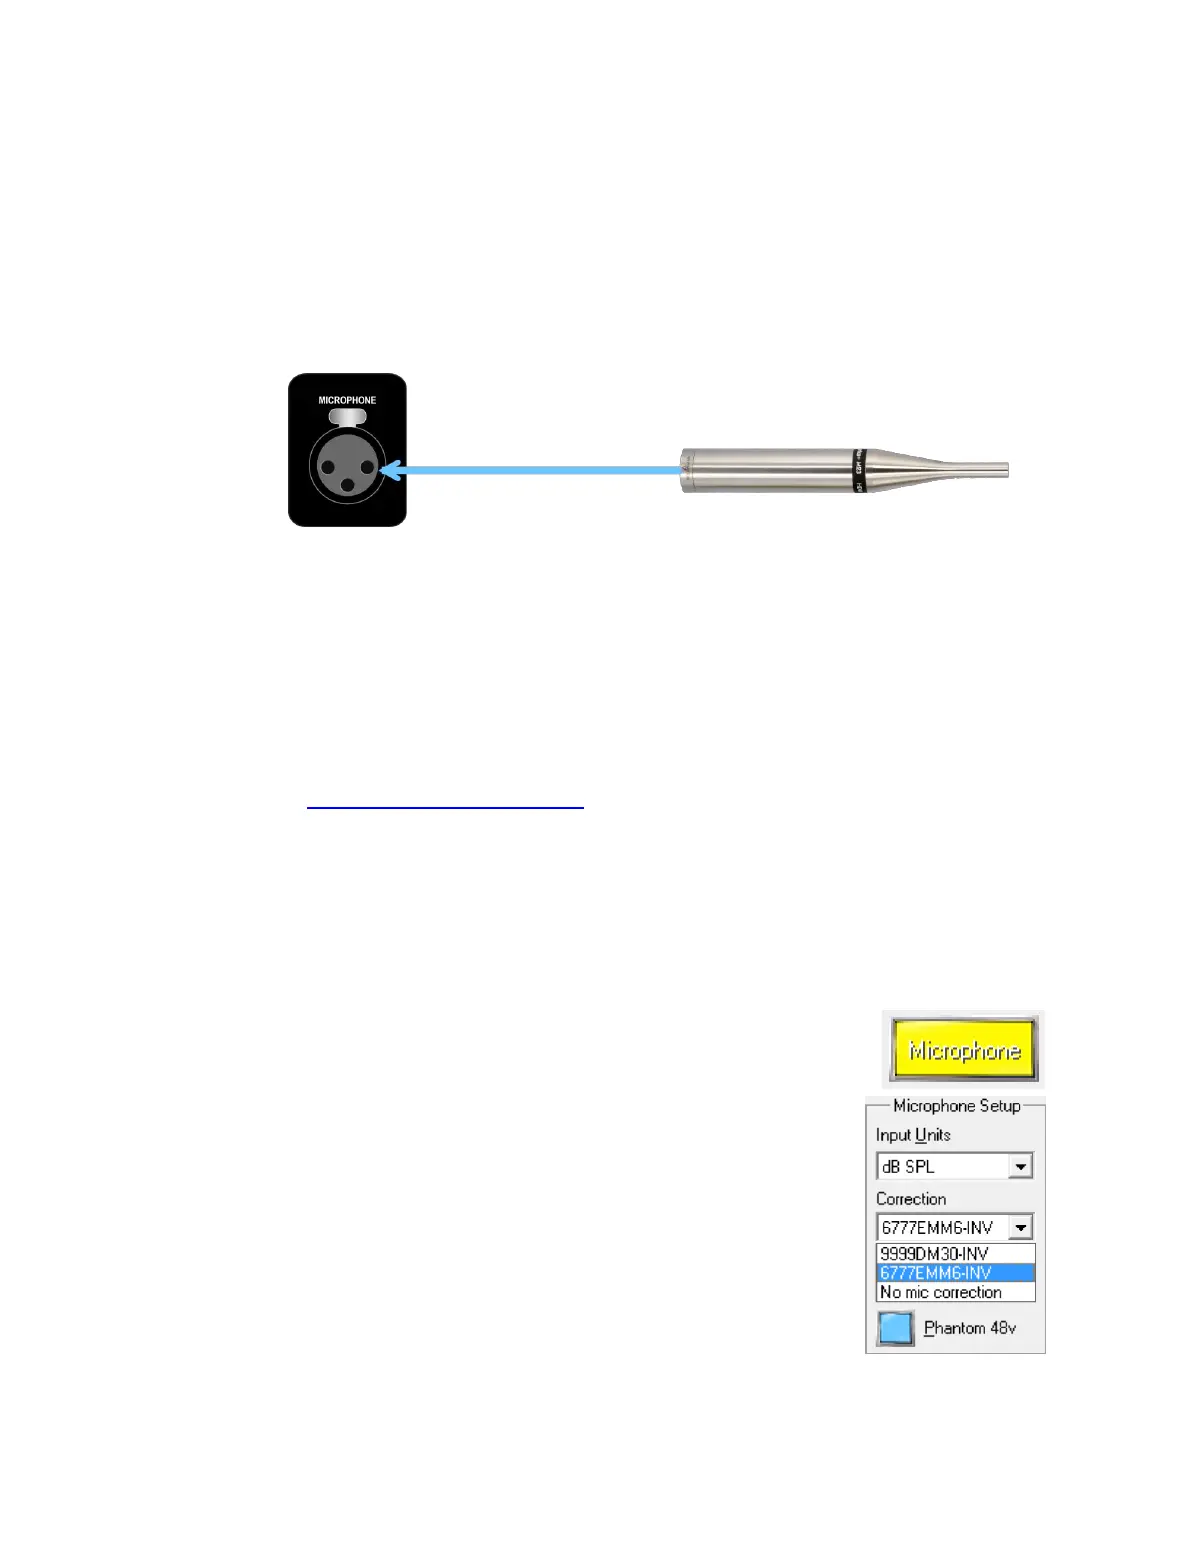
purchase. Mount the microphone in a suitable stand and connect the XLR-XLR cable
from the microphone to the Microphone input on the rear panel.
Each microphone supplied with a DEQX Calibration Kit has a unique calibration file,
identified by the serial number printed on the microphone. The calibration file must be
loaded into DEQX-Cal for accurate results.
Standard Calibration Kit
Drop down the File menu and select “Install Microphone...” Locate the calibration
file corresponding to your microphone's serial number on the installation CD and
open it. (If you are unable to locate the correct calibration file for your
microphone on your installation CD, check the calibration file downloads at
http://deqx.com/upgrades.php. If the file is still not found, contact DEQX
Support.)
Reference Calibration Kit
After receiving the Earthworks microphone, contact DEQX Support with its serial
number in order to receive the DEQX-compatible calibration file. Then drop down
the File menu and select “Install Microphone...” In the dialog box, locate the
received calibration file and open it.
In the IO Manager, go to the Input Select area and click the
Microphone button to select it as the active input.
Go to the Microphone Setup area (over to the right of the IO
Manager), drop down the menu for Correction, and select the
installed microphone calibration file. Also confirm that the
Phantom 48V option is enabled (it should be enabled by default).
Note that DEQX does not recommend or support microphones
that are not supplied in an authorized DEQX Calibration Kit.
You can now proceed to perform your first measure-calibrate-
configure cycle (starting in Chapter 6).