Chapter 5. Getting Started with DEQX-Cal
5.3 CREATE A NEW PROJECT
DEQX-Cal stores all measurements, filters and configuration data in a project. Projects
can be saved, loaded, or even sent to DEQX if you need assistance from a DEQXpert.
To create a new project, drop down the File menu and choose “New Project.” Select its
location in the file system, enter a name, and click OK. Initially, the project is empty.
Each measurement, calibration, and configuration that you subsequently create
(Chapters 6 through 10) will automatically be added to the project.
DEQX-Cal directly supports ongoing and evolutionary
refinement of your project (or projects, for more advanced
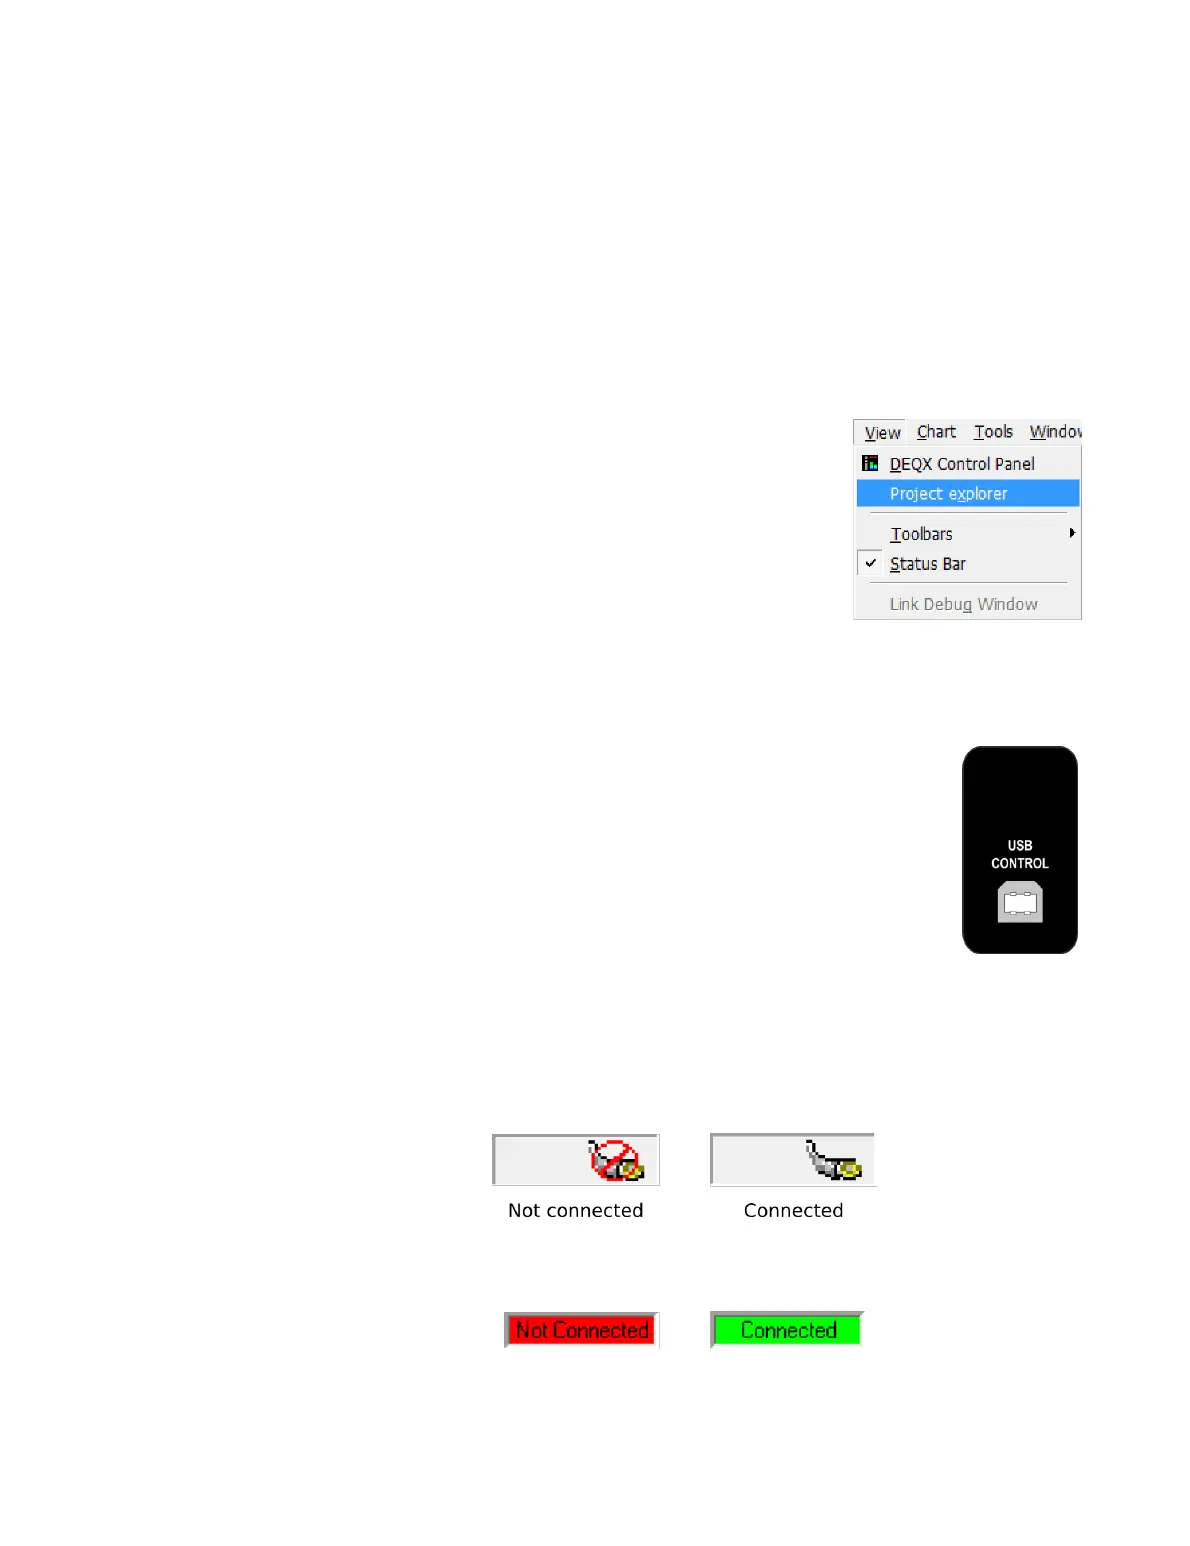
users). The full overview of the project can be seen in the
project explorer, accessible from the View menu in the main
menu bar. (For more information on the project explorer,
see Chapter 17.)
5.4 CONNECT THE DEQX AND POWER IT ON
Make the necessary input and output audio connections to your DEQX.
For a single pair of main speakers, with or without subwoofers, the
output connections are as shown on page 23.
Connect the PC to the DEQX USB Control port using the supplied USB
cable. This port is on the lower left of the rear panel, when facing the
rear panel.
Connect the DEQX to power, as described on page 22. Turn on the
DEQX with the rear panel switch, wait a few seconds and then take it out of standby by
pressing the I/O button on the front panel or the Standby button on the DEQX Remote.
The status LED will change from red to either yellow or green.
Wait a few moments. When DEQX-Cal finds the connected DEQX, the status indicator
in the lower right of the DEQX-Cal window will change:
If the DEQX Control Panel is open, the status indicator above the master volume slider
will also change: