GEDRAFT LOGIQ P9/P7
D
IRECTION 5604324, REVISION 11 DRAFT (JANUARY 24, 2019) SERVICE MANUAL
Chapter 8 - Replacement Procedures 8-41
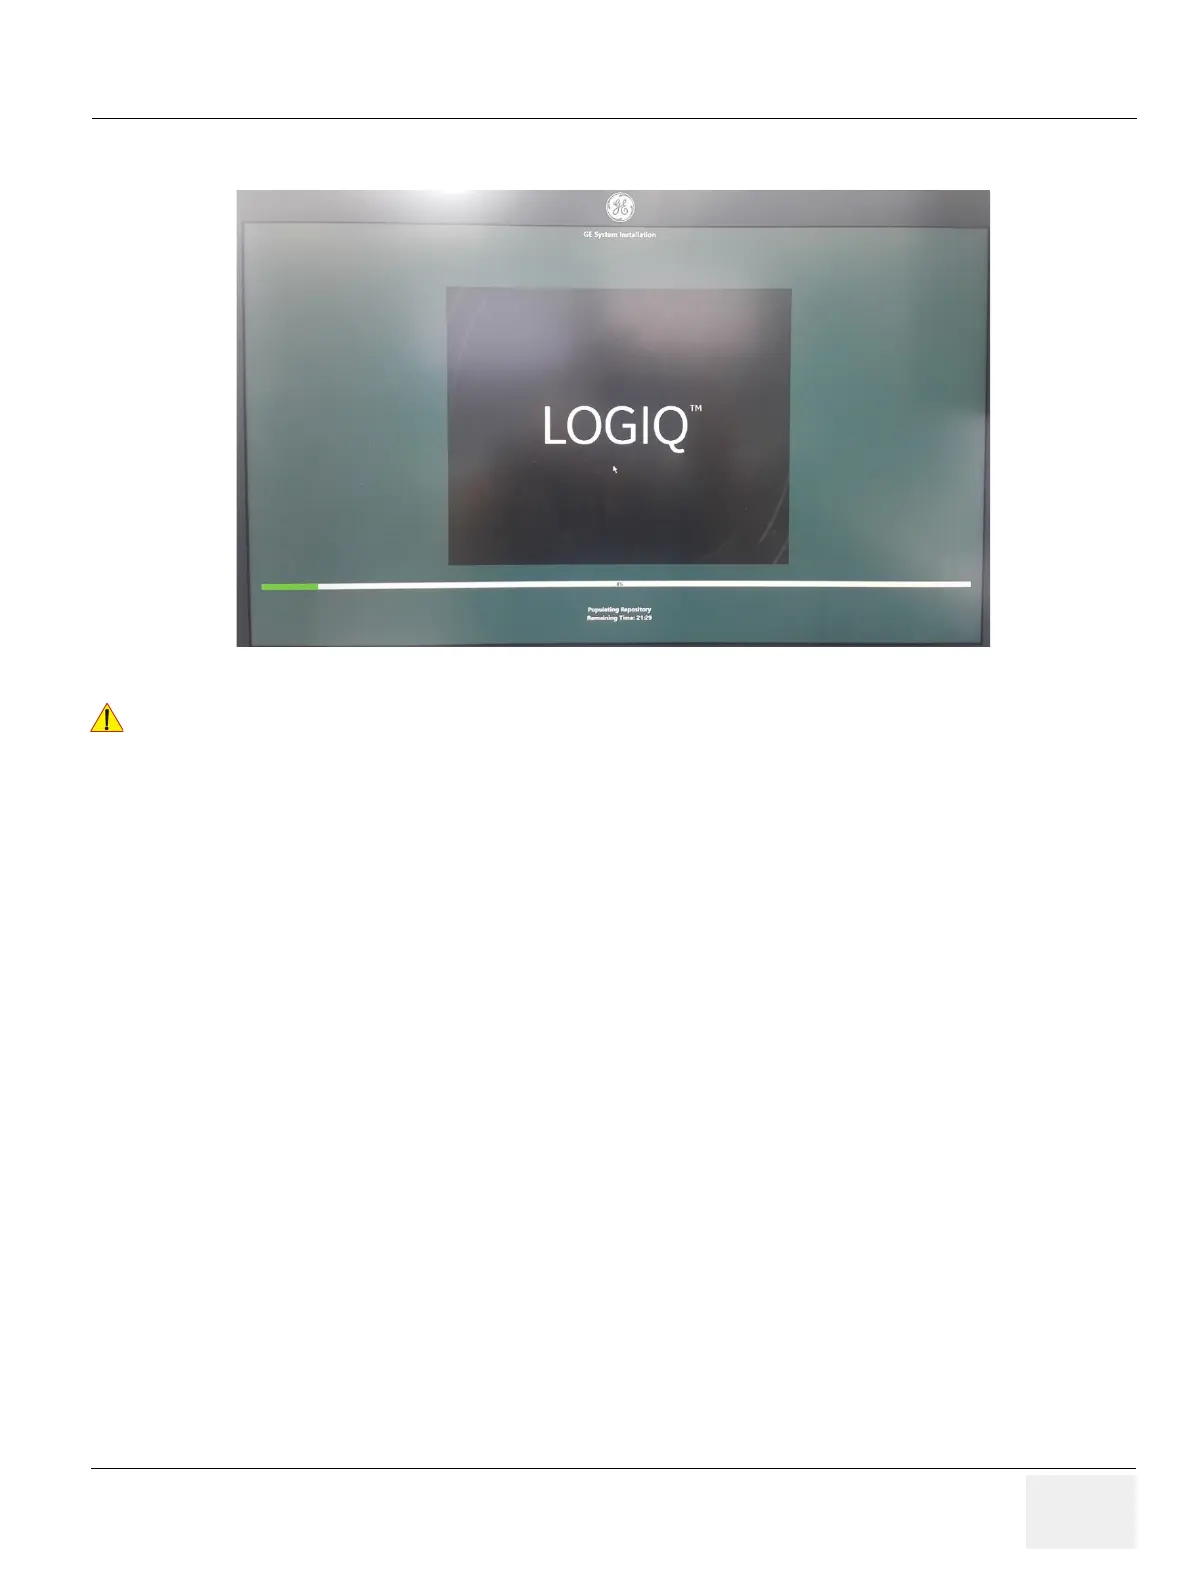
6.) The Installation progress screen appears like below.
7.) Approx.20~ 30 minutes later, loading the software will be completed.
8.) After completing, press [OK] button using the trackball key to reboot the system.
9.) At the first system reboot after loading the software, the OS will reboot the system automatically.
10.)After the reboot, the installation will be fully completed.
NOTE: Do NOT touch the system during this process. Activating the keyboard, mouse or front panel
could corrupt the installation. While the script is running, several window or dialog boxes appear
on the screen. At times it may look like the system is unresponsive.
Figure 8-25 The notification screen 3
Do not interrupt the software loading at any time.

 Loading...


