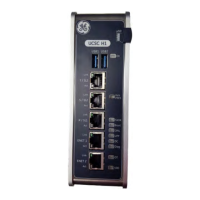
8.2.5 YVIB I/O Pack Replacement
➢➢ To replace a YVIB I/O pack
1. Follow all site safety procedures.
2. Remove the power plug located in the connector on the side of the failed I/O pack.
3. Unplug the Ethernet cable(s) from the failed I/O pack, and mark the positions of the removed cable(s).
4. Loosen the two mounting nuts on the I/O pack threaded shafts.
5. Unplug the I/O pack.
6. Plug in the replacement I/O pack. Make sure the I/O pack connector is fully seated on all sides, then properly tighten
mounting nuts.
7. Plug the Ethernet and power cables back into the I/O pack.
Use the following table to determine the correct replacement procedures for the I/O pack firmware.
YVIB I/O Pack Replacement Use Cases
Module Redundancy
Failed Hardware Form New Hardware Form
Simplex
YVIBS1A
YVIBS1A
YVIBS1B
YVIBS1B YVIBS1B
TMR
YVIBS1A
YVIBS1A
YVIBS1B (all three must be replaced with S1Bs)
YVIBS1B YVIBS1B
➢➢ To replace a YVIB I/O pack with the same firmware/configuration: use the ToolboxST application to download
the existing configuration to the new I/O pack.
Attention
Do NOT upgrade the firmware of any YVIBS1A to a version beyond V04.06.03C.
Making this mistake is extremely difficult to reverse, and would be best if the site then
upgrades to YVIBS1B.
232 GEH-6855_Vol_II GEH-6855_Vol_II Mark VIeS Functional Safety Systems Volume II
Public Information