Work Flow
1
Install this instrument ( p.6)
2
Install an input module
(Adding or replacing an input module)
( p.18)
3
Connect a logic probe to the Standard
LOGIC terminals
(When measuring logic signals)
( p.20)
4
Connect the input cable(s) to the input
module
(When measuring analog signals)
( p.20)
Probes and cables will differ depending on the measurement purpose.
5
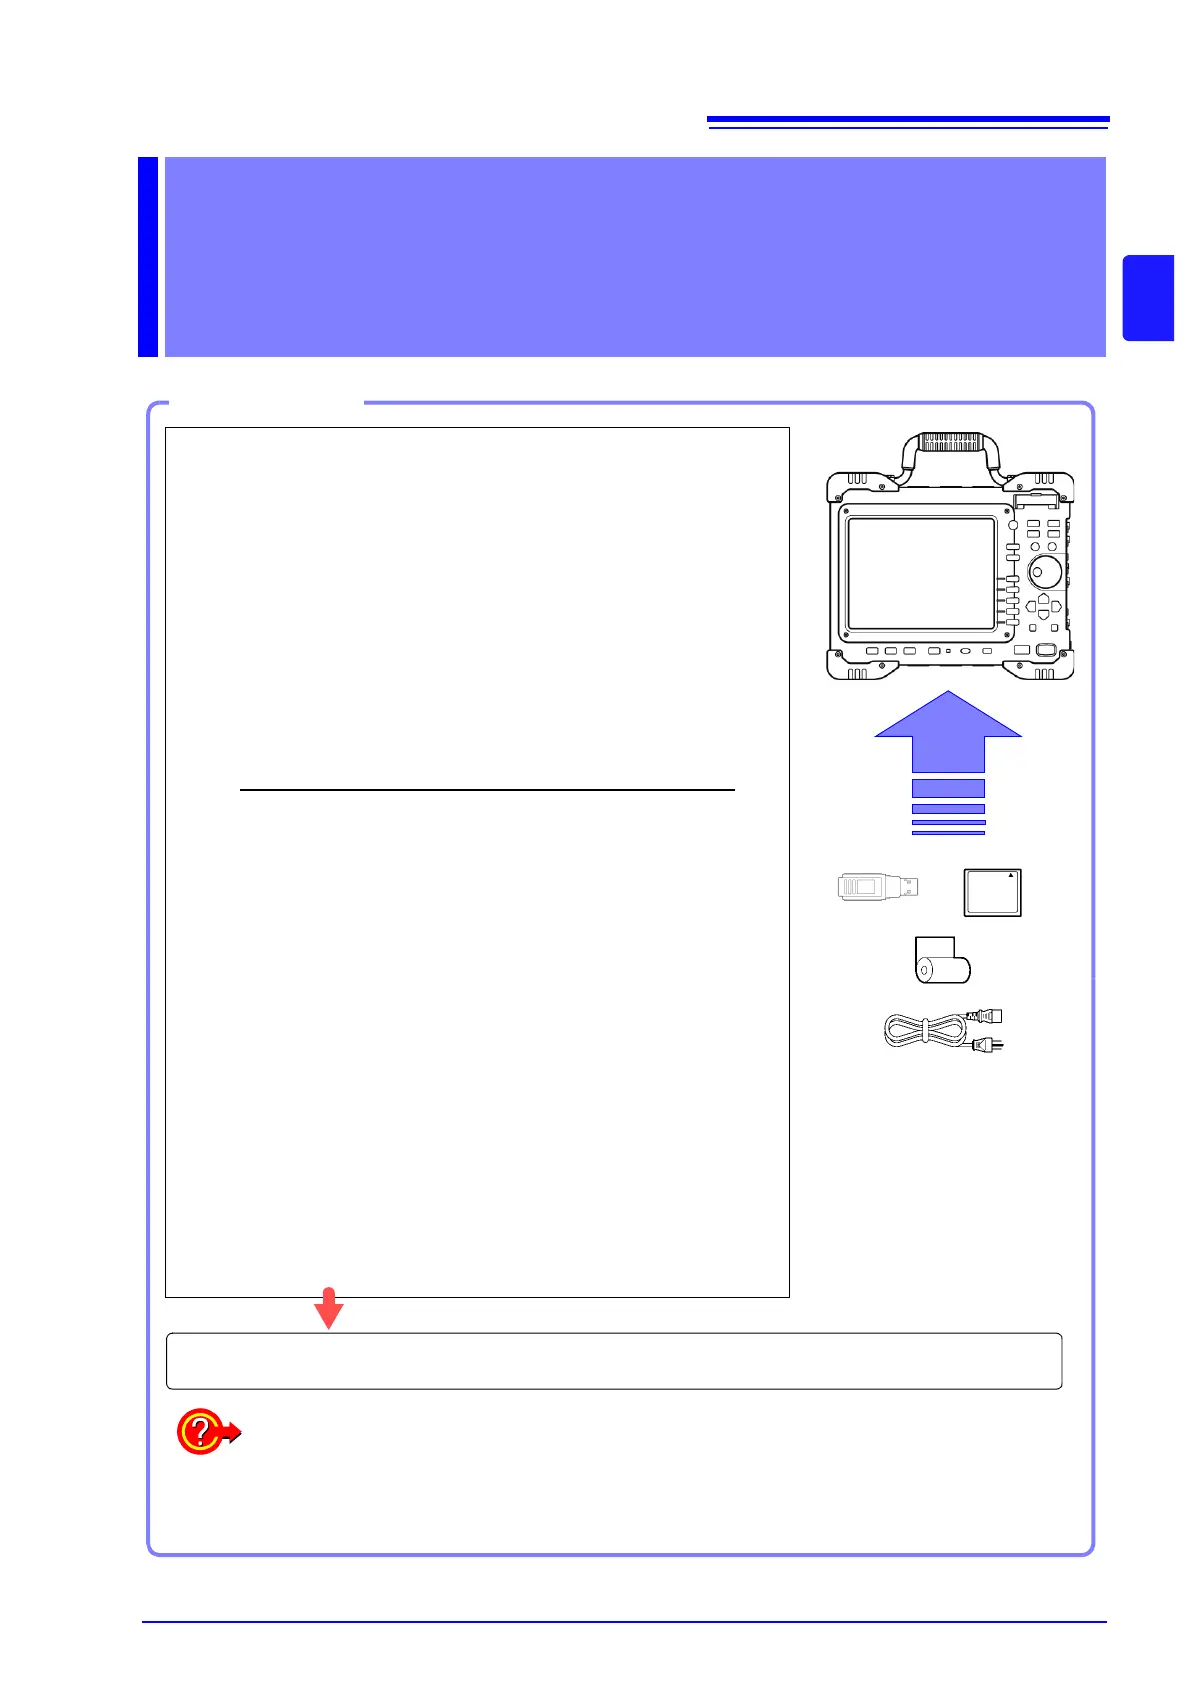
Insert media (CF Card, USB memory stick)
(
p.28)
6
Load recording paper
(
p.31)
7
Connect the power cord
(
p.33)
8
Ground the Functional Earth of this
instrument
(For measurement in noise-prone environments)
( p.33)
9
Turn the power on
(
p.34)
10
Setting the clock
(
p.35)
11
Perform zero-adjust
(
p.36)
When preparations are complete, let's start a measurement ( p.37)
Using communication functions
See: "Chapter 15 Connection to a Computer" ( p.259)
Using external control functions
See: "Chapter 16 External Control" ( p.287)