2.6 Setting the Clocks
35
2
Chapter 2 Measurement Preparations
Set date and time for the built-in clock as follows.
The clock has an automatic calendar with leap year correction and 24-hour format.
The functions listed below make use of the clock. Ensure that the clock is set correctly before using
these functions.
• Measurement with timer-based trigger
• Printout of data including count of trigger events
• Saving measurement data
2.6 Setting the Clocks
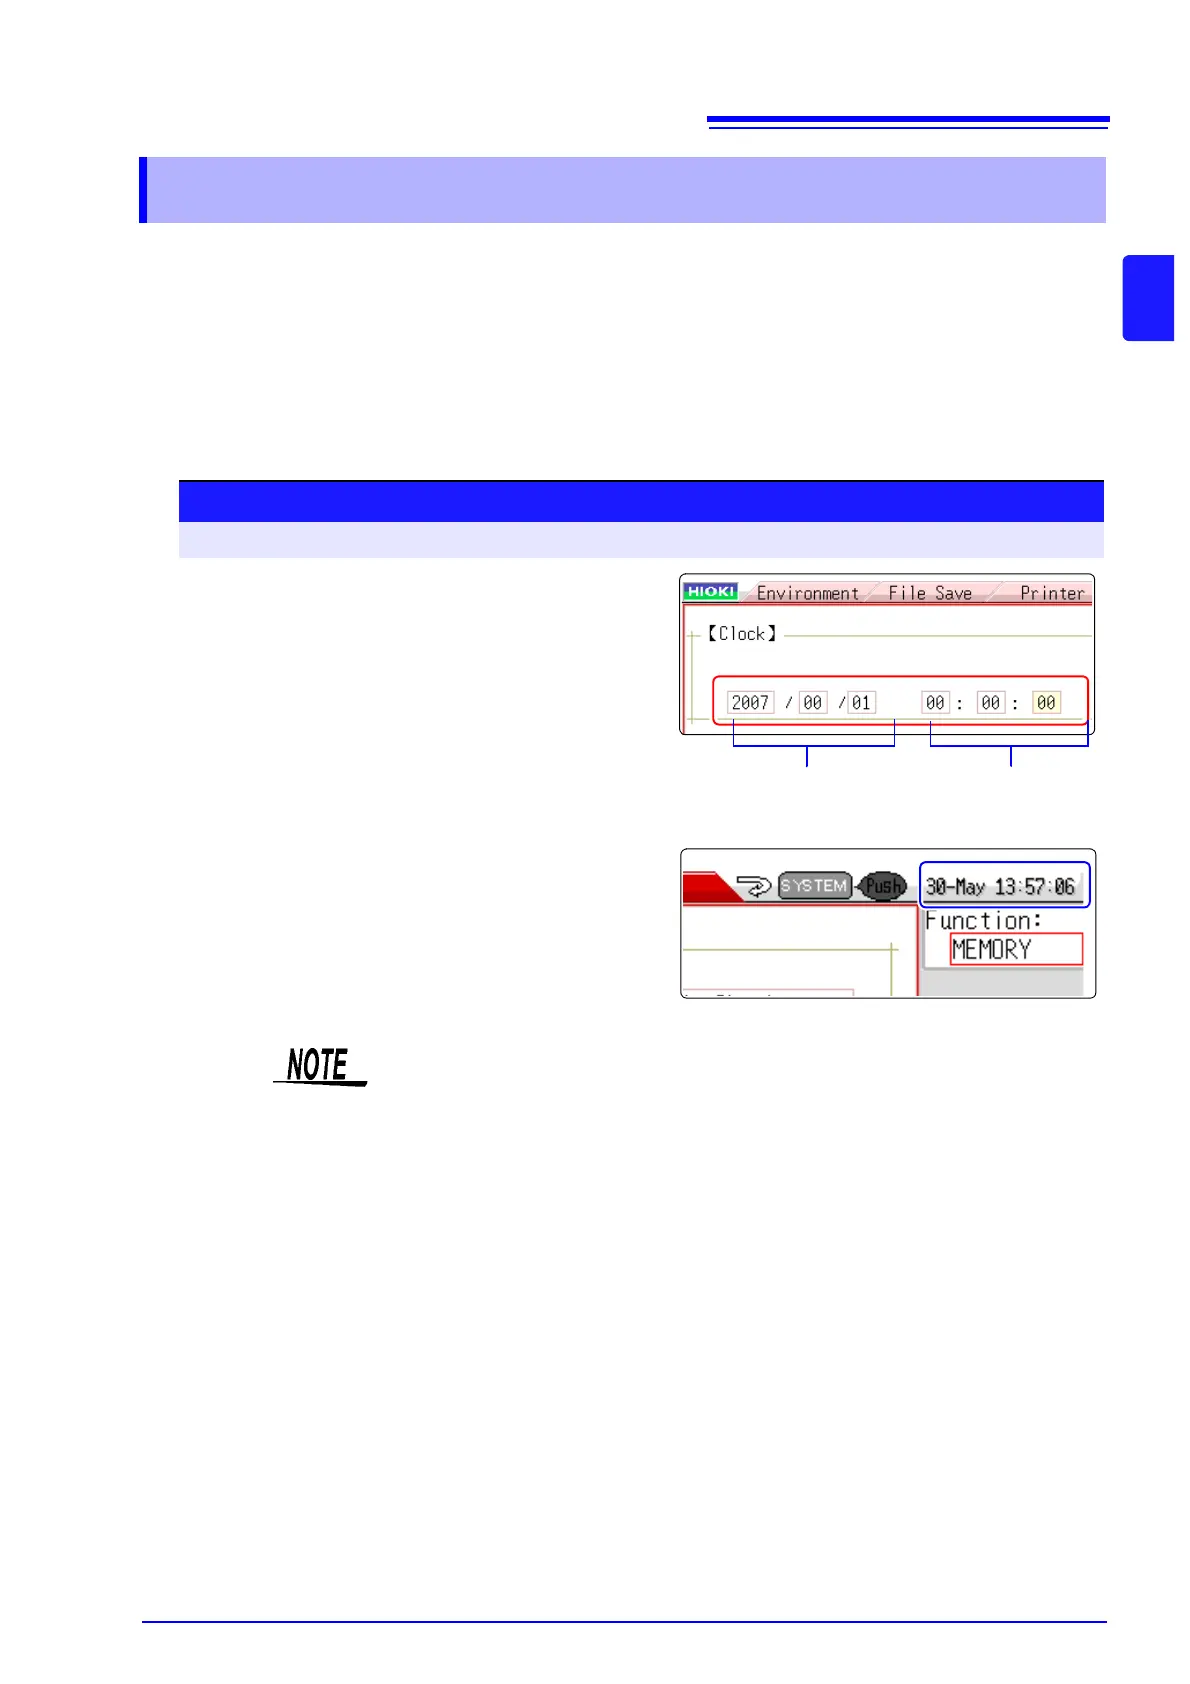
Date setting
(Year, Month, Day)
Time setting
(Hour, Minutes,
Seconds)
Procedure
To open the screen: Press the SYSTEM key → [Init] sheet
1
Move the cursor to the [Clock] item.
2
Select the digit to change and set the numeric
value.
3
When you select [Apply] while the cursor is
on the [Clock] item, the clock is set to the cur-
rent date and time values.
The date and time indication is shown at the top right of the
screen.
The instrument contains a built-in backup lithium battery, which offers a service
life of about ten years. If the date and time deviate substantially when the instru-
ment is switched on, it is the time to replace that battery. Contact your dealer or
Hioki representative.