6.2 Making Auto Print Settings
91
6
Chapter 6 Printing
This applies to the Memory function, Recorder function, and FFT function.
Make these settings before measurement. Check to be sure that recording paper is loaded cor-
rectly. Measurement data is printed automatically when you press the
START key to start measure-
ment.
6.2 Making Auto Print Settings
Procedure
To open the screen: Press the SYSTEM key → [Printer] sheet
1
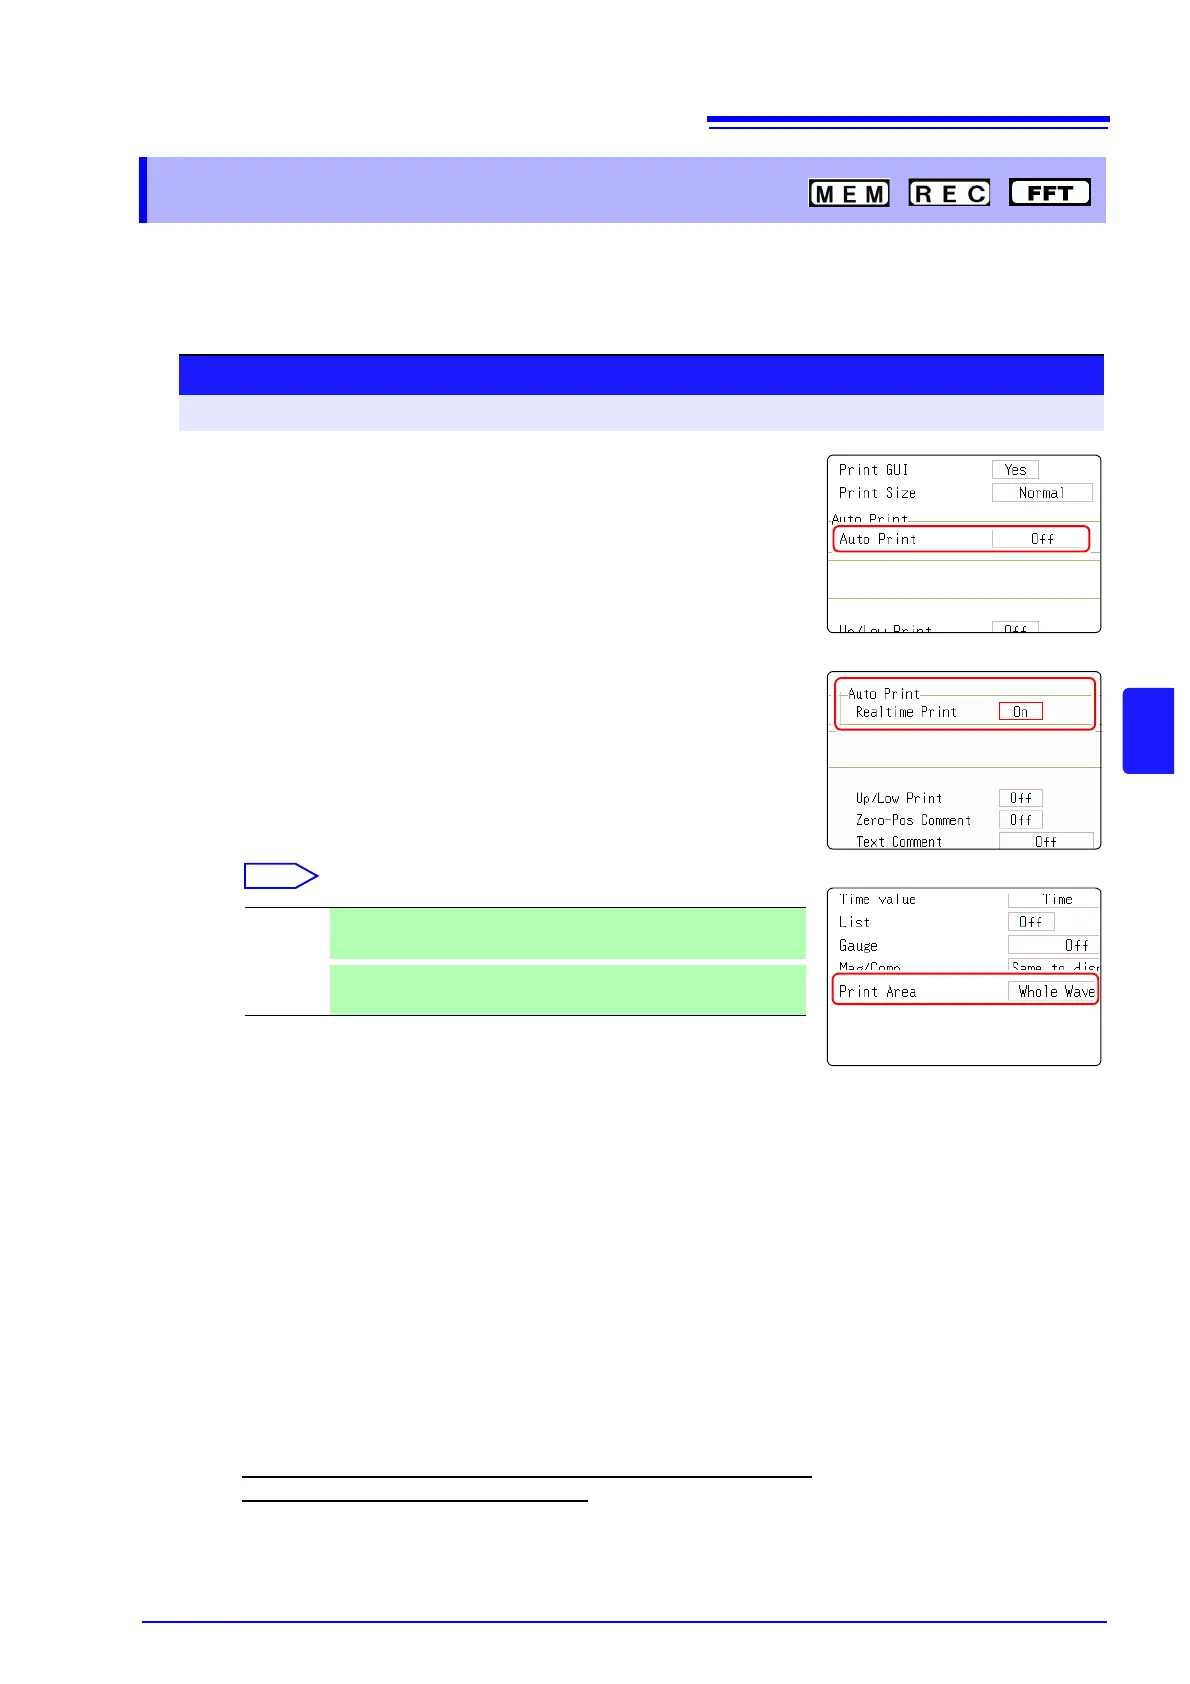
Enable Auto Print.
(Memory Function, FFT Function case:)
Move the cursor to the [Auto Print] item.
Select [On].
Default setting: Off (Auto Print is not carried out)
(Recorder Function Case:)
Move the cursor to the [Realtime Print] item.
Select [On].
2
Make print settings as required for the printer. ( p.95)
3
(Memory Function case:)
Make print area settings as required.
Move the cursor to the [Print Area] item.
When using the Recorder function, all waveform data will be
printed, regardless of any print range setting.
4
Check the measurement conditions and start the measure-
ment. (Press the START key.)
Memory Function case:
Data are acquired for the recording length and then printed auto-
matically.
Recorder Function case:
Printing is carried out in real time along with recording.
FFT Function case:
Data is printed automatically after FFT analysis is exited.
To stop printing before it has finished:
Press the STOP key. Measurement also stops.
Printing can be paused and restarted during Real-Time Printing
(Recorder Function) by pressing F key.
Move the cursor to the [Realtime Print] item, and select On or Off.
When printing is carried out again after stopping, the range selec-
tion will be used.
Whole
Wave
Print all waveform data in internal memory of instrument. (default
setting)
A-B
Wave
Print only A/B cursor defined range of waveform data in internal
memory of instrument.