6.3 Manual Printing With PRINT key (Selective Printing)
93
6
Chapter 6 Printing
Using the PRINT key from the Waveform screen, you can specify a range and data type for printing.
This is also useful to prevent inadvertent printing due to operation errors.
6.3 Manual Printing With PRINT key (Selective
Printing)
Procedure
To open the screen: Press the SYSTEM key → [Printer] sheet
1
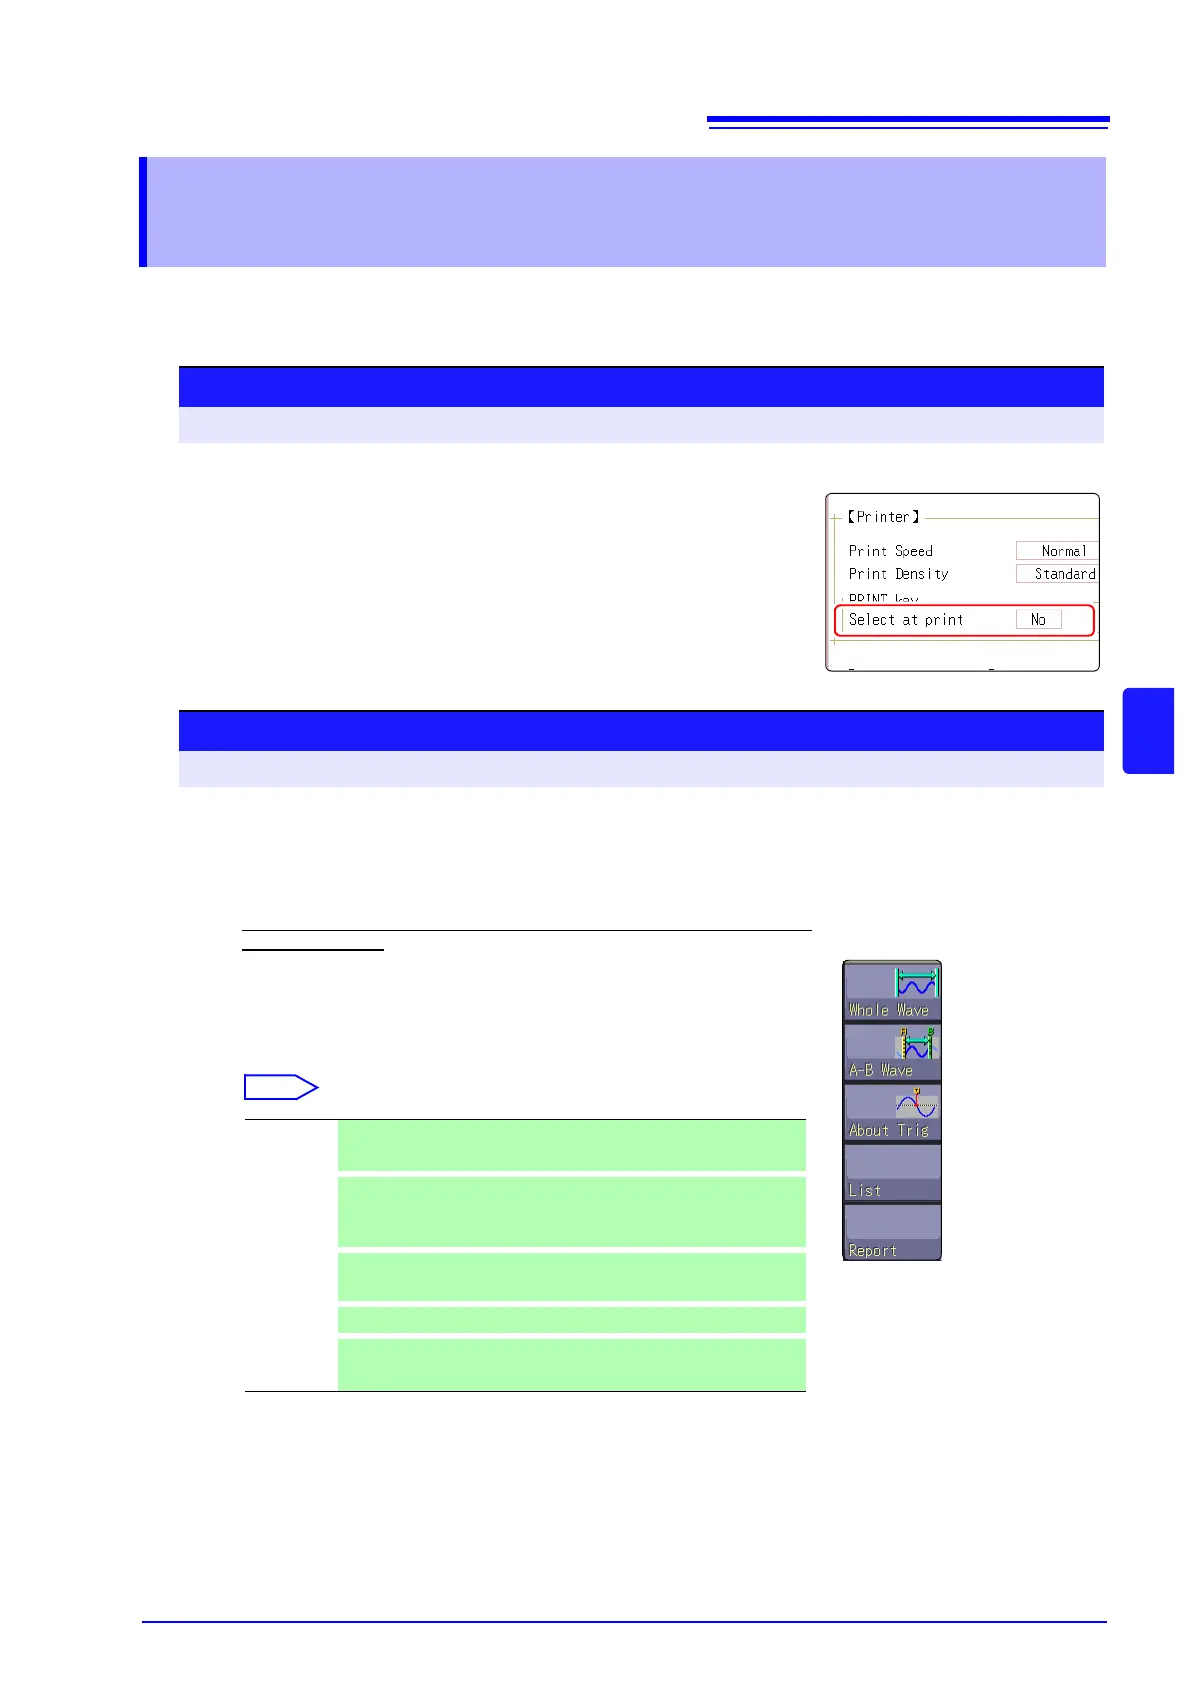
Enable data selection at time of printing
Move the cursor to the [Select at print] item.
Select [Yes].
2
Make print settings as required for the printer. ( p.95)
Procedure
To open the screen: Press the DISP key → File screen
3
Start and stop the measurement.
Press the START key to start the measurement.
Press the STOP key to finish the measurement.
During measurement, printing is not possible. Measurement must be stopped be-
fore starting to print.
4
Select print contents and execute printing
When you press the PRINT key, the "PrintSelect" GUI appears
on the right side of the screen.
When the selection (except for [Cancel]) has been made, printing starts.
To stop printing before it has finished:
Press the STOP key.
Whole
Wave
Print all waveform data in internal memory of instrument. (default
setting)
A-B Wave
Print only A/B cursor defined range of waveform data in internal
memory of instrument. (Memory Function and Recorder Function
only)
About Trig
Print waveform data for 10 divisions before and after trigger posi-
tion. (Memory Function only)
List
Print main settings.
Report
Print the report.
See: "6.6.2 Report Print (A4 Size Print)" (
p.98)