254
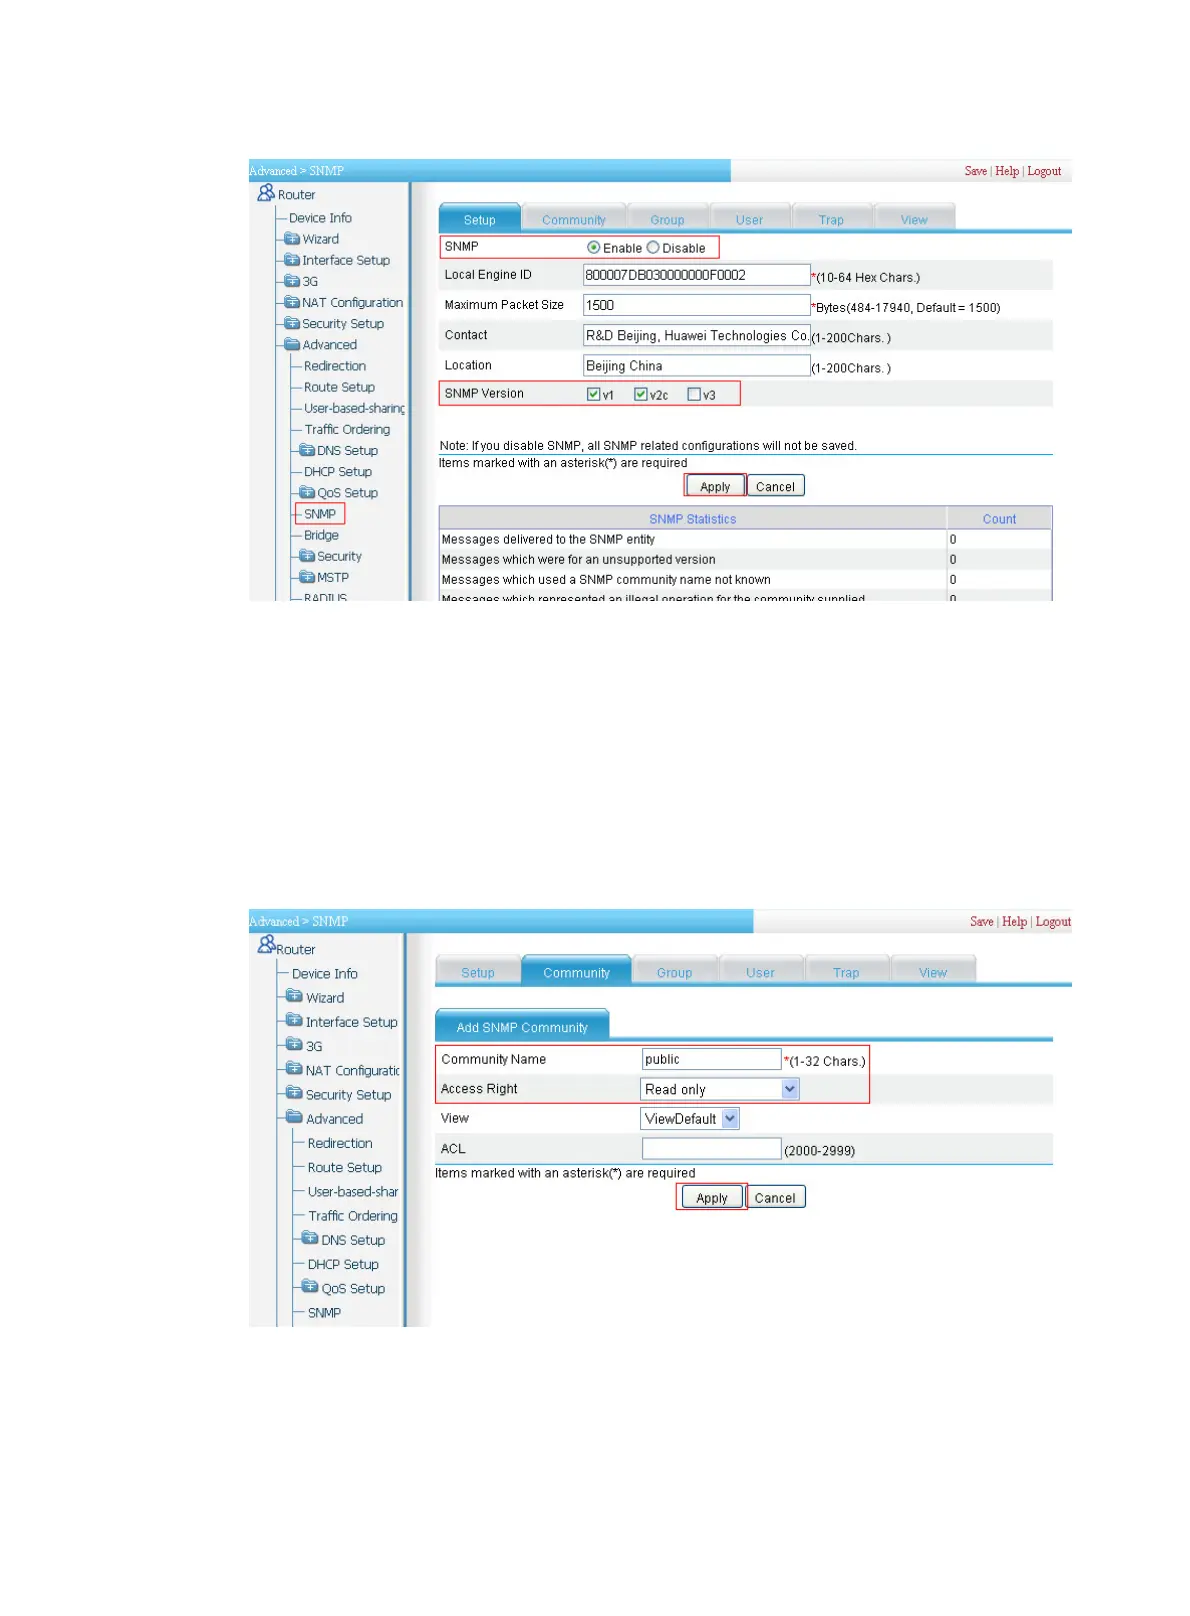
Figure 268 Enabling SNMP
2. Configure an SNMP community:
a. Click the Community tab and then click Add. Perform the following configuration as shown
in Figure 269.
b. Type public in the field of Com
m
unity Name.
c. Select Read only from the Access Right list.
d. Click Apply.
e. Click the Community tab and then click Add. Perform the following configuration as shown
in Figure 270.
Figure 269
Con
figuring SNMP community named public
 Loading...