255
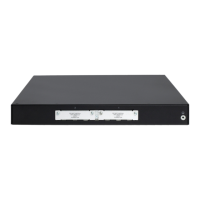
Figure 270 Configuring SNMP community named private
f. Type private in the field of Community Name.
g. Select Read and write from the Access Right list.
h. Click Apply.
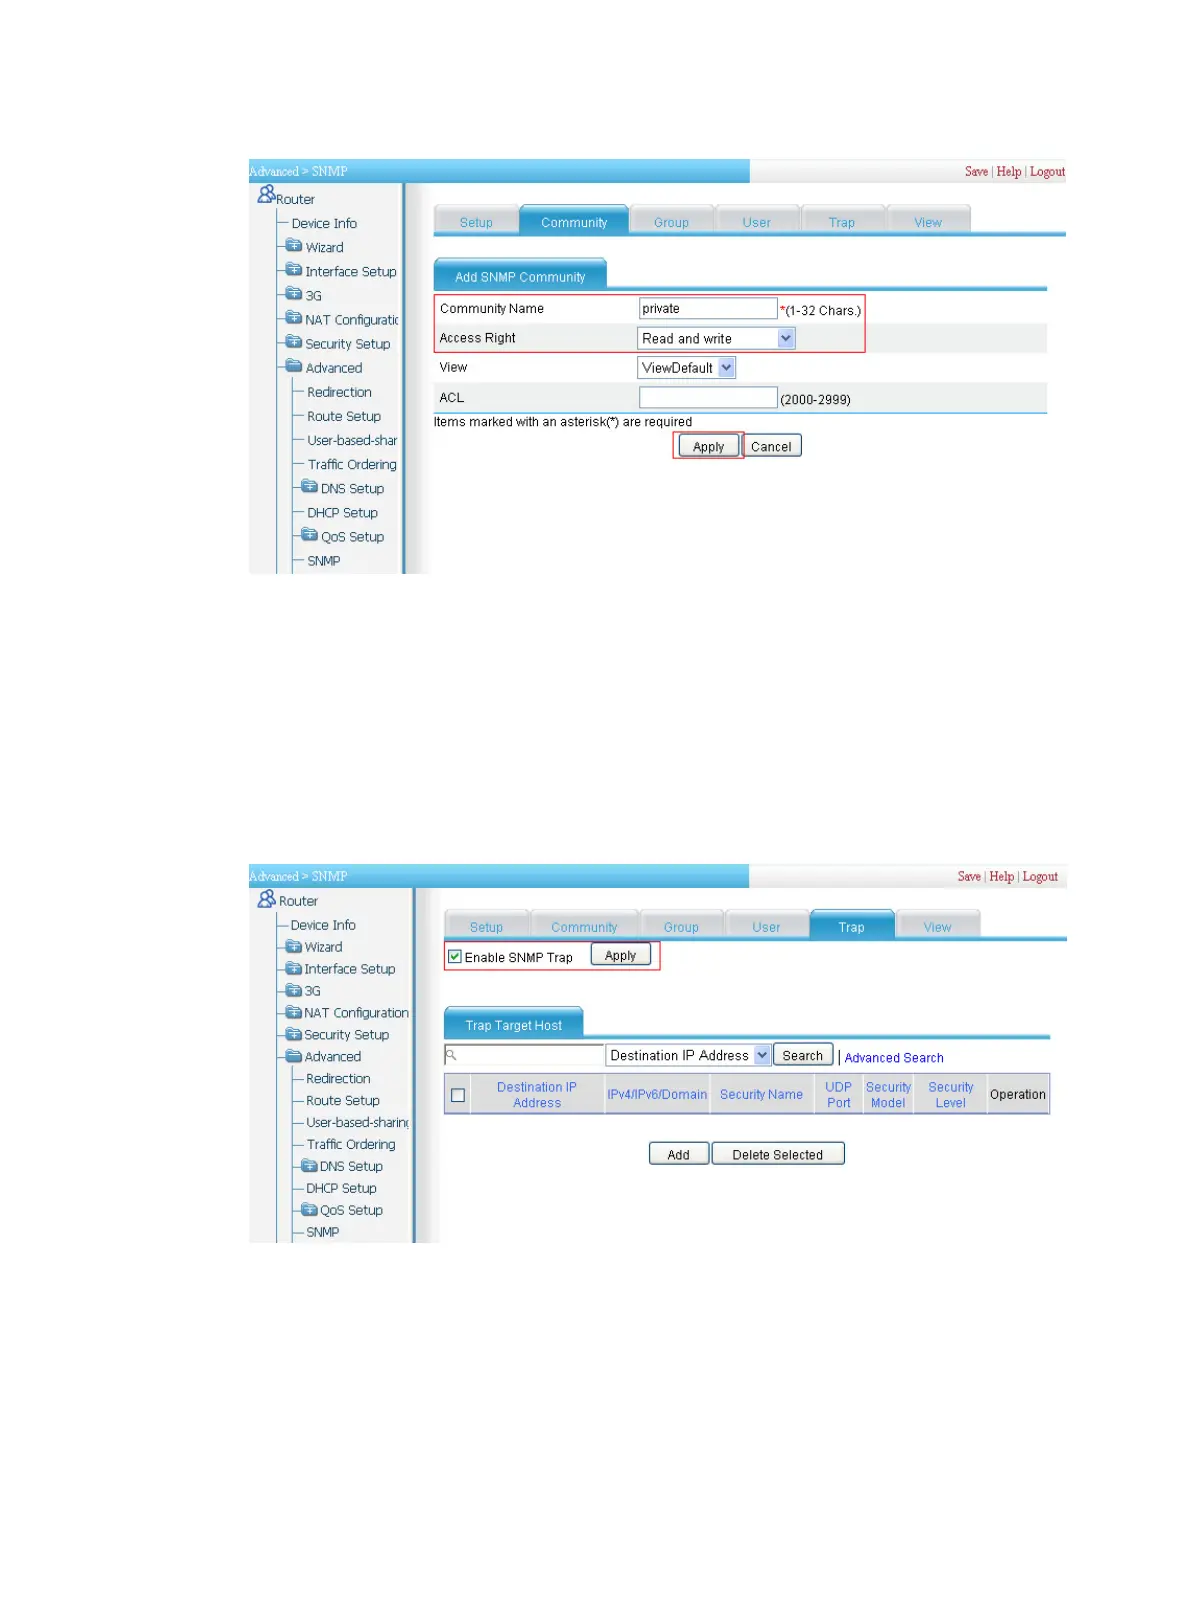
3. Enable Agent to send SNMP traps:
a. Click the Trap tab and perform the following configuration as shown in Figure 271.
b. Select the Enable SNMP Trap box.
c. Click Ap
ply.
Figure 271
Enabling Agent to send SNMP traps
4. Add target hosts of SNMP traps:
a. On the Trap tab page, click Add and perform the following configuration as shown in Figure
272.
b. Select the destination IP addre
ss type as IPv4/Domain.
c. Type the destination address 1.1.1.2.
d. Type the security username public.
 Loading...