9/29/09 Quick Start 4-3
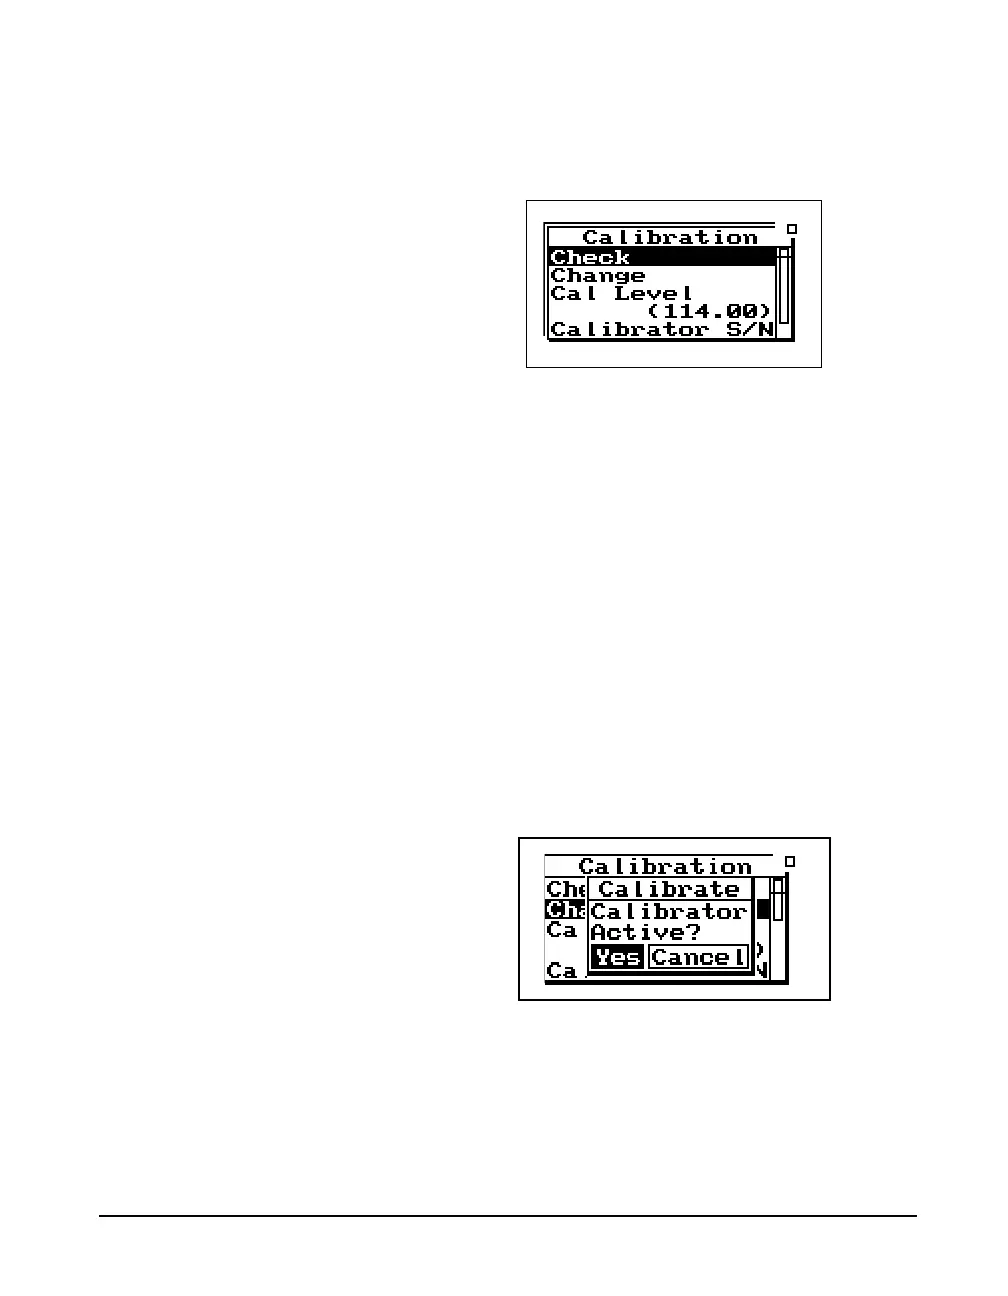
Step 4 Using the dkey, highlight the Calibration
menu item, then press the
ckey. The following
screen appears:
NOTE: The output level specified by the
calibrator manufacturer will be at stan-
dard temperature and pressure. In prac-
tice the level is a function of temperature
and static (barometric) pressure, so a
corrected level should be used. Similarly,
the sensitivity of the microphone itself is
a function of temperature and static pres-
sure. For directions on compensating for
temperature and static pressure during
calibration, see "Correction of Calibra-
tor Output Level" on page 2-17.
Step 5 The value of Cal Level (3rd item on the screen)
must be set equal to the output level of the
calibrator to be used for the calibration (typically
94 or 114 dB). If the value indicated is not equal to
this value, use the
d key to highlight the Cal
Level menu. Press the
c key, use the horizontal
and vertical arrow keys to input the correct value
and press the
c key to make the change.
Step 6 Place the calibrator over the microphone. Using
the
d key again, highlight the Change menu
item. Press the
c key to start the Calibration
process.
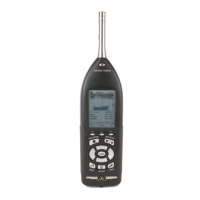
Step 7 When prompted by the message shown below,
press the
c key to continue the Calibration
process. If you wish to abort the calibration
procedure,
rarrow key to select Cancel and
press the
c key.
Step 8 While the system is stabilizing, the measured level
is indicated on the left of the screen and the
difference between the measured level and the Cal
Level Setting are show on the left and right sides