10. To the frame
visualisaon, add the funcon block L_MC1P_BasicActuangSpeed and
close the dialogue box by clicking the OK buon.
11. Under Properes, select the reference of the funcon block with which the visualisaon
should be linked.
Fig. 68: Select reference
4.Adap
t EtherCAT device to the applicaon
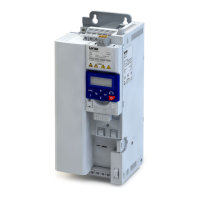
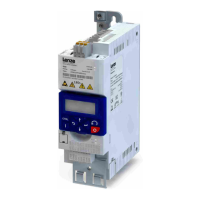
1. Select the axis movement of the i550.
Fig. 69: Select i550
2. In case of "Switch on axis”, select Simple [0] f
or the use of the axis L_MC1P_BasicActua-
ngSpeed.
3. The following parameters need to be congured:
Modes of operaon 0x6060 = "CiA: Velocity mode [2]"
Funcon list: Start = "Constant TRUE [1]"
5.Adjust the parameter values of the inverter
1. Adapt parameter values under the "Sengs" and "Parameter list" tabs.
2. Set the PDO-Mapping under the “Process data” tab.
3. Assign variable names under the "EtherCAT I/O image" by double-clicking the variable
elds.
6.Load the network conguraon into the master
1.
Log o: Menu command "Online à Log o" or <Ctrl>+<F8>.
2.
Compiling: Menu c
ommand "Build à Build" or <F11>.
3.
Log in: Menu command "Online à Log in" or <Alt>+<F8>.
The conguraon, the parameter sengs and the PLC program are loaded into the mas-
t
er. Aerwards, all EtherCAT slaves are inialised.
These steps must be carried out aer each change within
the »PL
C Designer« project. An already available conguraon and an available
PLC program in the master will then be overwrien.
Conguring the network
E
therCAT
Commissioning
337