EasyManuals Logo

Oce PlotWave 900 User Manual

Oce PlotWave 900
396 pages
To Next Page IconTo Next Page
To Previous Page IconTo Previous Page
Page #136 background imageLoading...
Page #136 background image
RemarksActionStep
When you select Properties you can make
settings for the print job.
Click 'Properties'.4
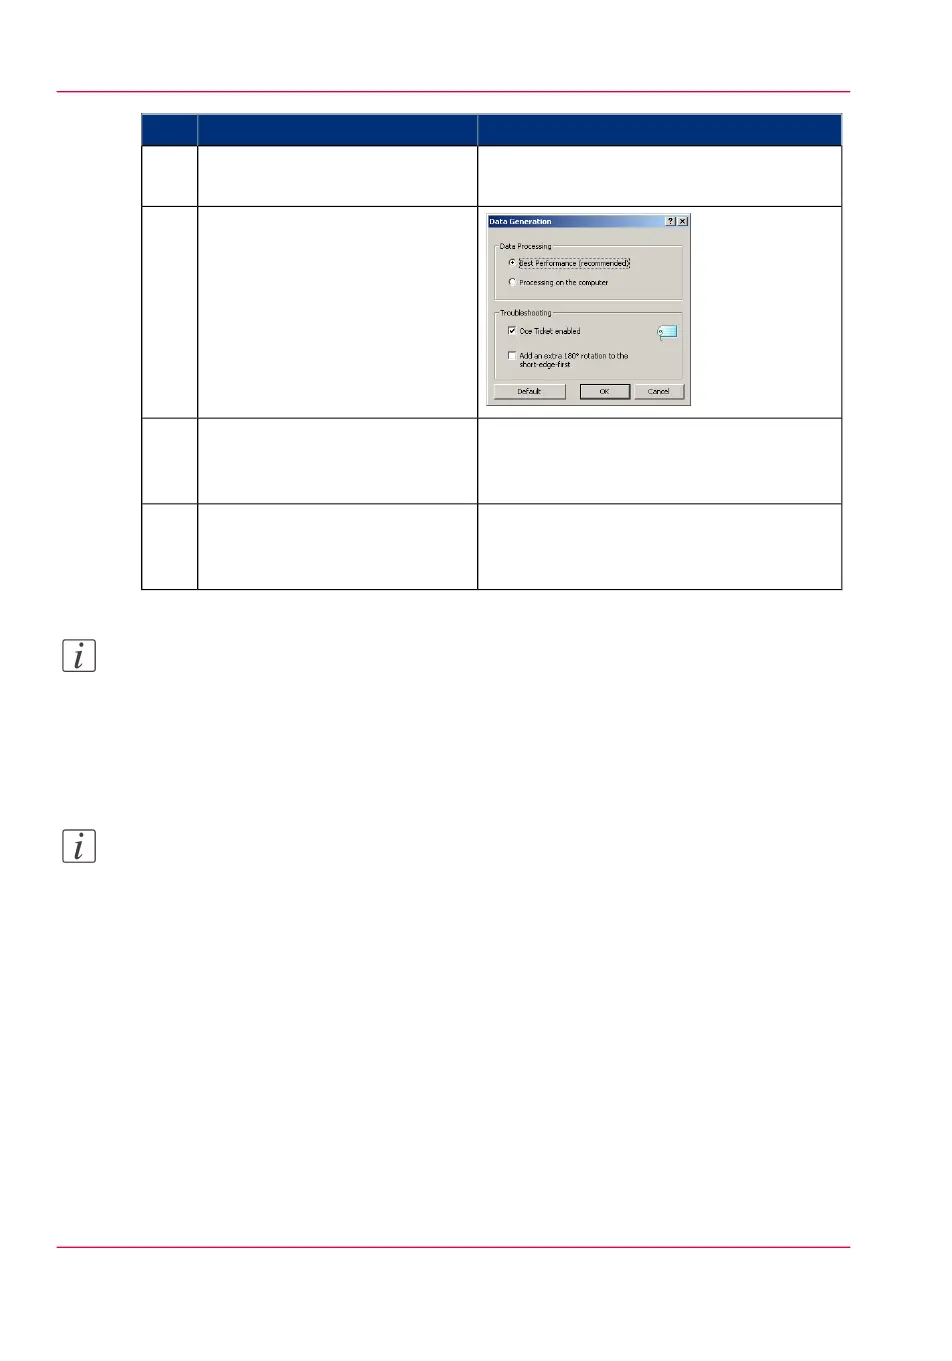
In the 'Image' tab click the
'More' button. Make sure a
checkmark is placed in the 'Océ
Ticket enabled' box to overrule
the default values for the job
settings.
5
Check all tabs in the driver and
change the default settings if
necessary.
6
Click 'OK' to send the print job
to the Smart Inbox or the print
queue.
7
Note:
More information about how to install, configure and use the driver is available in the
documentation provided with the Océ Windows
®
Printer Driver.
the Océ Windows
®
Printer Driver Online Help
the Océ Windows
®
Printer Driver User manual
Note:
You can download the latest Océ drivers, free of charge, from our website www.oce.com.
Chapter 4 - Use the Océ PlotWave 900 to print136
Use the Océ Windows
®
Printer Driver to send a print job

Table of Contents

Other manuals for Oce PlotWave 900

Questions and Answers:

Question and Answer IconNeed help?

Do you have a question about the Oce PlotWave 900 and is the answer not in the manual?

Oce PlotWave 900 Specifications

Océ PlotWave 900

Media Handling IconMedia Handling
tray capacity2 x 750 sheets - 20lb Bond
media width8.5” x 36”
media length8.5” x 48”
media weight16 - 29 lb Bond
Sound Levels IconSound Levels
sound level standby≤ 35 dB (A)
sound level active≤ 71 dB (A)
Electrical IconElectrical
voltage100 – 240 V
frequency50 – 60 Hz
Weight and Dimensions IconWeight and Dimensions
required floor space59.1” (W) x 63.0” (D) x 43.3” (H)
weight309 lbs.

Océ TDS750

Electrical IconElectrical
voltage100 – 240 V
frequency50 – 60 Hz

Related product manuals