Section 16 HULL/BODY
Subsection 01 (ADJUSTMENT AND REPAIR)
Install new inner skin in the reverse process.
For installation, proceed as follows:
– Install the compass and secure it with the two
darts.
– Install the temperature sensor in grommet.
– Install the tie-raps around wire harnesses.
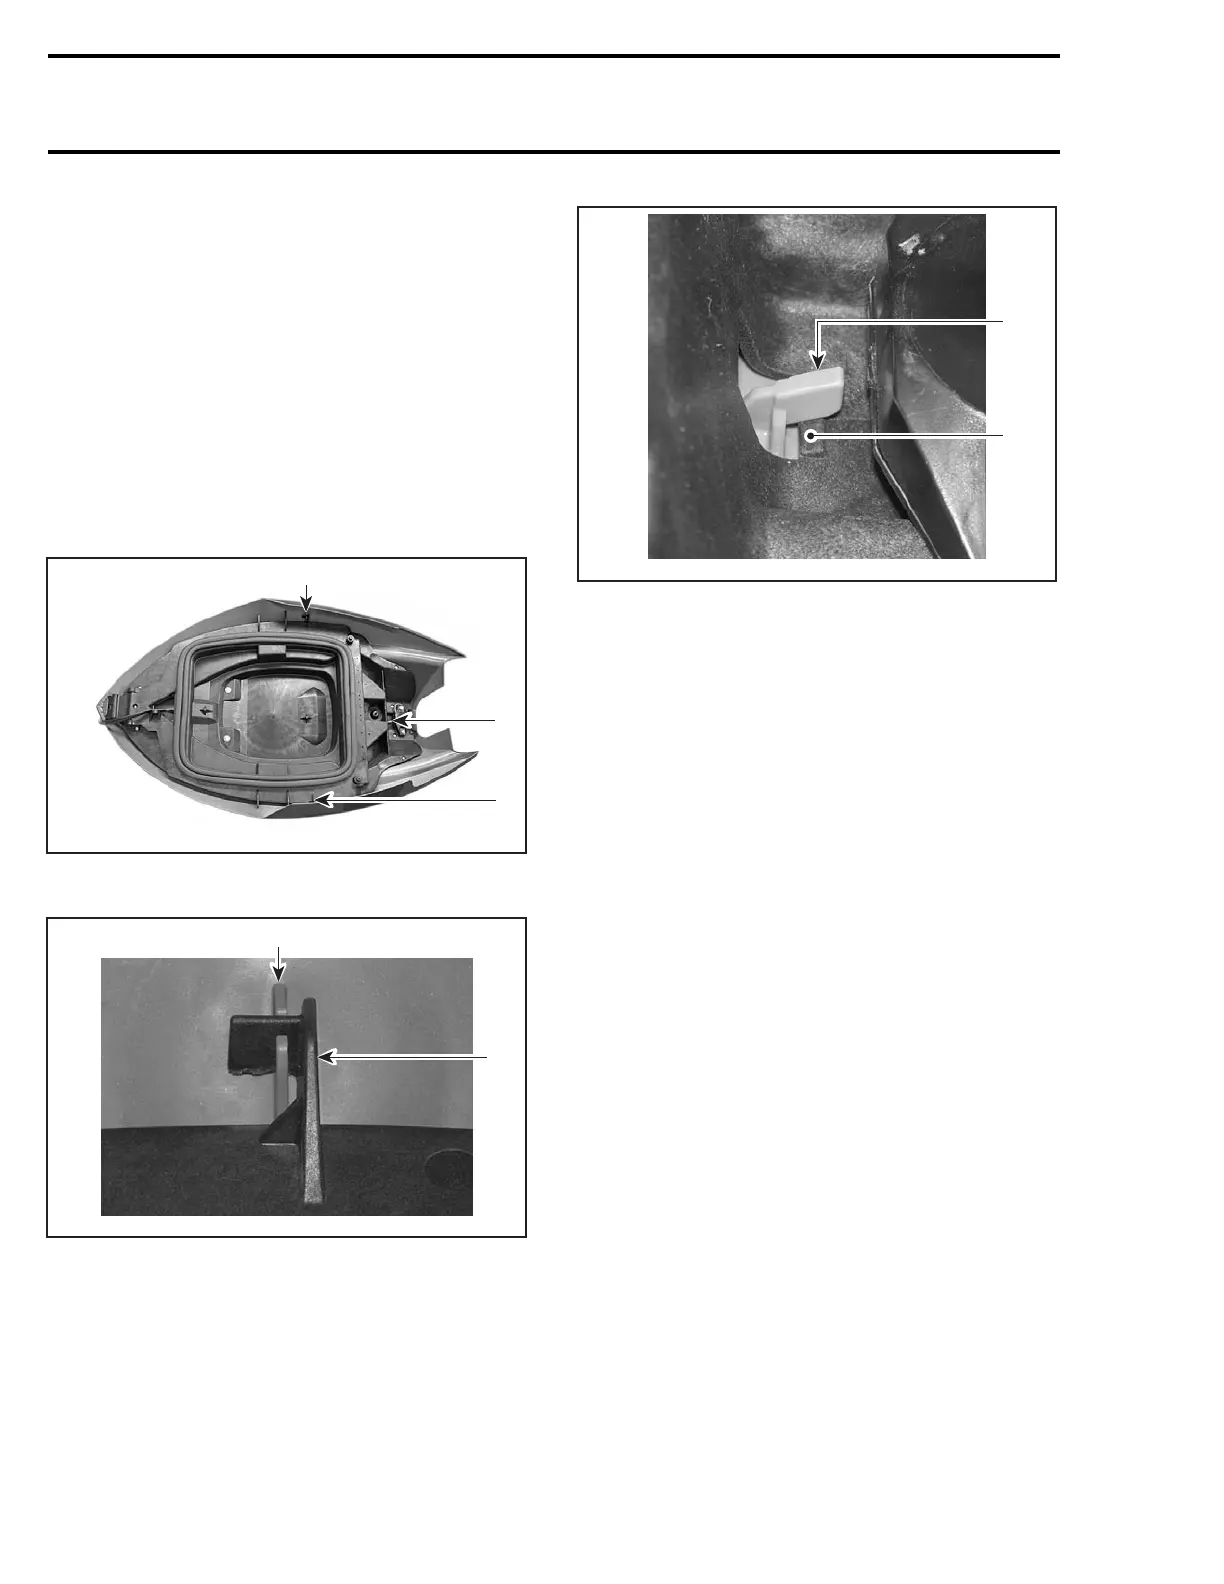
– Align inner skin with storage cover and make
sure that the lateral locking hooks in the inner
skin get engaged in the storage cover locking
bracket. If the two lateral locking hooks get
properly aligned and engaged the storage cover
back locking hook will be engaged properly in
the inner skin back locking bracket.
F18L1PB
2
1
1
1. Inner skin lateral locking hook
2. Inner skin back locking bracket
1
F18L1VA
2
1. Storage cover lateral locking bracket
2. Inner skin lateral locking hook
1
F18L1WA
2
1. Storage cover back locking hook
2. Inner skin back locking bracket
– Secure the inner skin in the storage cover by
using the rubber hammer.
– Fasten the seven inner skin short screws and
the two inner skin long screws.
RXP 4-TEC
Models with the Inner Shell
Permanently Glued
Some vehicles have the inner shell permanently
glued to the storage cover and therefore cannot
be disassembled.
To identify those models, open the top storage
compartment and look to find some green glue as
shown in the following illustration.
740 smr2004-Complete Line Up

 Loading...


