158 Capturing Screens
Saving screens when using Capture Class
You can save captured screens for use in other TI-Nspire™ documents
that allow images or for use in other application such as Microsoft®
Word. You can save images in the following formats: .jpg, .png, or .gif.
You can save one image at a time, select multiple images to save, or save
all captured images.
Saving screen images
To save screen images captured when using Capture Class, complete the
following steps.
1. In the Class Screen Capture window, select the screen or screens you
want to save as image files.
• To select multiple consecutive screens, click the first image, then
hold down the
Shift key and click the additional images. To select
screens in random order, hold down the Ctrl key (Macintosh®: “)
and click each image you want to save.
• To select all captured screens, select Edit > Select All.
2. Select File > Save Selected Screen(s) or click Ctrl + S
(Macintosh®: “ +S).
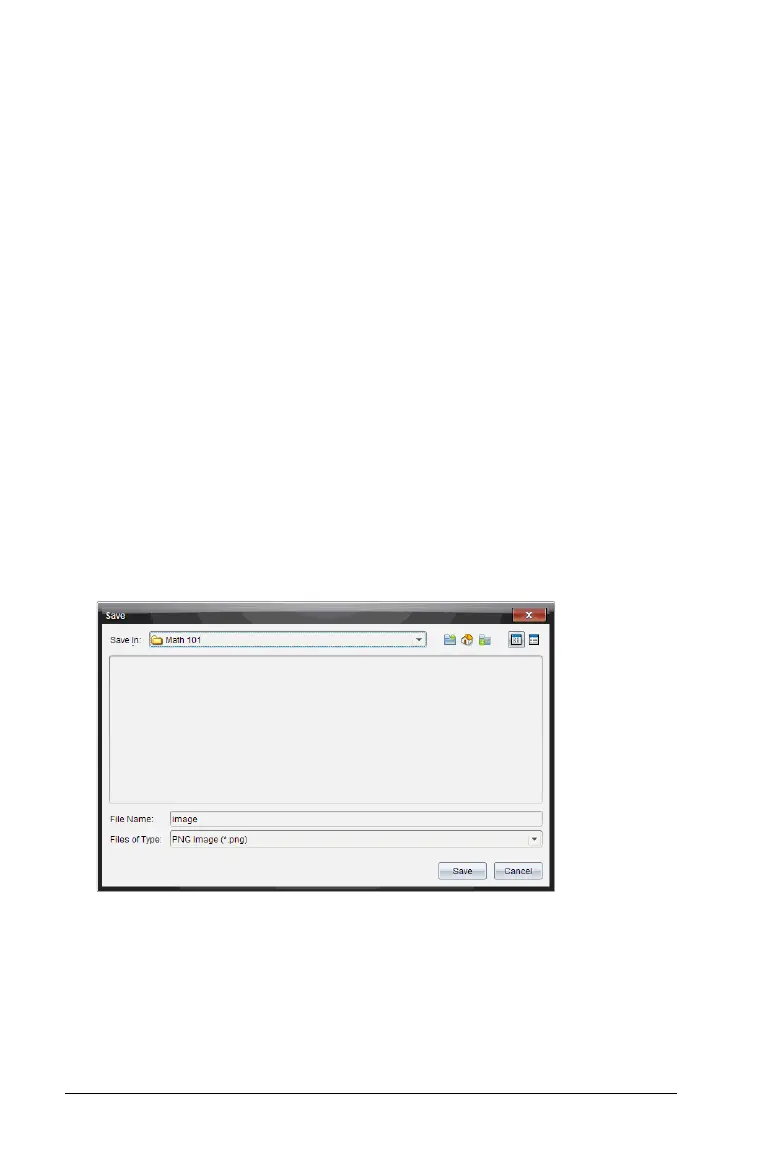
The Save window opens.
3. Navigate to the folder on your computer where you want to save the
file(s).
4. Type a name for the file or files in the
File Name field.
The default file name is Image.
5. In the
Files of Type field, click ¤, then select the file type: .png, .jpg,
or .gif. The default file type is .jpg.
 Loading...