Graphs & Geometry 503
Naming a point
You can name points and vertices in either the Graphing or Plane
Geometry view. Because they are not tied to a specific coordinate, names
remain unchanged if you alter the location of any portion of an object.
1. Right-click the item to display its context menu, and select
Label.
Handheld: Hover over the point, press /b, and select Label.
2. Type the name for the point in the text box.
(Optional) You can name a point as you create it by typing a letter or
name immediately after you define the point. For example, when
creating a triangle, type the letter “x” after creating the first vertex.
Type “y” and “z”for the remaining two vertices as you create them.
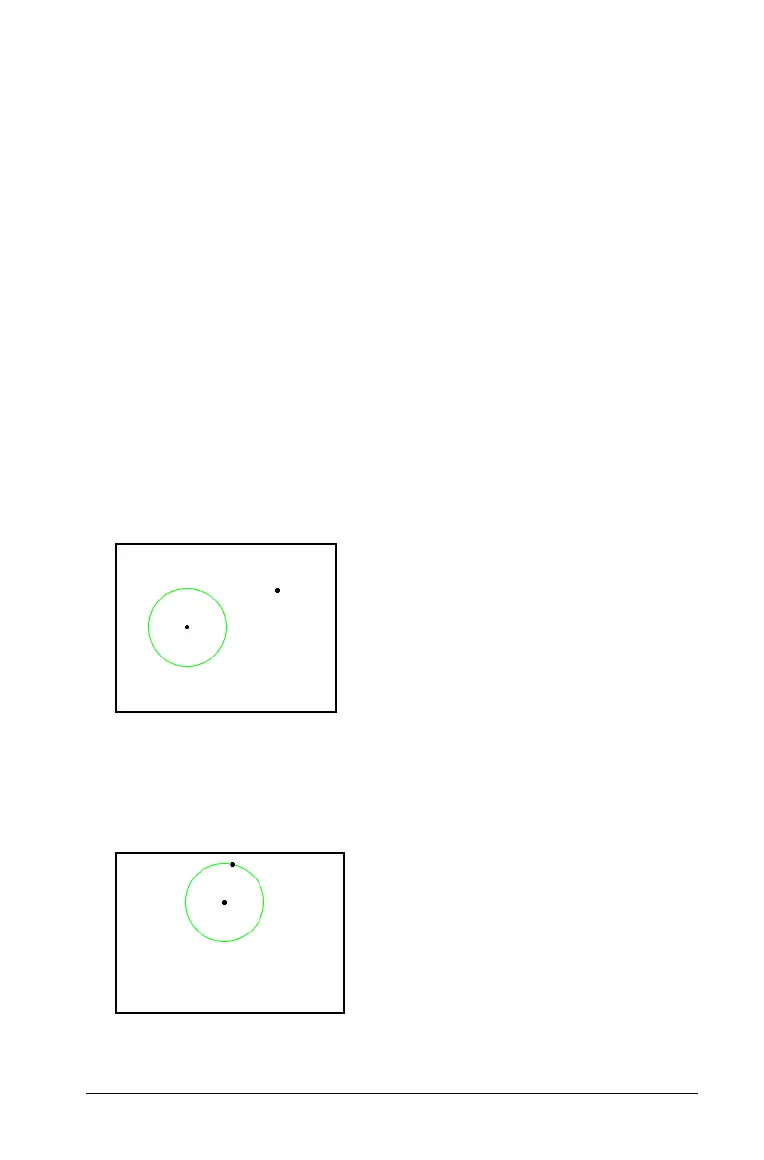
Redefining a point
You can redefine a point from a point on the work area to an object,
from one object to another, or from the analytic window to the Plane
Geometry View work area (or from the geometric work area to the
analytic window).
1. Create a point, or decide which existing point you want to redefine.
2. From the
Actions menu, select the Redefine tool.
3. Click the point you want to redefine, then click the object or work
area at the location for the redefinition.
The point moves to the object or new location.
 Loading...