504 Graphs & Geometry
Working with linear objects
The linear objects you can create and explore are located on the
Points & Lines menu. Graphs & Geometry creates “smart” lines and rays.
This means that only a portion of the line or ray is displayed. This feature
reduces clutter on the work area.
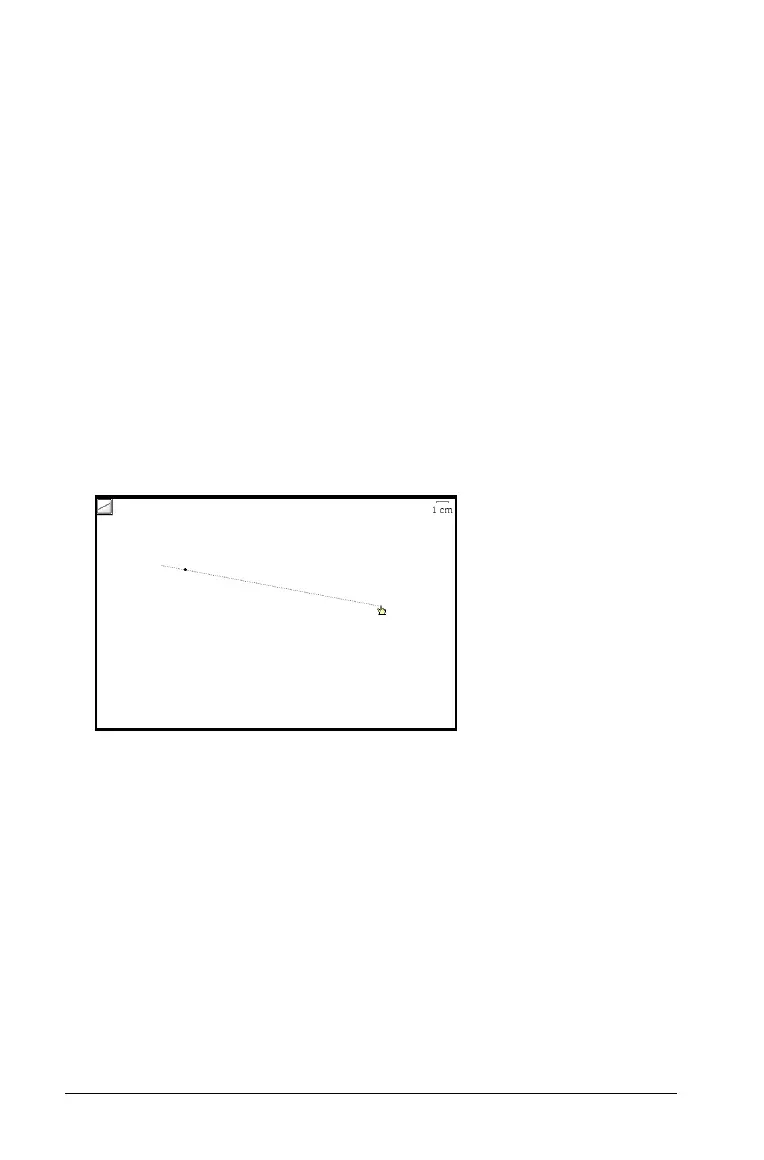
Creating a line
1. From the Points & Lines menu, select the Line tool.
2. Click a location to start the line.
This click defines one point on the line.
Note: If you press and hold
g while creating the line, you limit its
orientation (relative to the x-axis or the horizontal aspect of the
screen), by 15- increments.
3. Move and click again to define the direction and second point of the
line.
Graphs & Geometry draws the line.
Creating a ray
1. From the Points & Lines menu, select the Ray tool.
2. Click to define the endpoint of the ray.
Note: If you press and hold g while while creating the ray, you
limit its orientation, relative to the x-axis or the horizontal aspect of
the screen, by 15- increments.
3. Move the pointer and click again to define the direction of the ray.
Graphs & Geometry draws the ray.
 Loading...