175
To reverse the selected track region, tap Reverse.
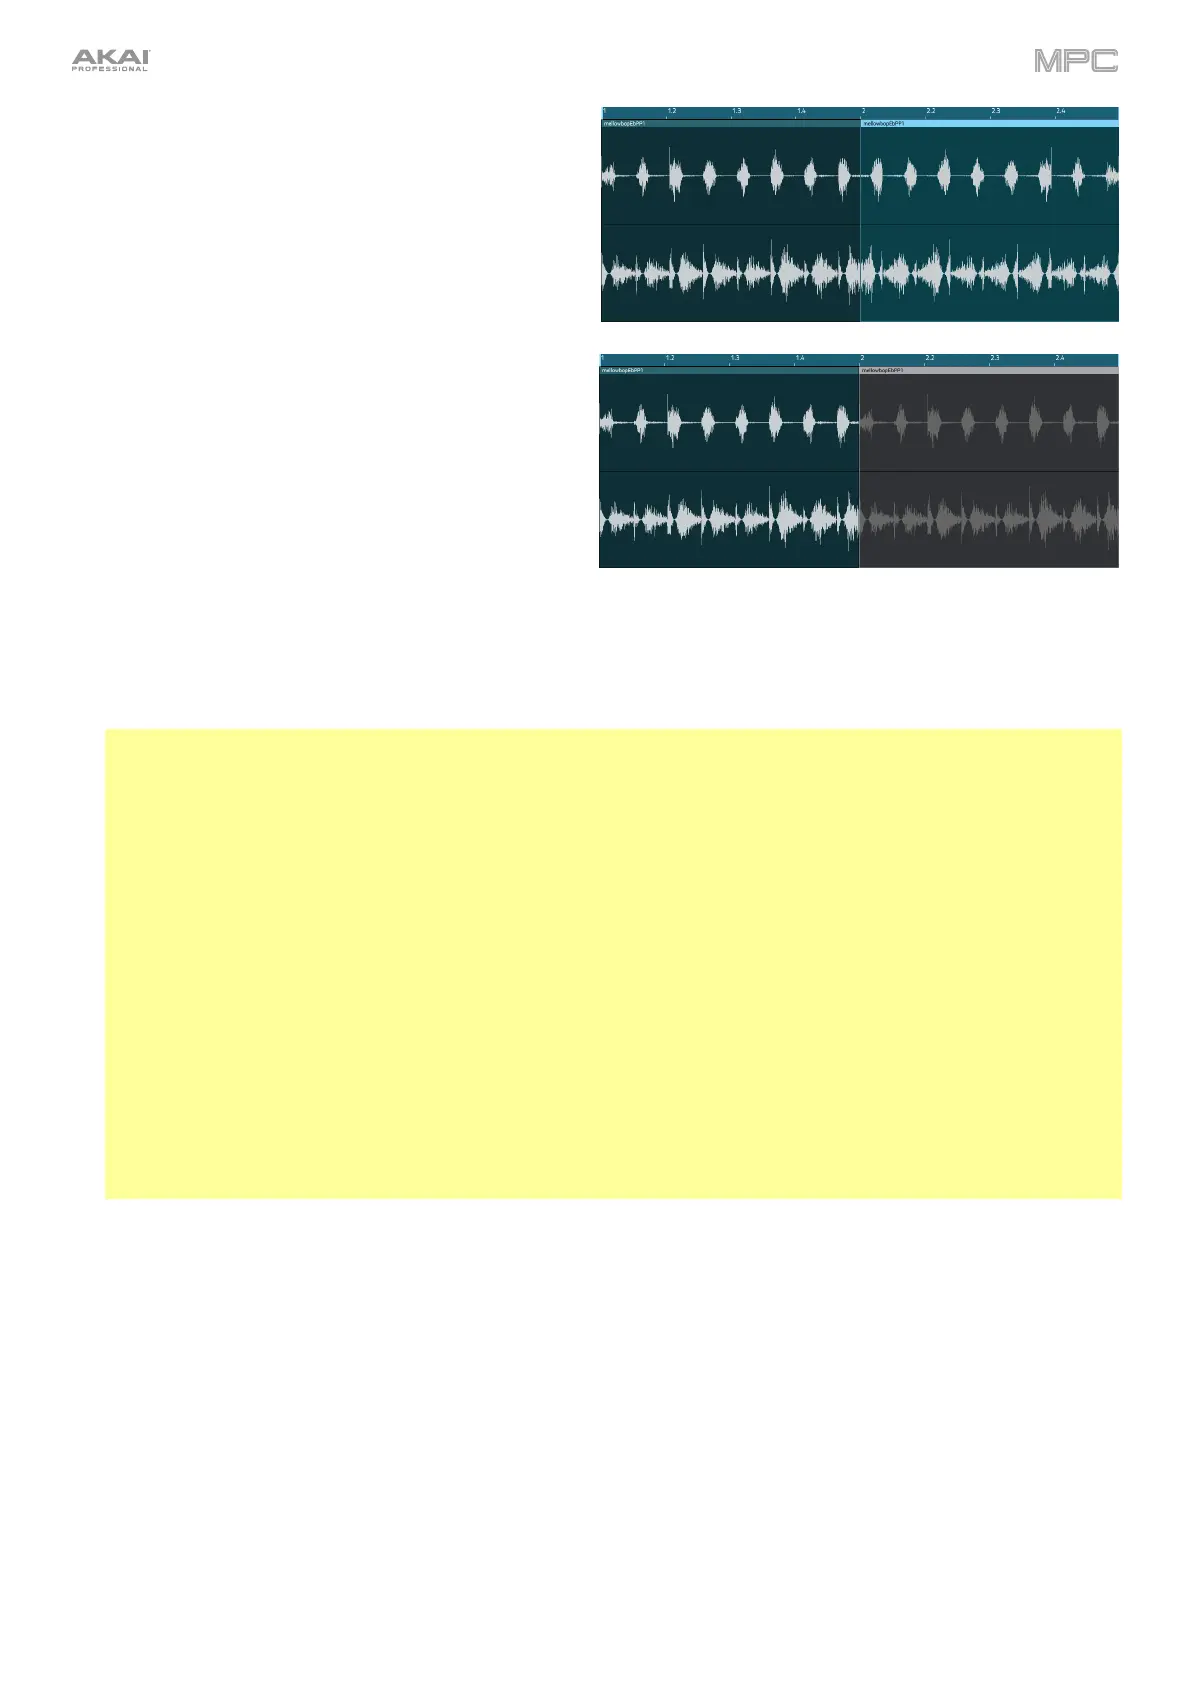
To mute the selected track region, tap Mute.
To lengthen or shorten the selected track region without changing its pitch, tap Warp, which will enable the
Semi, Fine, and BPM fields next to it. Use the BPM field to change the tempo, which will change the length of
the track region accordingly. Use the Semi and Fine fields if you want to change the pitch (this is useful for
matching the durations of two samples with different pitches).
Tip: You can configure audio track recording to ensure the resulting track region is warped automatically. You can
then adjust the sequence tempo while track region remains in time. See Menu > Preferences > General to learn
about this.
Note: When you record an audio file, the current sequence tempo will be embedded with it. This information is
stored within the sample file when you save the project. When you warp an audio track region, the warping
algorithm uses this sequence tempo and the current value in the BPM field to generate the “stretch factor.”
Note: The Warp algorithms are very CPU-intensive and can result in audio drop-outs during playback if used too
freely. Be mindful of how (and how often) you use the warp function. You can reduce the CPU resources required
by doing any/all of the following:
• Minimize the amount of pitch adjustment (e.g., the Semi and Fine fields).
• Avoid warping very small track regions.
• Warp as few tracks or track regions as possible (i.e., reduce the number of total number of voices [of the
polyphonic limit] that use the warp algorithm at a given time), especially instances where the warped regions
start at the same time.
• If you have warped samples used in a drum program, consider using the Flatten Pad function to consolidate
the affected pad’s layers into one audio sample (see here to learn about this). After you flatten the pad, its
sample/samples no longer need to be warped.
To open the Timing Correct window, press and hold Shift, and then tap TC at the bottom of the screen. See
General Features > Timing Correct (TC) to learn about this.
To switch to the previous or next track, press and hold Shift, and then tap Track – or Track + (respectively) at
the bottom of the screen.
To mute or solo the track, press and hold Shift, and then tap Mute or Solo (respectively) at the bottom of the
screen.
To edit automation for the track, open the automation lane. See Addenda > Updates in MPC 2.6 > New
Features > Grid Automation Lanes for more information.