69
Sampling (Recording)
This section describes recording new samples of your own, which you can use in your projects.
Important: To record any audio, you need to connect an audio source to your MPC hardware or to your computer’s
audio interface.
To open the Sampler, press Menu, and then tap Sampler to enter Sampler Mode. Alternatively, press Sampler
(MPC X, MPC One), press Shift+Mix/Sampler (MPC Live II), or press Shift+Sample Edit/Sampler (MPC Key 61, MPC
Key 37).
1. Connect an audio source to the input/inputs of your MPC hardware.
2. The Input ___ menu in the upper-left corner should be set to Input 1,2 (the inputs of your MPC hardware). If it is
not, then select Input 1,2.
3. Turn the 3/4 Rec Gain (MPC X), Rec Vol (MPC Live, MPC Live II, MPC One, MPC Key 37, MPC Touch), or Gain
(MPC Key 61) knob to set the input level while playing your audio source. You should now see the level in the
meter. Make sure it does not exceed the maximum level (the meter should not be “peaking” constantly).
4. Tap and drag threshold slider to set the threshold. Alternatively, use the data dial or –/+ buttons. Set it to a
fairly low level (e.g., -50 dB).
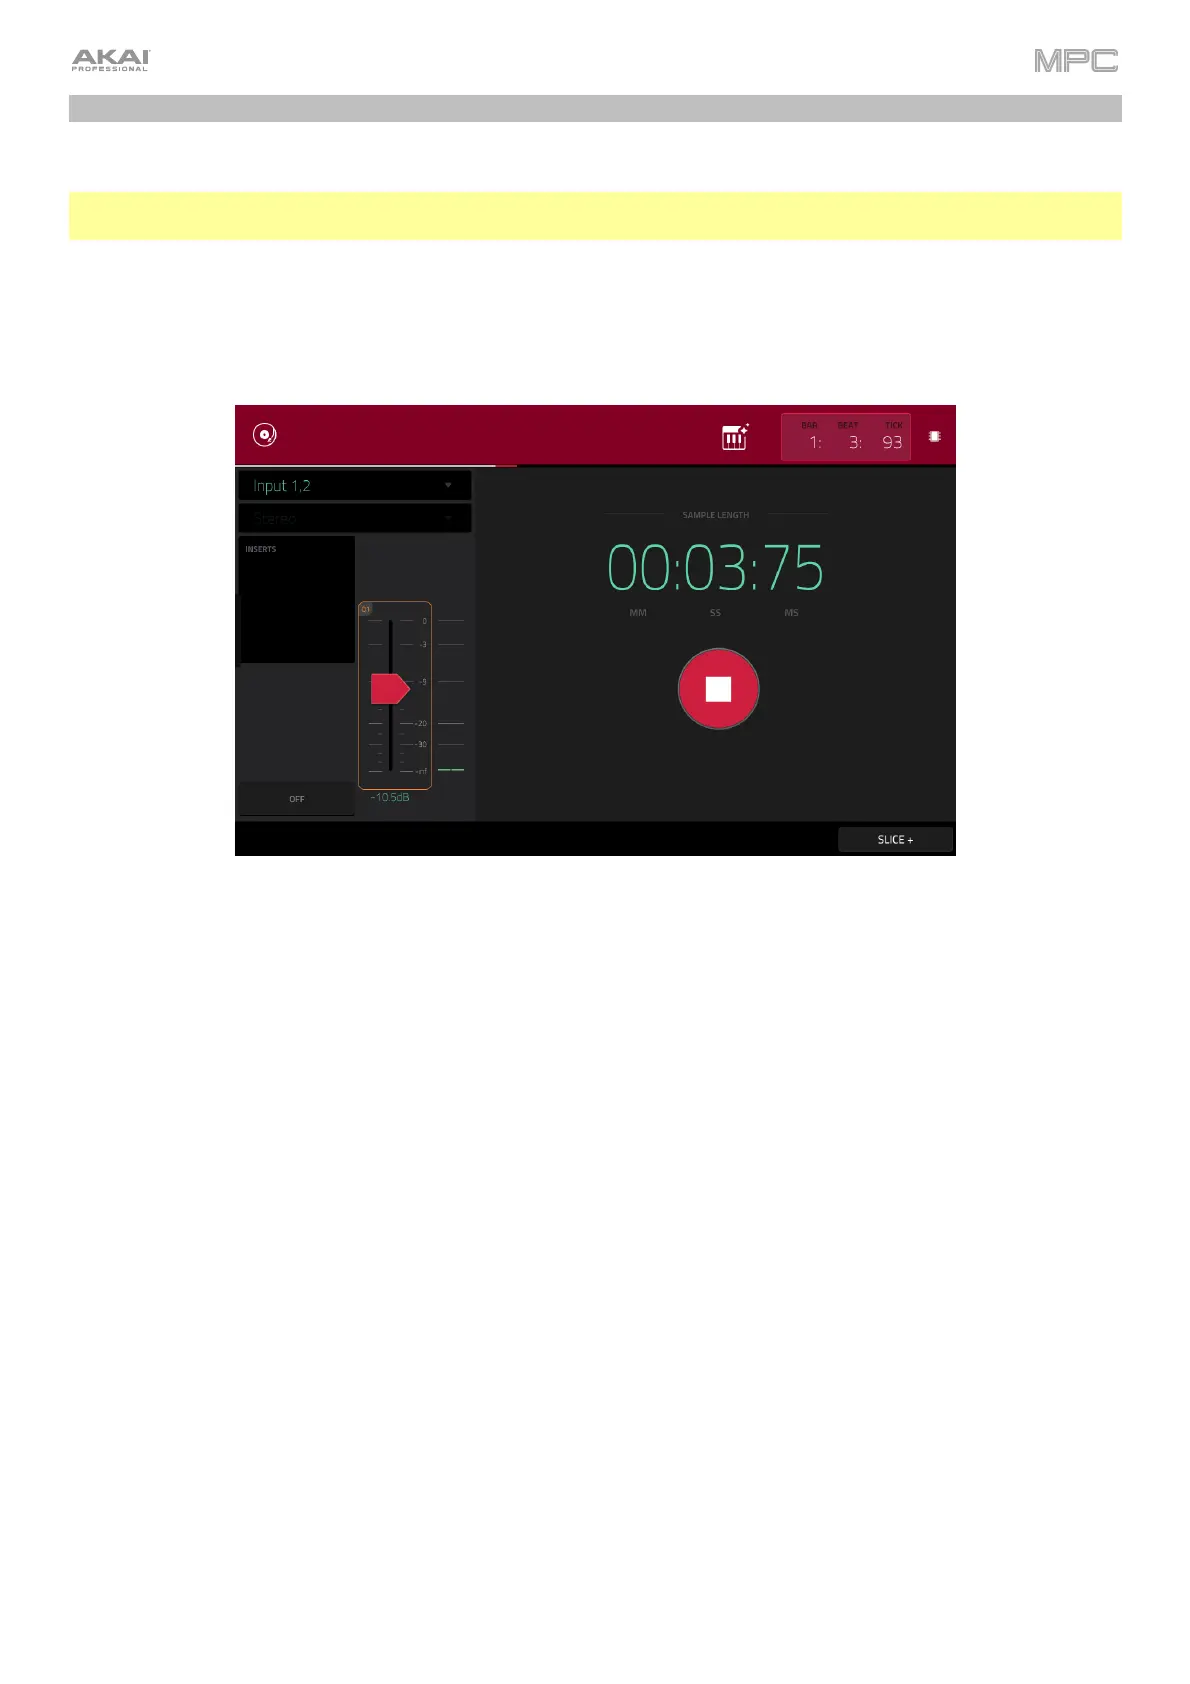
5. Tap Arm to record-arm the Sampler.
6. Play your audio source. The Sampler will start recording immediately when the input level reaches the threshold
value. Alternatively, tap the round Record button to manually start recording.
7. To stop recording, tap the round Stop button. The Keep or Discard Sample window will appear.