191
Trim Mode
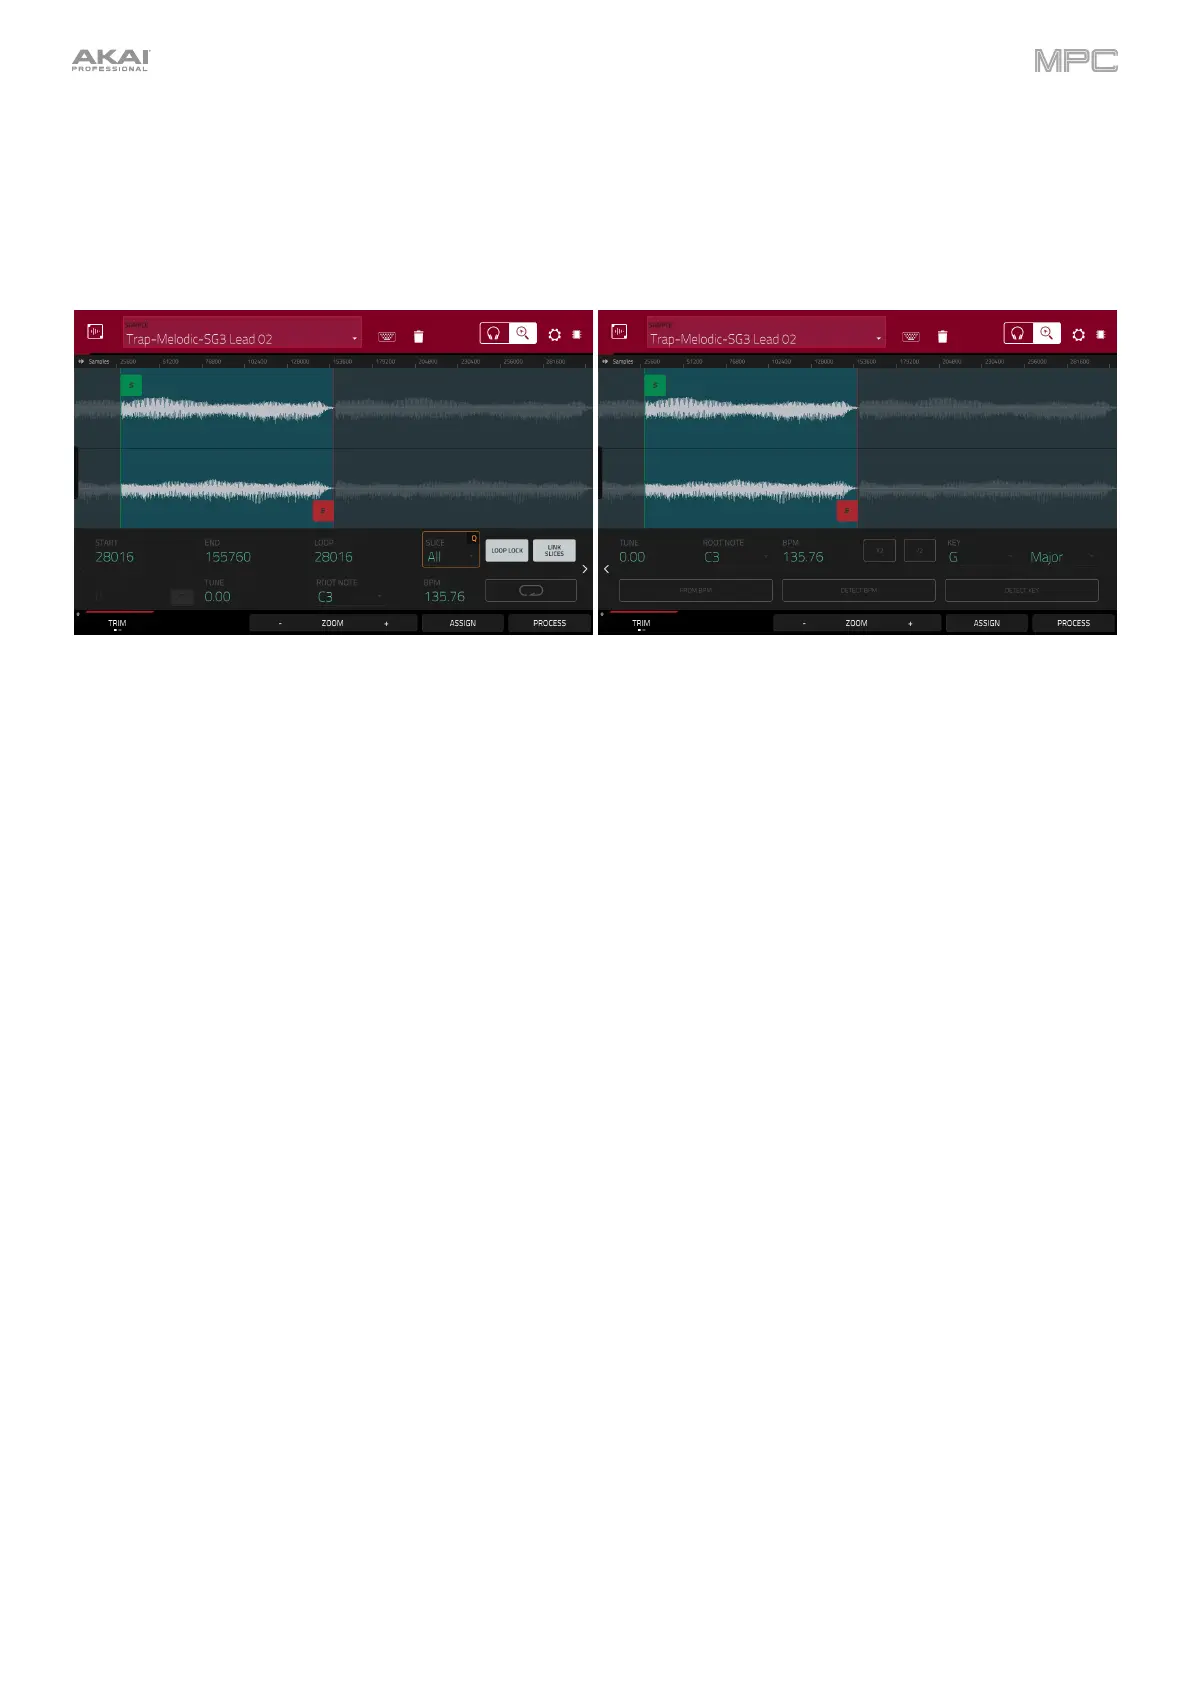
We recommend using Trim Mode to crop the start and/or ends from a sample.
To enter Trim Mode, tap the Trim/Chop button in the lower-left corner so it says Trim. There are two pages of
parameters in Trim Mode, which can be accessed by tapping the > or < arrows on the sides of the page.
Use the Start and End fields to set the position of the start point and end point of the sample (respectively).
Alternatively, tap and drag the start (S) or end (E) marker left or right, or use the first column of Q-Link knobs (Start
X1__) to adjust the start point or the second column of Q-Link knobs (End X1__) to adjust the end point.
Trim Mode includes a loop function. When on, the region of the sample between the loop point and end point will
repeat. This is useful when trying to find an ideal spot to begin the sample. The loop cannot be earlier than the start
point.
To adjust the loop point, do any of the following:
• Use the Loop field.
• Tap and drag the start (S) marker (if Loop Lock is on) or the loop marker (if Loop Lock is off).
• Use the first column of Q-Link knobs (Start X1__; if Loop Lock is on) or the third column of Q-Link knobs
(Loop X1__; if Loop Lock is off). The top-most Q-Link knobs (13 and 15) provide coarse adjustment. The
bottom-most Q-Link knobs (1 and 3) provide fine adjustment.
• Press and hold Shift and press Sample Start, then use the data dial or -/+ buttons (MPC Studio).
To turn Loop Lock on or off, tap the Loop Lock button. When on, the loop point is the same as the start point.
When off, the loop point is independent from the start point and indicated by a separate loop marker.
To turn the loop function on or off, tap the Loop button to cycle between the four modes:
Off: The sample will not loop.
Forward: When the loop reaches its end point, it will start playing again from the loop point.
Reverse: When the loop reaches its end point, it will play in reverse. When it reaches the loop point again, it will
return to the end point and continue playing in reverse.
Alternating: When the loop reaches its end point, it will play in reverse. When it reaches the loop point again, it
will start playing forward again from the loop point.
To switch between Forward and off, press and hold Shift, and then tap Loop at the bottom of the screen.
Use the X-Fade button to apply a crossfade to a looping sample. See Addenda > Updates in MPC 2.3 > New
Features > Crossfade Looping for more information about this.