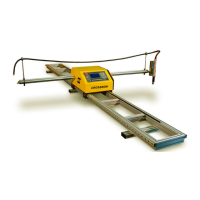
ESAB Cutting Systems
CROSSBOW Page 58
3.5 Initial Power-Up Testing
First Power-Up Sequence:
1) Set Drive Engage/Disengage Switch to OFF position.
2) Make sure the E-Stop button is NOT pressed – turn clockwise to ensure it is released.
3) Turn on the main Power Switch on the rear of Central Unit.
4) If the CNC boots properly, switch the Drive Engage/Disengage Switch to ON position.
Test Main Functions of the Machine:
1) From the main menu, select F2 for MANUAL mode.
2) Press the 【S↑/PgUp】and 【S↓/PgDn】keys to test the raise/lower function of the Torch
Lifter.
3) Press the four Jog/Arrow keys to test the machine motion in all four directions.
For machines equipped with oxy-fuel torch:
4) In the SETUP mode, CONTROL Parameters, set the PLASMA/OXY-FUEL setting to 0 for
Oxy-Fuel. Press 【F7】 to save changes. Press 【ESC】key, then 【F2】 to return to the
MANUAL mode.
5) Press the 【CUTOXY】 and 【OFF】 keys to test the function of the Cutting Oxygen solenoid
valve.
For systems equipped with plasma:
6) In the SETUP mode, CONTROL Parameters, set the PLASMA/OXY-FUEL setting to 1 for
Plasma. Press 【F7】 to save changes. Press 【ESC】key, then 【F2】 to return to the
MANUAL mode.
7) Move the torch over a piece of metal that is not well supported (will give way if pressed down).
8) With the Plasma Power Source still OFF, press the 【PIERCE】 key to test the Initial Height
Sensing function of the Automatic Height Control. The torch should drive down, touch the
plate, and then retract to piercing height. After doing so, press the 【OFF】 key to cancel the
Plasma Start cycle.
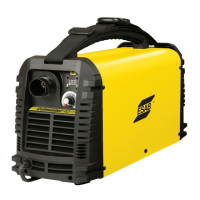
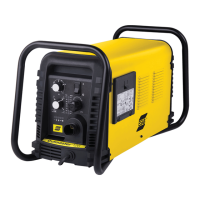
9) Now switch power ON to the Plasma Power Source, and pre-set the Cutting Current to the
appropriate setting for the nozzle installed in the torch.
10) Press the 【PIERCE】 key to initiate a Plasma Start Cycle. After setting Initial Height, the
plasma torch should fire and pierce through the material. Press the 【OFF】 key to cancel
the Plasma Start cycle.
If all tests are successful, proceed with machine operation as described in the Operation section of this
manual.