ESAB Cutting Systems
CROSSBOW Page 170
5.6.21 Servicing the Torch Lifter
If the Torch Lifter ceases to operate properly, use the following procedure to disassemble, inspect, and
replace any worn or damaged parts:
1) Remove all incoming power from machine.
2) Un-plug torch lifter cable.
3) Remove Torch Holder from lifter by loosening screw from rear of lifter.
4) Dismount Torch Lifter by removing the M8 screw mounting it to the Cross Beam.
It is recommended that the lift be replaced as a complete unit. The following information is provided as
a reference in case further disassembly is performed.
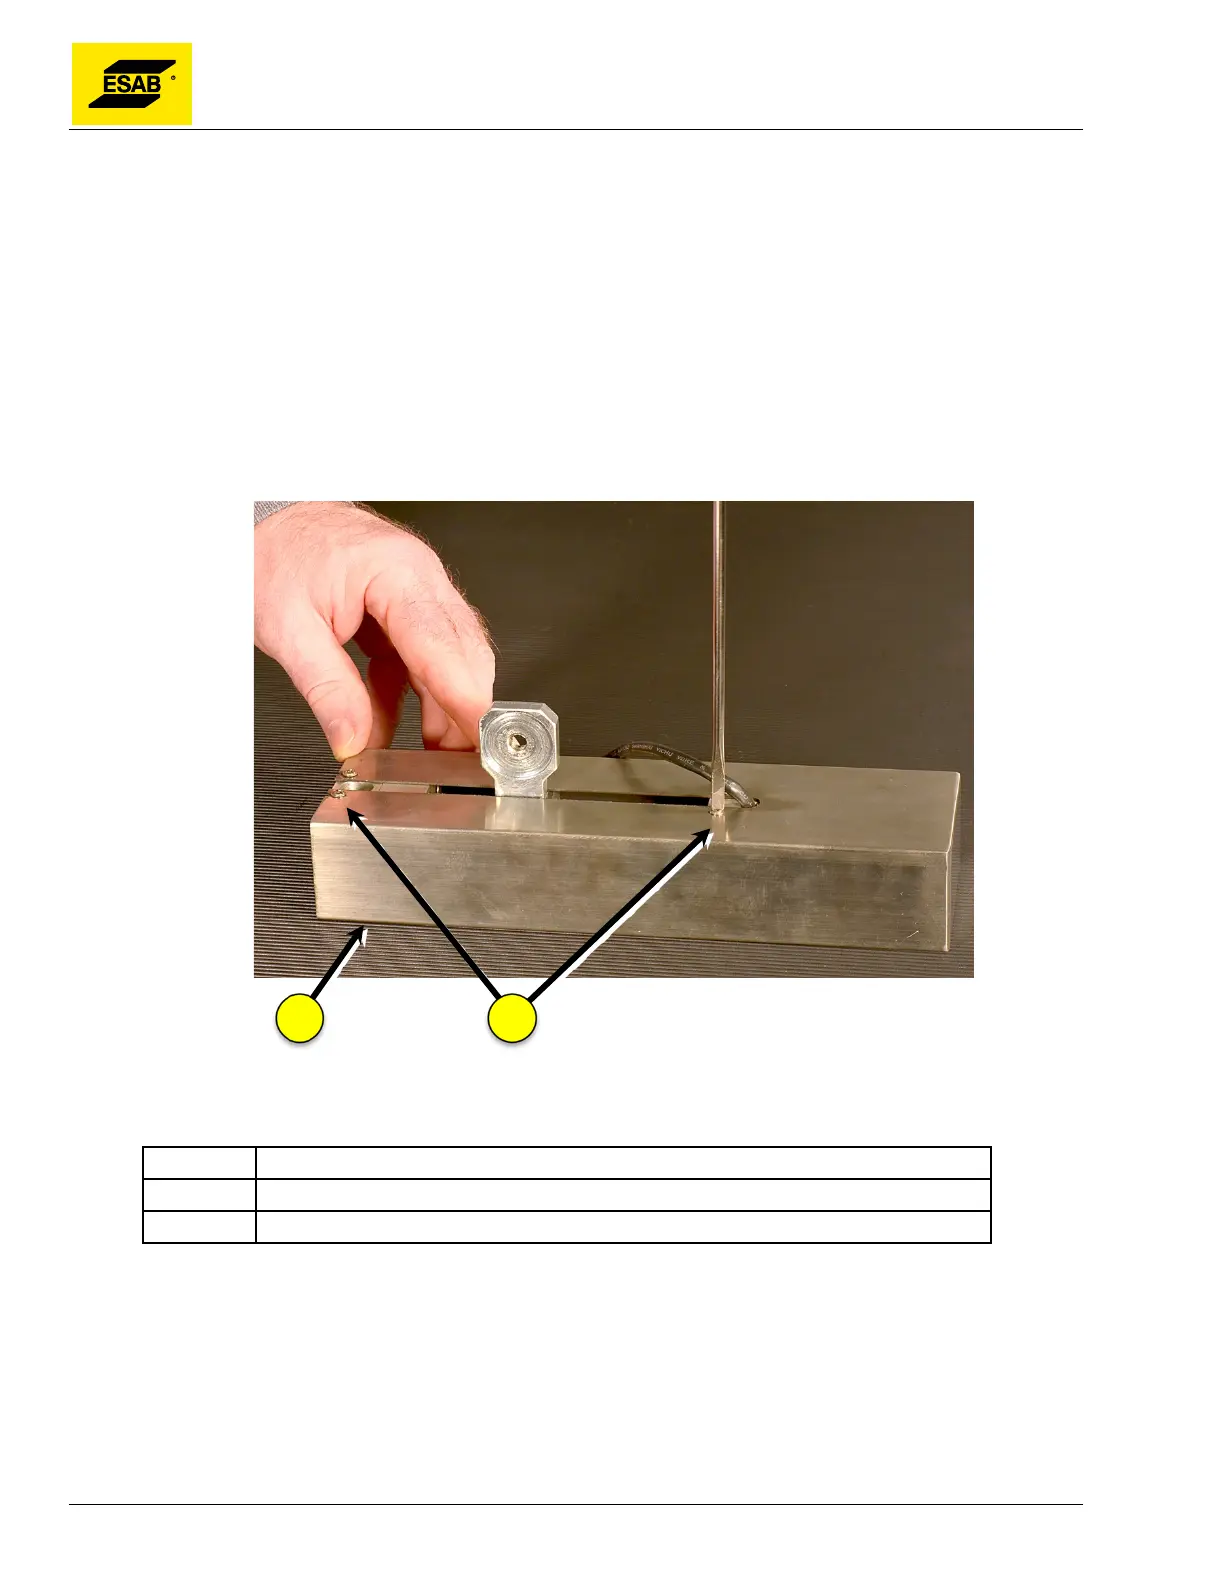
Figure 136: Removing Lift Cover
Number Description
1 Torch Lifter
2 Cover Mounting Screw
Disassembly Notes:
• Flexible Coupling has two sets of set screws, set 90 degrees apart.
• To dismount motor, be sure to loosen both set screws on flexible coupling.
• Mounting Lug does not need to be removed for further disassembly, and removal is discouraged.
• Motor and micro switch electrical connections are soldered. Be sure to replace heat-shrink tubing
if these connections are repaired.