ESAB Cutting Systems
CROSSBOW Page 66
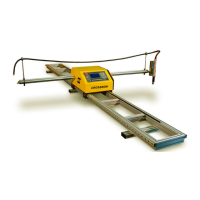
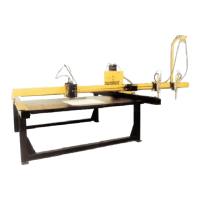
4.6 Operational Overview – Oxy-Fuel Cutting
Main steps for operating the Crossbow CNC with an Oxy-Fuel torch.
1. Use a CAD software program to create a DWG/DXF file, then use FastCAM to post
and nest the files.
2. Use a USB memory stick to transfer the TXT file into the CNC.
3. Load the file, preview it, set the cutting speed, preheat time, and kerf. Setup oxy-
fuel torch with suitable nozzle.
4. Turn on torch preheat valves and ignite torch.
5. Turn on cutting oxygen solenoid valve, adjust preheat flame, then turn off cutting
oxygen.
6. Move the torch to the initial cutting position above the plate.
7. Load the program in the Auto mode, press green Start button, and begin cutting.
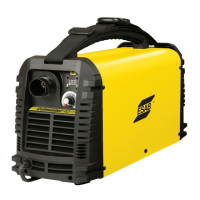
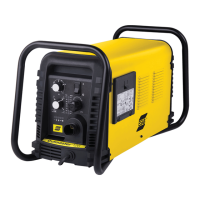
4.7 Operational Overview – Plasma Cutting
Main steps for operating the Crossbow CNC with a plasma torch.
1. Use a CAD software program to create a DWG/DXF file, then use FastCAM to post
and nest the files.
2. Use a USB memory stick to transfer the TXT file into the CNC.
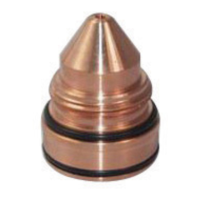
3. Load the file, preview it, set the cutting speed, preheat time, and kerf.
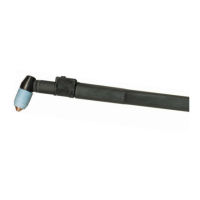
4. Setup plasma torch with suitable nozzle.
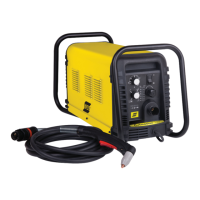
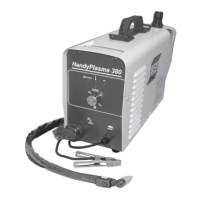
5. Power on the plasma power source and pre-set cutting current.
6. Move the torch to the initial cutting position above the plate.
7. Load the program in the Auto mode, press green Start button, and begin cutting.