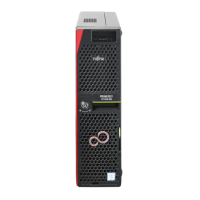
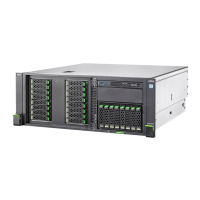
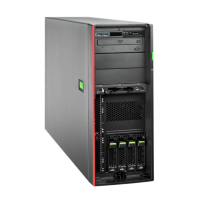
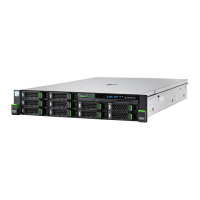
TX1320 M4 Upgrade and Maintenance Manual
5.2.10 Verifying the memory mode . . . . . . . . . . . . . . . . . . . 82
5.2.11 Verifying the system time settings . . . . . . . . . . . . . . . . 83
5.2.12 Viewing and clearing the System Event Log (SEL) . . . . . . . 84
5.2.12.1 Viewing the SEL . . . . . . . . . . . . . . . . . . . . . . . 84
5.2.12.2 Clearing the SEL . . . . . . . . . . . . . . . . . . . . . . . 85
5.2.13 Updating the NIC configuration file in a Linux and VMware
environment . . . . . . . . . . . . . . . . . . . . . . . . . . . 86
5.2.14 Resuming BitLocker functionality . . . . . . . . . . . . . . . . 87
5.2.15 Performing a RAID array rebuild . . . . . . . . . . . . . . . . . 87
5.2.16 Looking for MAC/WWN/GUID and SAS addresses . . . . . . . 88
5.2.16.1 Looking for the MAC address of a LAN controller . . . . . . 88
5.2.16.2 Looking for the WWN address of a fibre channel controller . 89
5.2.16.3 Looking for the GUID address of an infiniband or Omni-Path
controller . . . . . . . . . . . . . . . . . . . . . . . . . . . 90
5.2.16.4 Looking for SAS addresses of SAS controllers for external
devices . . . . . . . . . . . . . . . . . . . . . . . . . . . . 90
5.2.17 Using the Chassis ID Prom Tool . . . . . . . . . . . . . . . . . 91
5.2.18 Configuring LAN teaming . . . . . . . . . . . . . . . . . . . . 92
5.2.18.1 After replacing/upgrading LAN controllers . . . . . . . . . . 93
5.2.18.2 After replacing a system board . . . . . . . . . . . . . . . . 93
5.2.19 Switching off the ID indicator . . . . . . . . . . . . . . . . . . 93
5.2.20 Performing a fan test . . . . . . . . . . . . . . . . . . . . . . 94
6 Power supply unit (PSU) . . . . . . . . . . . . . . . . . . . . 97
6.1 Basic information . . . . . . . . . . . . . . . . . . . . . . . 98
6.2 Standard power supply . . . . . . . . . . . . . . . . . . . . 99
6.2.1 Replacing the standard PSU . . . . . . . . . . . . . . . . . . 99
6.2.1.1 Preliminary steps . . . . . . . . . . . . . . . . . . . . . . . 99
6.2.1.2 Removing the defective standard PSU . . . . . . . . . . . . 99
6.2.1.3 Installing the new standard PSU . . . . . . . . . . . . . . . 102
6.2.1.4 Concluding steps . . . . . . . . . . . . . . . . . . . . . . . 104
6.3 Redundant power supply . . . . . . . . . . . . . . . . . . . 105
6.3.1 Installing a hot-plug PSU . . . . . . . . . . . . . . . . . . . . 105
6.3.1.1 Preliminary steps . . . . . . . . . . . . . . . . . . . . . . . 105
6.3.1.2 Removing the dummy cover . . . . . . . . . . . . . . . . . 106
6.3.1.3 Installing a hot-plug PSU . . . . . . . . . . . . . . . . . . . 106
6.3.1.4 Concluding steps . . . . . . . . . . . . . . . . . . . . . . . 108
 Loading...

