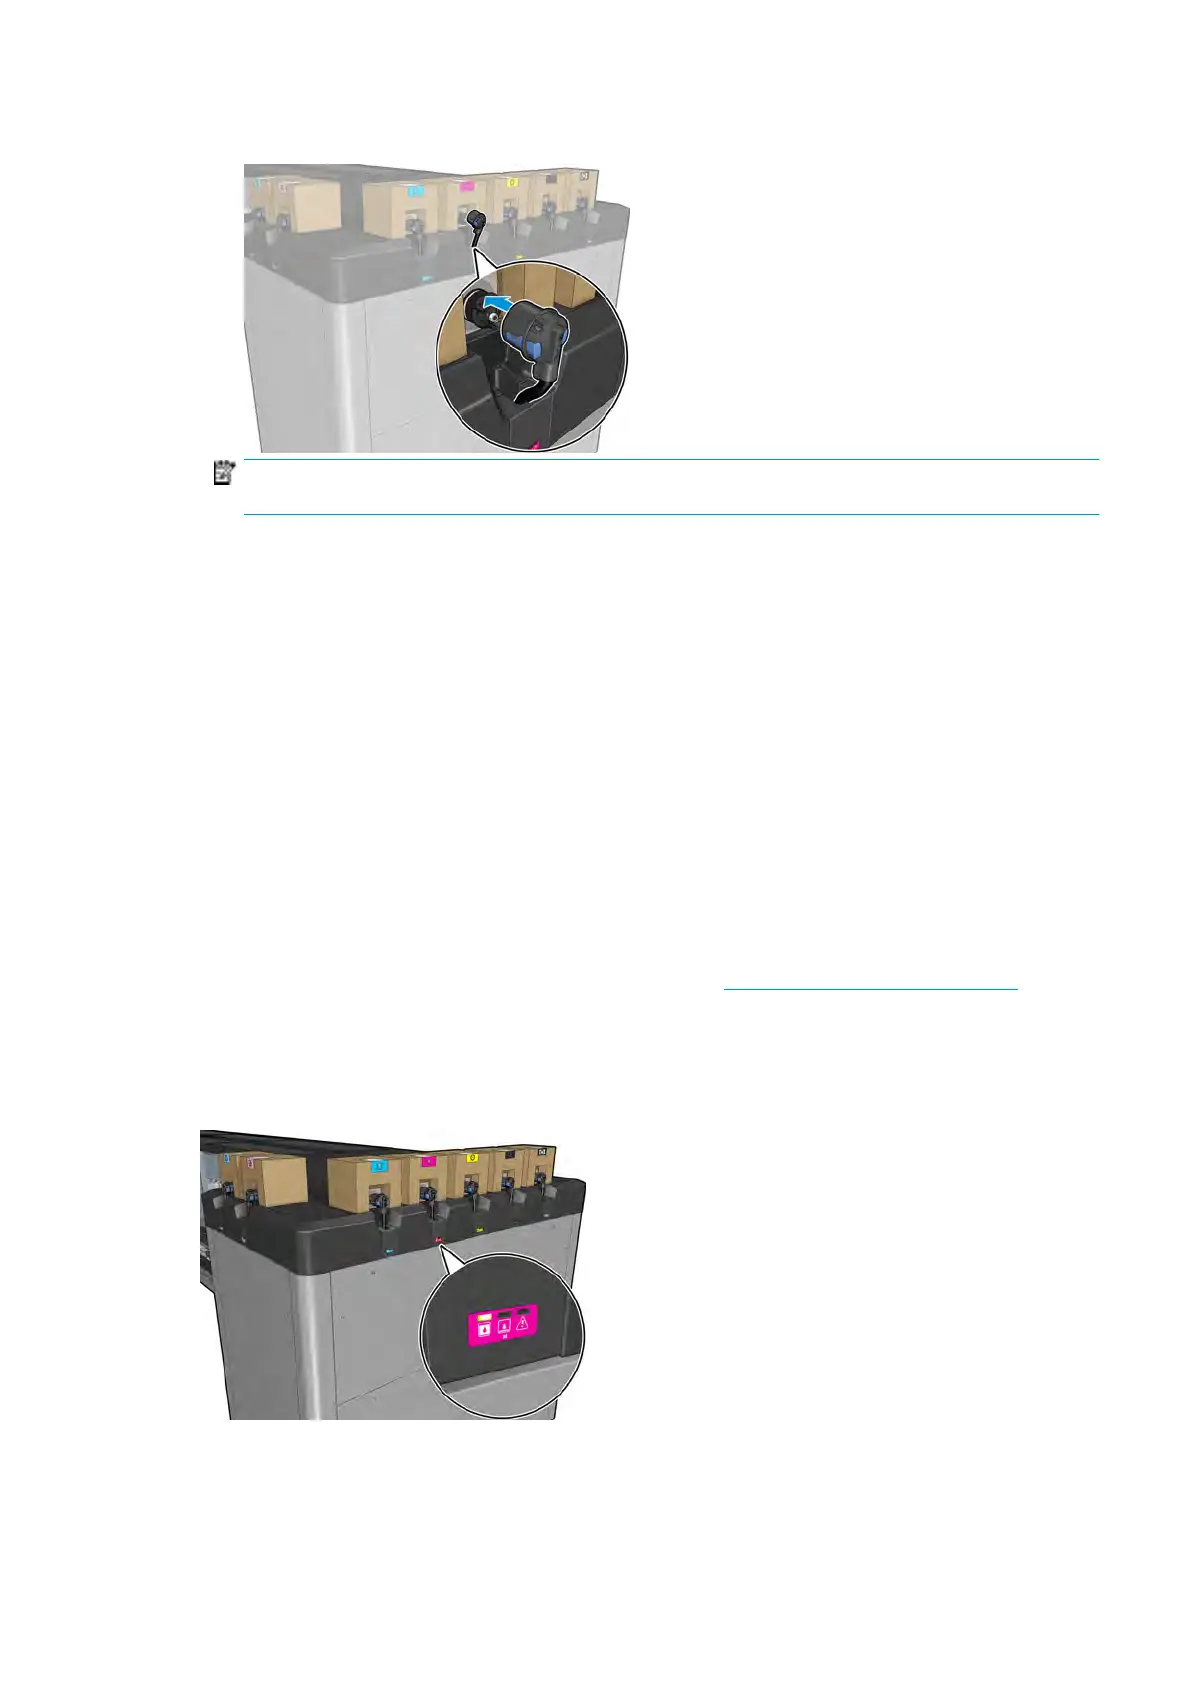
6. Connect the cartridge connector to the cartridge.
NOTE: The car
tridge connectors will refuse connection to the wrong type or color of cartridge. If you
cannot connect the connector easily to the cartridge, check that you have the correct cartridge.
7. Ensur
e that the tabs on each side of the cartridge connector are opened but in place, showing successful
connection. You will hear a click.
8. A few seconds after you have connected the cartridge, the green LED should be lit. If it is not lit after 10
seconds, reconnect the cartridge. The LED will turn red if the cartridge is expired or not valid; see the
Internal Print Server for further details and corrective action.
Although it is possible to use non-HP ink cartridges, this choice has several serious disadvantages. It may not
be possible to determine with enough accuracy the ink level or status of used, relled, or counterfeit ink
cartridges. Any service or repair required as a result is not covered under the warranty. System ink ushing,
color calibration, and printhead alignment are recommended. If you experience print-quality problems, HP
recommends changing to Original HP inks.
Maintain the ink cartridges
During the normal lifetime of a cartridge, no specic maintenance is required. However, in order to maintain
the best print quality, replace a cartridge when it reaches its expiration date. An alert noties you when any
cartridge reaches its expiration date.
You can also check a cartridge's expiration date at any time: see
Printer status and alerts on page 23.
Check the s
tatus of the ink cartridges
The Internal Print Server provides information about the status of the ink cartridges. Additional information
can be obtained from the status lights in front of each ink cartridge (on the left side).
●
Gr
een steady light: no problems
●
Green slowly blinking light: cartridge in use, do not touch
●
Orange blinking light: cartridge is empty
ENWW How to work with ink system components 115
 Loading...
