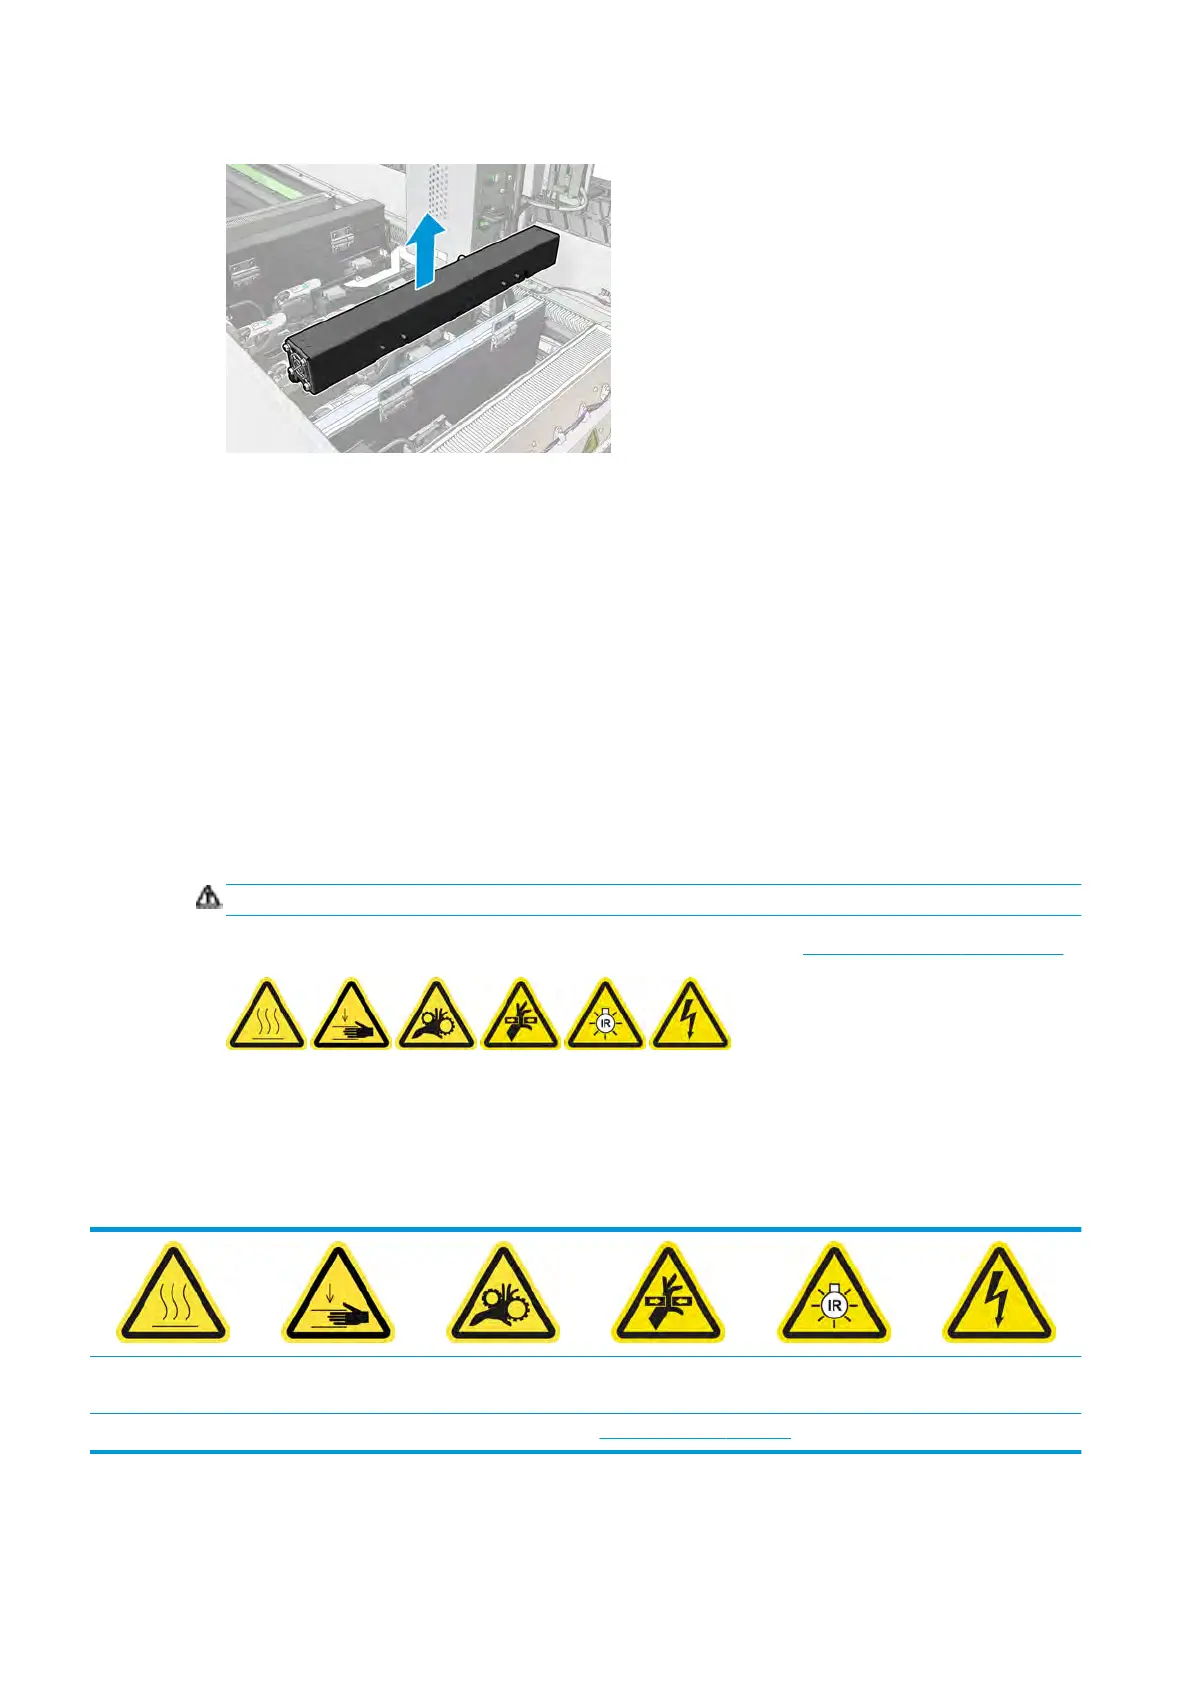
7. Remove the aerosol fan module and insert the new one.
8. Put the hinges back in place, put back the nuts and tighten them.
9. Open the new aerosol fan cover.
10. Remove the three screws that attach the new fan cover, and remove the cover.
11. Connect the two aerosol fan cable connectors.
12. Route the main cable harness and insert the grommet in the cover slot. Make sure the cables are not
tight inside the cover.
13. Install the aerosol fan cover and attach the three screws.
14. Close the cover.
Finish o replacing the aerosol fan module
1. Close the service position window.
CAUTION: Do not leave anything in the way of the carriage.
2. Turn on the printer in the correct way for maintenance operations: see Turn the printer on on page 160.
3. Run a diagnostic test to check that the aerosol fans are working correctly.
4. Dispose of the old aerosol module fans.
Replace the drying fans array
Risk of burns Crush hazard Risk of trapped ngers Hazardous moving
p
art
Light radiation hazard Electric shock hazard
For more safety information, see
Safety precautions on page 2
242 Chapter 8 Hardware maintenance ENWW
 Loading...
