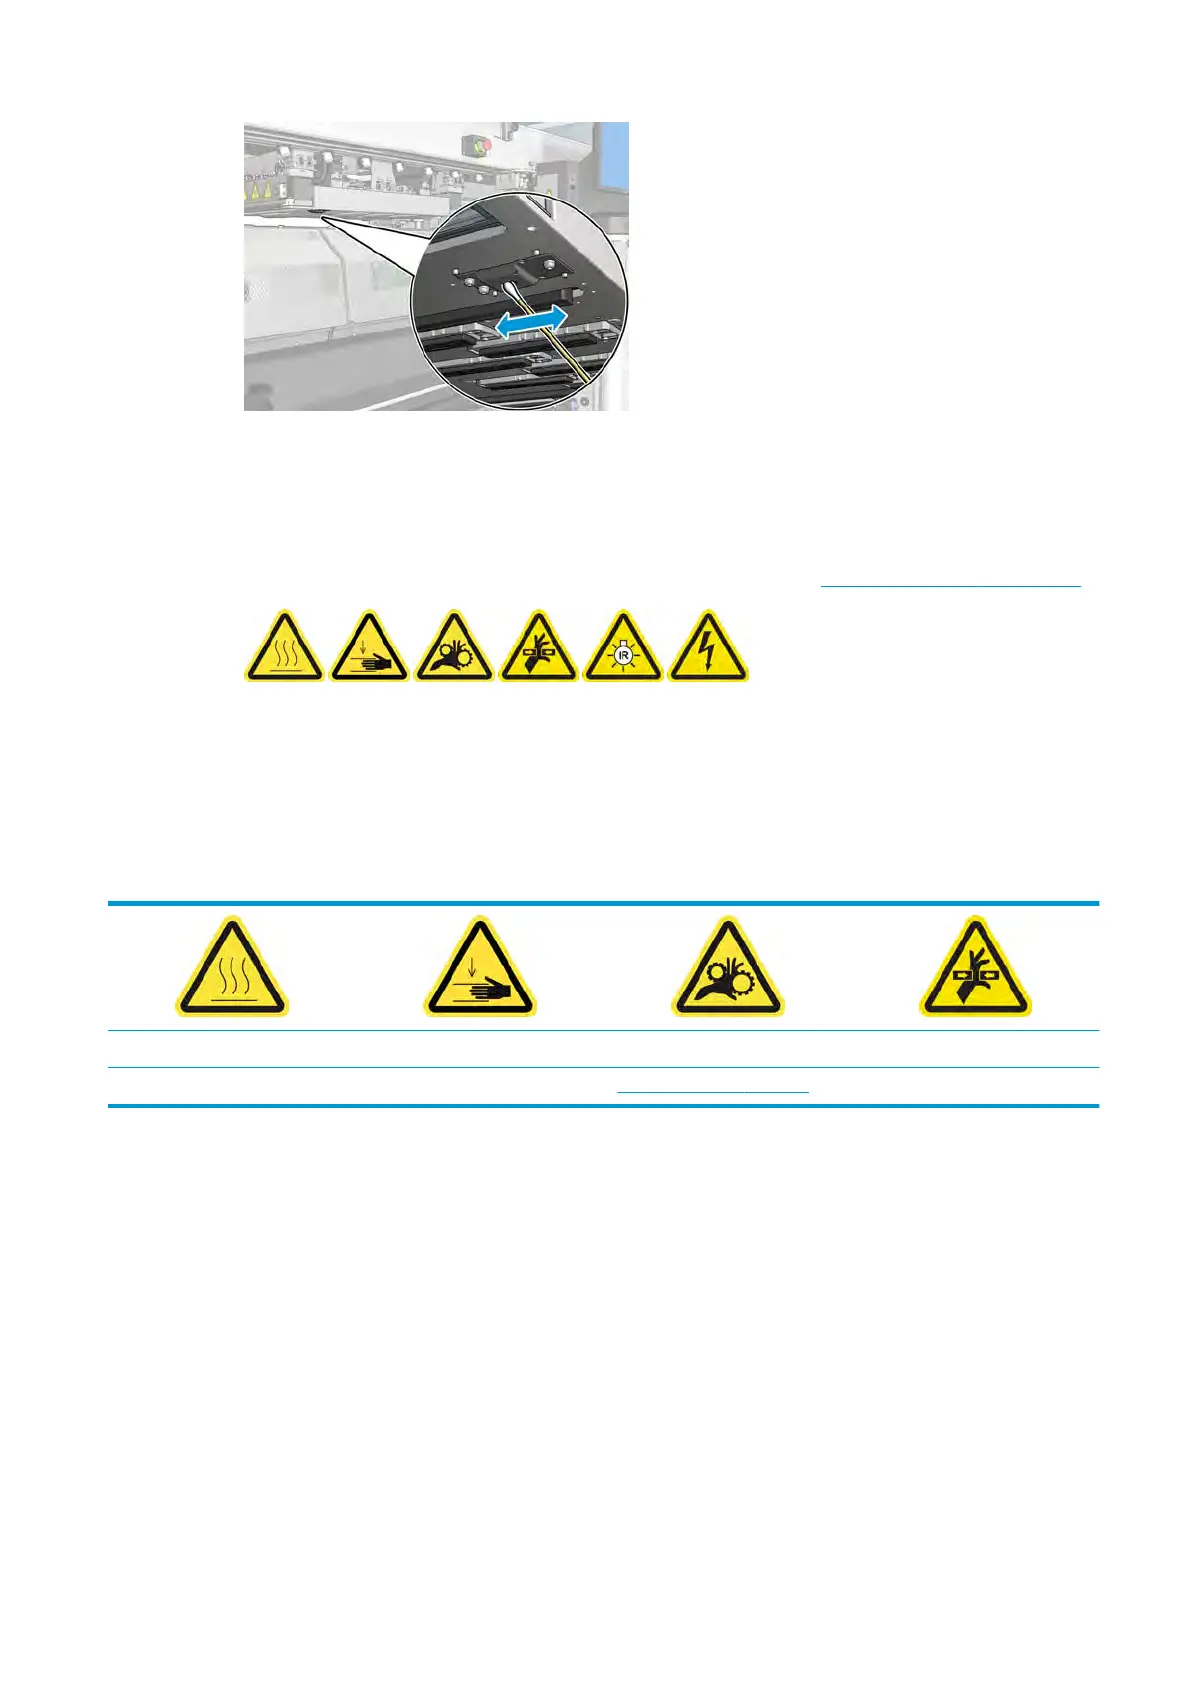
Finish o cleaning the carriage bottom
1. Close the front door.
2. Ensure that the cleaned parts are completely dry and all vapor has completely evaporated.
3. Turn on the printer in the correct way for maintenance operations: see Turn the printer on on page 160.
4. Ensure that all windows, covers, and doors are closed and remain in their original positions.
5. Move the carriage beam back to its working position (this takes about 2 minutes).
6. Move the carriage back to its working position.
Clean the pinchwheels and drive roller
Risk of burns Crush hazard Risk of trapped ngers Hazardous moving part
For more safety information, see Safety precautions on page 2
The drive roller should be cleaned whenever it is visibly dirty, or when you notice that substrate advance is no
l
onger smooth and regular.
Prepare to clean the pinchwheels and drive roller
1. Ensure that the printer is not printing.
2. Unload the substrate.
Clean the pinchwheels
1. Open the latches.
ENWW Clean the pinchwheels and drive roller 171
 Loading...
