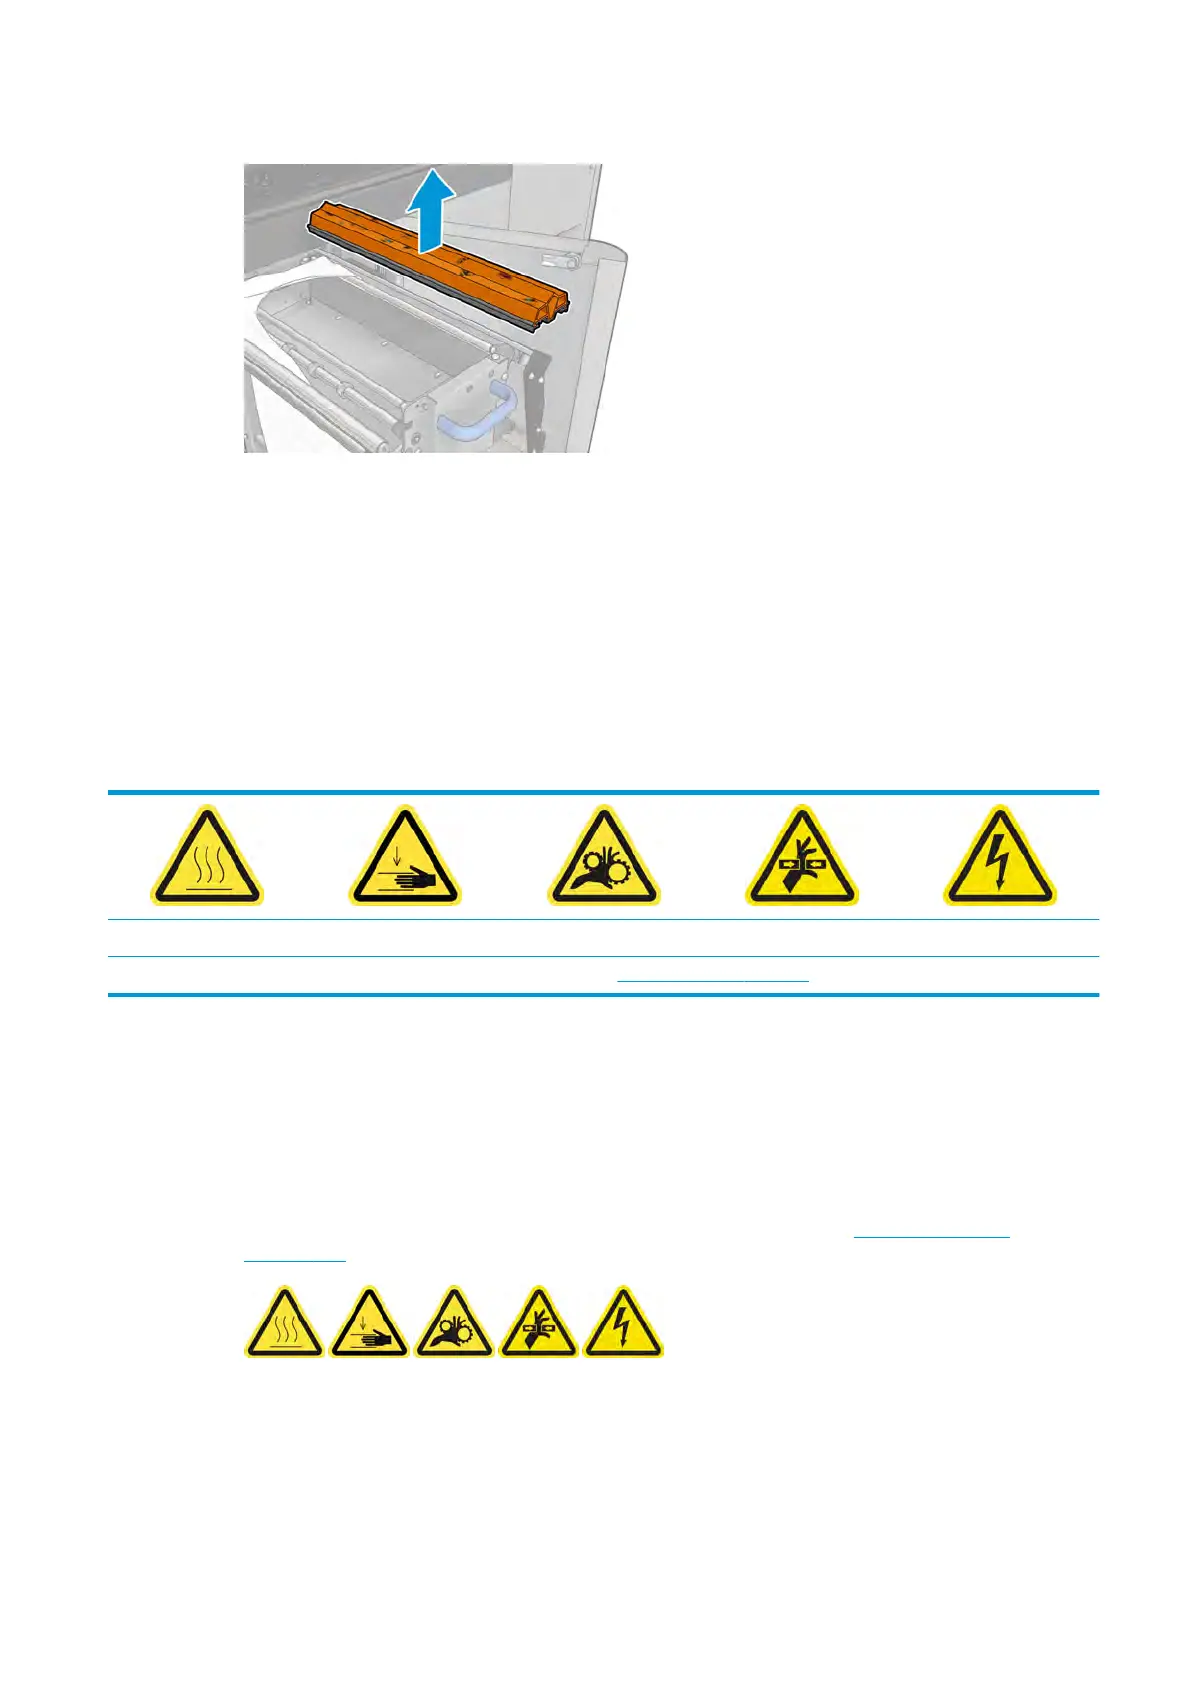
4. Remove the rubber blade and place the new one in position.
5. R
eplace the screws. Screw them in with one hand while holding the spacer in place.
Finish o after replacing the rubber blade
1. Push the printhead cleaning material back into place and close the pinchwheel (using the black plastic
knob).
2. Carefully push the printhead cleaning roll carriage back into its working position.
3. Close and lock the door.
Clean the output platen
Risk of burns Crush hazard Risk of trapped
ngers Hazardous moving part Electric shock hazard
For more safety information, see
Safety precautions on page 2
The output platen is made of plain sheet metal with two rows of plastic ramps.
Pr
epare to clean the output platen
1. Ensure that the printer is not printing.
2. Unload the substrate.
3. Turn o the printer in the correct manner for maintenance operations: see
Turn the printer o
on page 160.
4. W
ait for the curing modules to cool down (approx. 5min).
Pull out the curing assembly
1. Open the front door.
ENWW Clean the output platen 207
 Loading...
