Finish o after cleaning the ink deposits
1. If you removed it earlier, put back the upper section of the right front cover and screw it into place.
2. Close the right front cover and screw it into place.
3. Ensure that the cleaned parts are completely dry.
4. Turn on the printer in the correct way for maintenance operations: see Turn the printer on on page 160.
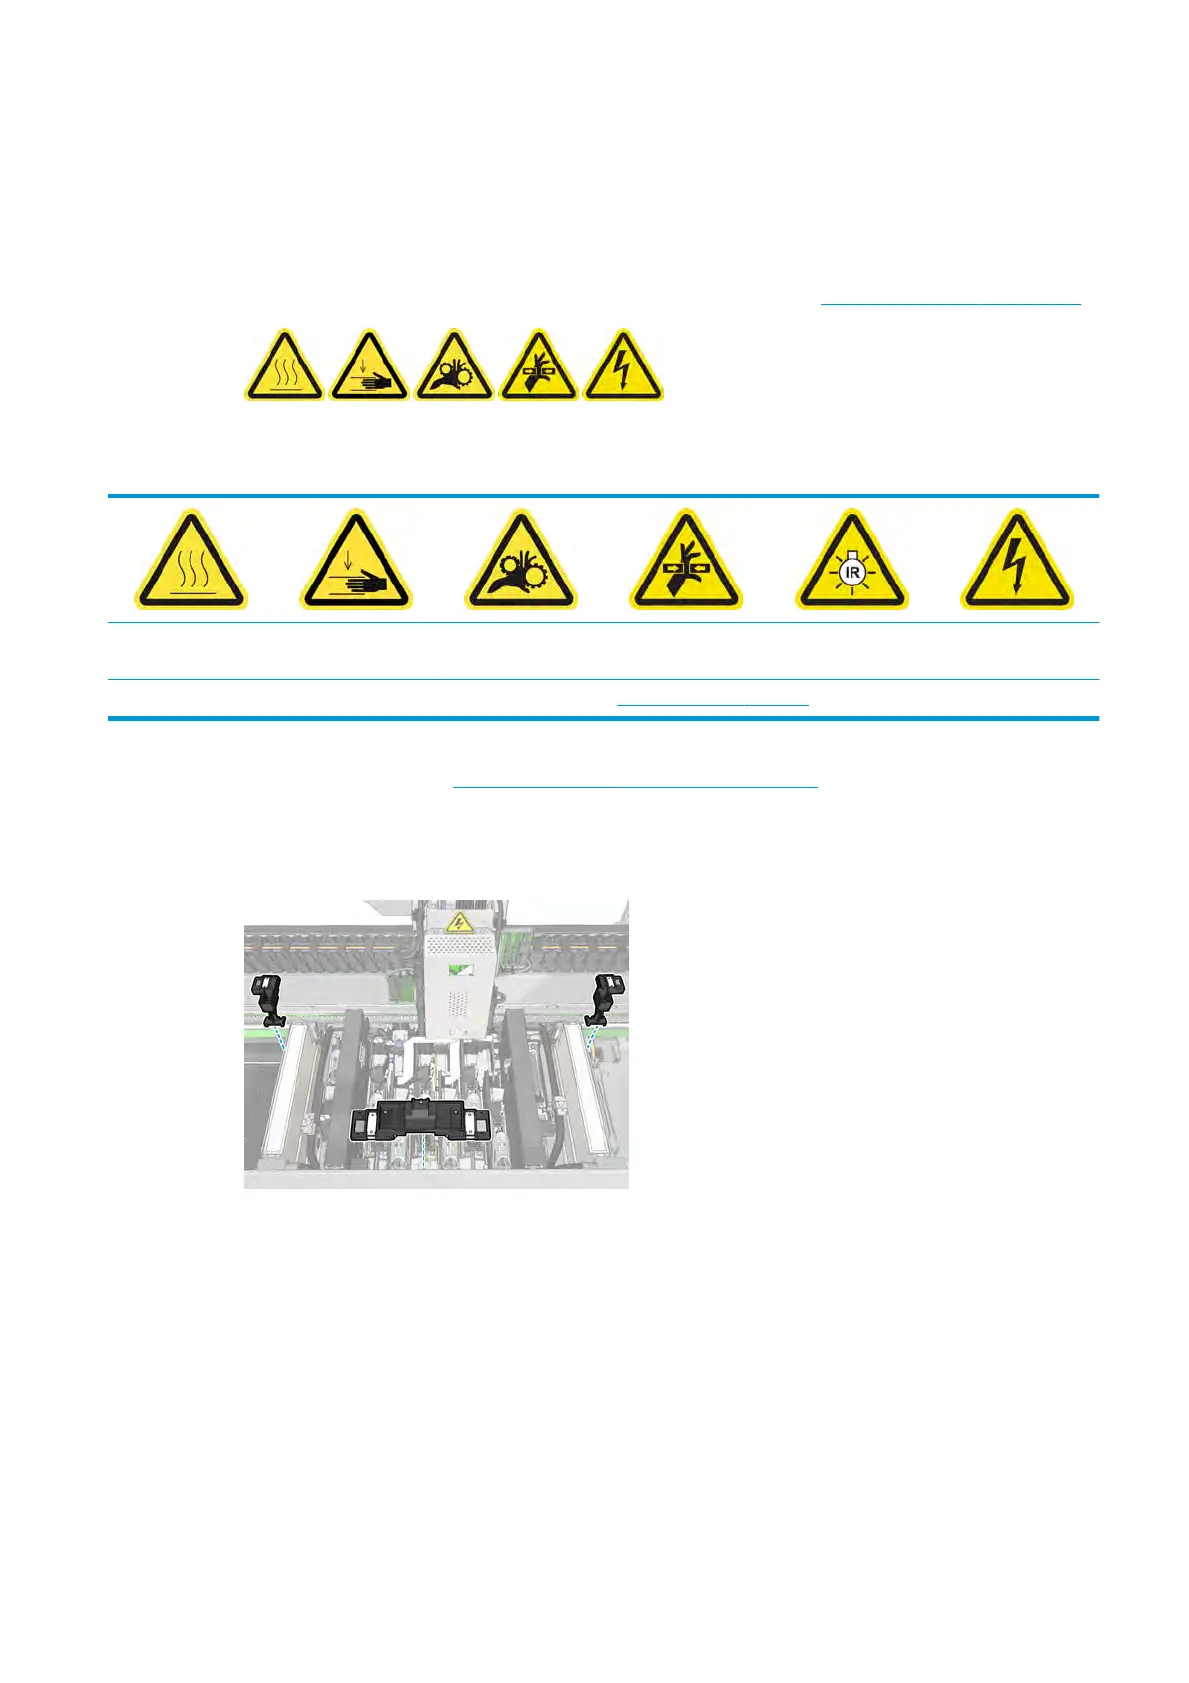
Clean the carriage rails and replace the oiler foams
Risk of burns Crush hazard Risk of trapped
ngers Hazardous moving
part
Light radiation hazard Electric shock hazard
For more safety information, see
Safety precautions on page 2
For the latest information, see http://www.hp.com/go/latex3000/manuals/.
Pr
epare to clean the carriage rails
1. Ensure that you have the Carriage Rail Cleaning Tool provided with your printer.
ENWW Clean the carriage rails and replace the oiler foams 177
 Loading...
