Diagnostic aids 3-15
5061
3. Select either Single or Continuous from the menu.
Note: If Single is selected, no buttons are active while the Print Test Page is printing. If Continuous is
selected, Back () or Stop ( ) can be pressed to cancel the test.
The following screen is displayed while printing.
4. Press Back () or Stop ( ) at the end of the test to return to the original screen.
Print Quality Pgs
The print quality test consists of five pages. Pages one and two contain a mixture of graphics and text. The
remainder of the pages only contain graphics. See “Print tests” on appendix page B-1 for samples of the Print
Quality Pgs.
This test may be printed from either Configuration menu or the Diagnostics mode. To run the print quality pages
from the Diagnostics mode, select PRINT TESTS and Print Quality Pgs from the menu. Once the test is started
it cannot be canceled. When the test pages print the printer returns to the original screen.
HARDWARE TESTS
LCD Test
This test verifies the operator panel LCD function.
To run the LCD Test:
1. Select LCD Test from HARDWARE TESTS in the Diagnostics mode.
The LCD test continually executes.
2. Press Back () or Stop ( ) to cancel the test.
Button Test
This test verifies the operator panel button function.
To run the Button Test:
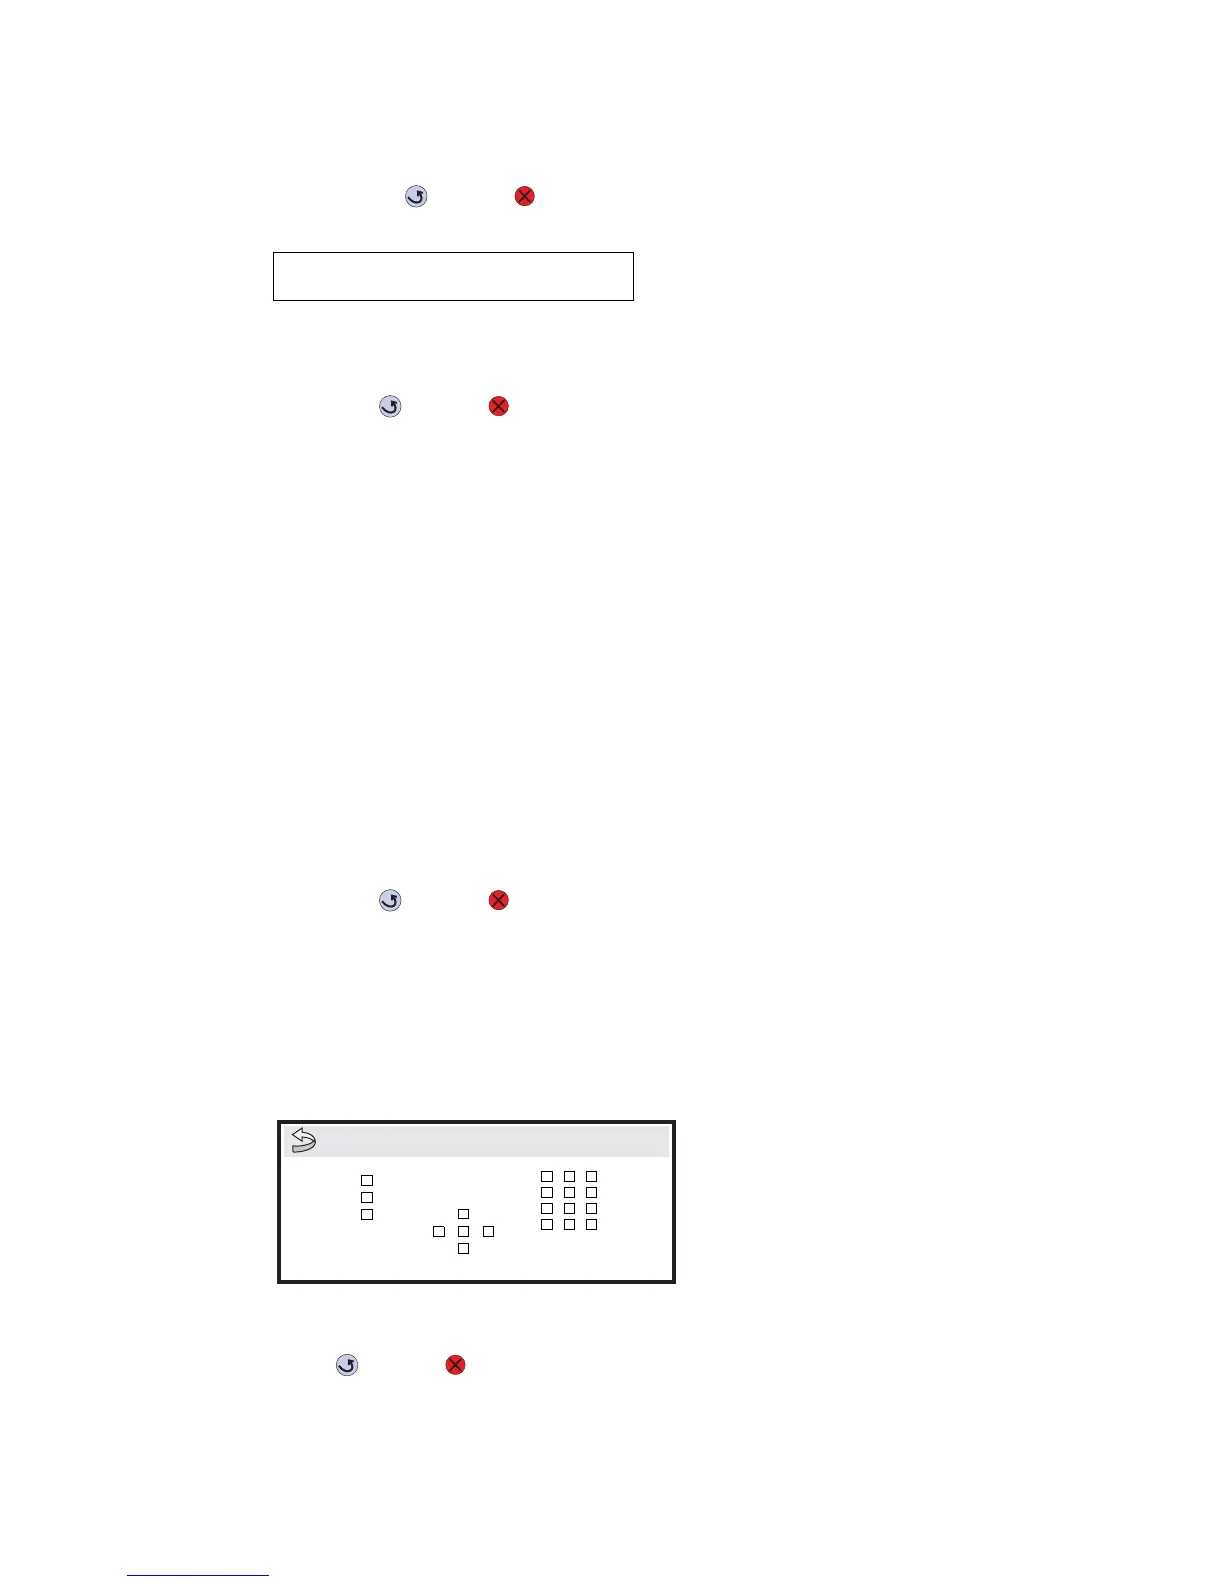
1. Select Button Test from HARDWARE TESTS in the Diagnostics mode.
With no buttons pressed, a pattern matching the operator panel buttons is displayed.
2. Press each operator panel button one at a time, and an “X” displays in the box that represents the button.
If you press Back or Stop, you exit the test. You can start the test and continue.
Press Back () or Stop ( ) to exit the test.
<input source>
Printing… <media width>
<input source> Tray 1, Tray 2, Tray 3, Tray 4, Tray 5, MP Feeder, or Env Feeder
<media width> N for narrow media, or W for wide media