4-82 Service Manual
5061
Rear bellcrank (black) removal
See page 7-25 for the part number for the parts packet, including the rear transfer bellcranks, for black.
1. Power off the printer.
2. Remove the four toner cartridges, and leave the front door open.
3. Remove the ITU assembly. See “ITU assembly removal” on page 4-49.
4. Check each of the rear bellcranks for cracks or breakage.
5. Remove the spring.
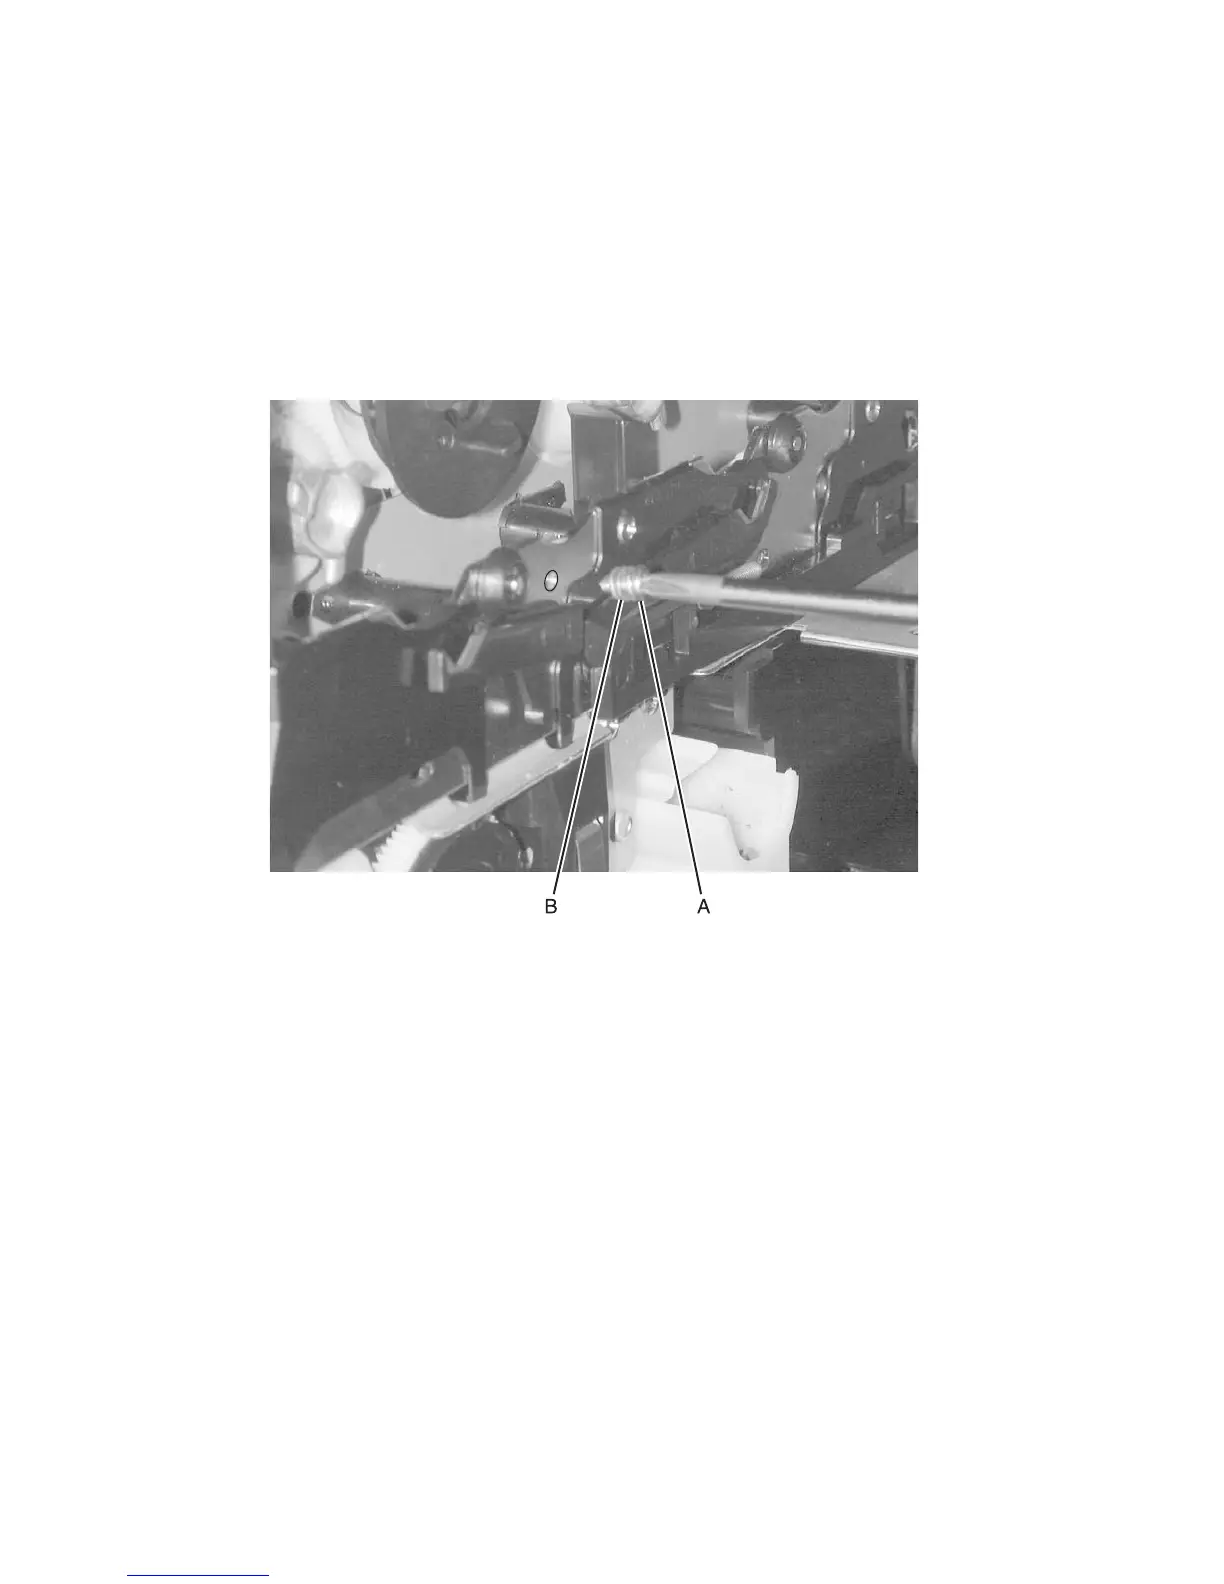
6. Remove the stop screw (A) and two washers (B). Be careful not to lose the washers. Recommend using a
magnetic tipped screwdriver to remove the screw.