Repair information 4-73
5061
Printhead removal and adjustments
See Printhead assembly on page 7-13 for the part number.
Warnings:
• Whenever a printhead is replaced, it is necessary to perform the ““Mechanical alignment”. Then, if a
black printhead is replaced, perform the “Black printhead electronic alignment” on page 4-78 and the
“Color printhead electronic alignment” on page 4-79. If a yellow, cyan, or magenta printhead is
replaced, perform the “Color printhead electronic alignment” on page 4-79.
• Do not loosen or replace more than one printhead at a time to retain factory settings.
• The printhead alignment assemblies must be removed once the mechanical alignment is completed.
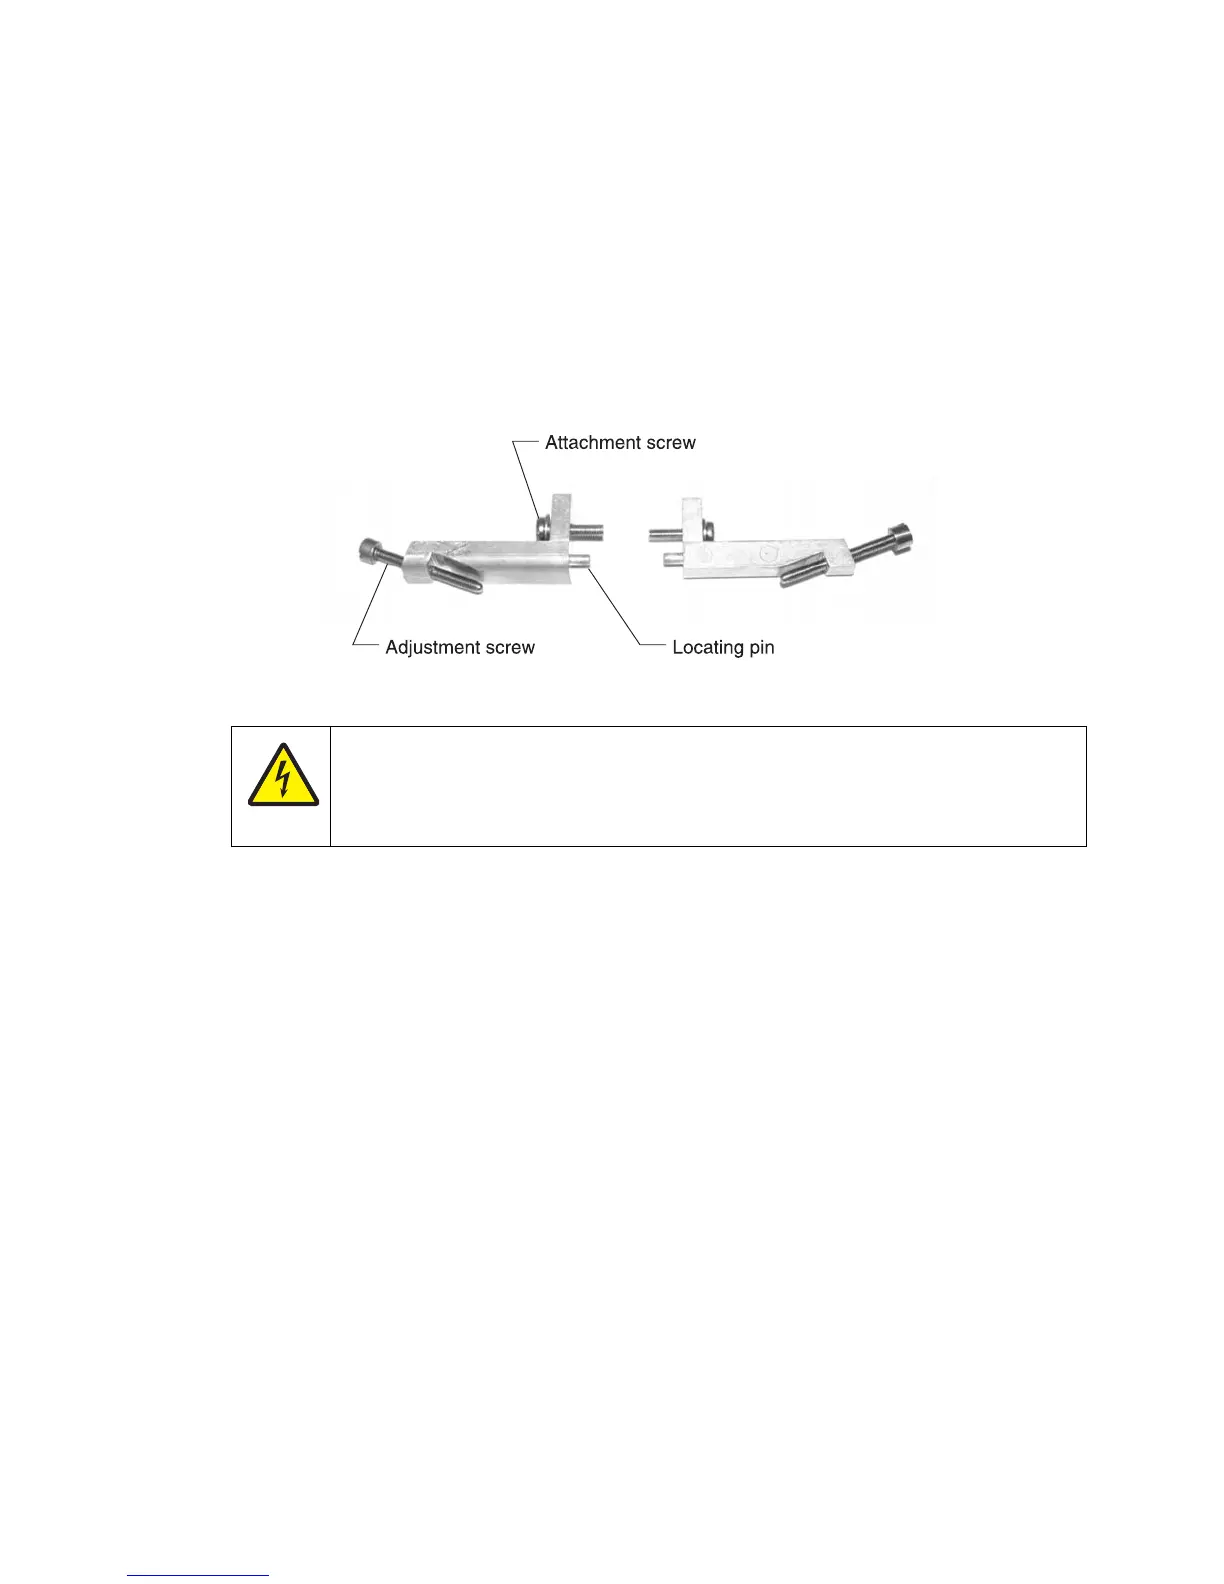
The printhead comes with two printhead alignment assemblies.
Mechanical alignment
1.
Turn the printer off.
2. Remove the top cover. See “Top cover assembly removal” on page 4-13.
CAUTION
When you see this symbol, there is a danger from hazardous voltage in the area of the product
where you are working. Unplug the product before you begin, or use caution if the product
must receive power in order to perform the task.
 Loading...