Diagnostic information 2-3
5061
Symptom tables
Symptom table—base printer
Symptom Action
Fuser fan fails to run or is noisy Go to “925.02 error code service check” on
page 2-56.
RIP fan fails to run or is noisy Go to “927.03 error code service check” on
page 2-57.
VTB fan fails to run or is noisy Go to “926.01 error code service check” on
page 2-56.
Excessive fuser drive motor assembly noise Go to “Excessive fuser drive motor assembly
noise” on page 2-89.
Machine inoperative: Fans don’t turn, engine not on,
lights not on, and none of the printer functions work.
Go to “AC and DC power service check” on
page 2-76.
Close Door displays constantly, unable to clear the
message, POR incomplete
Go to “Close door/HVPS/printhead interlock
switch service check” on page 2-81.
Printer does not complete POST and stapler cycles
several times.
Go to “POST incomplete—stapler cycles several
times” on page 2-116
Operator panel: One or more buttons do not work Go to “Operator panel LCD/status LED/buttons
service check” on page 2-90.
Operator panel: Display is blank, printer does not
sound 5 beeps, but printer is not inoperative
Replace the operator panel assembly. See “Operator
panel assembly removal” on page 4-68.
Operator Panel: Operator panel displays dots
continuously, sounds 3 beeps, and POST is
18incomplete.
Go to “Operator panel LCD/status LED/buttons
service check” on page 2-90.
Operator panel: One pixel or random pixels are
missing
Replace the operator panel assembly. See “Operator
panel assembly removal” on page 4-68.
Paper feed problems, base printer Go to “2xx paper jams” on page 2-9.
Paper feed problems, integrated tray Go to “Tray 1 service check” on page 2-117.
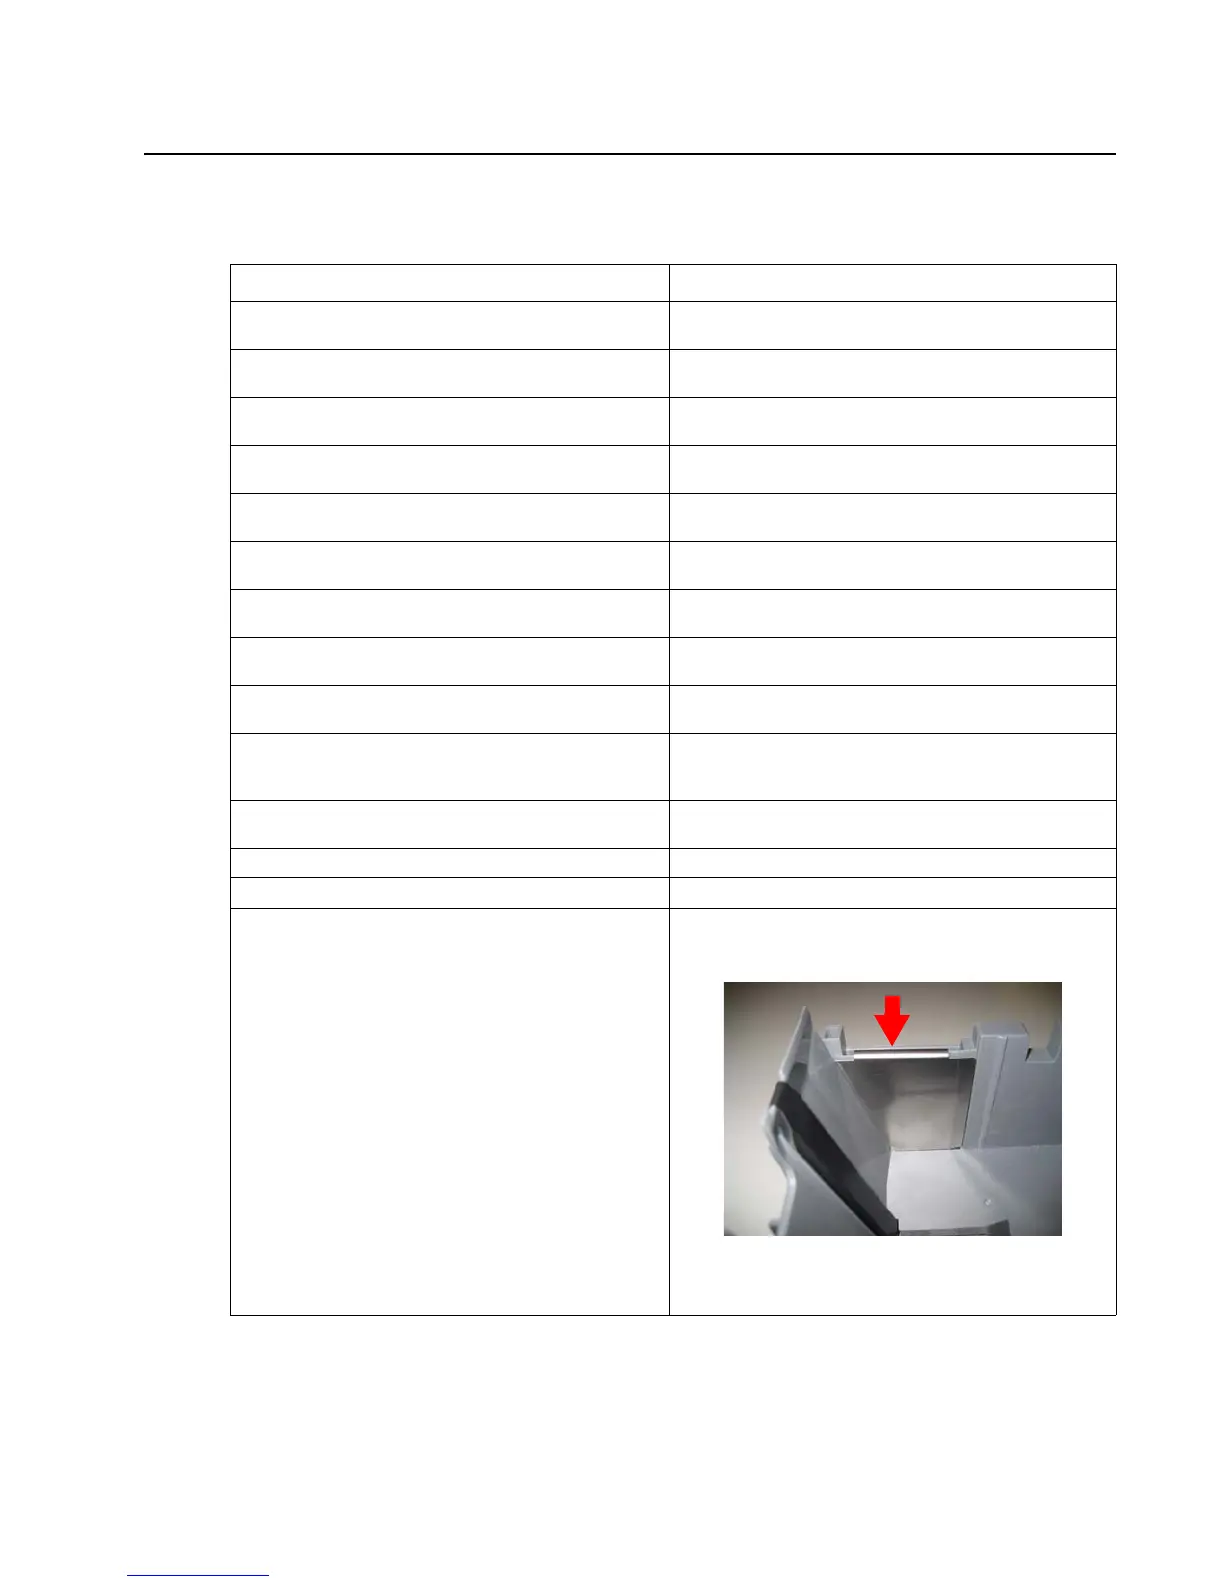
Paper feed problems, integrated tray catching
autocompensator while removing the tray.
The wear clip in the back left of the tray may not be
fully seated. Be sure to seat it fully so there is no gap
below it.
It could damage the autocompensator. If the problem
persists, go to “Tray 1 service check” on
page 2-117.