3.8.17 Replacing Carriage Assy 141
3.8 Replacing Cursor section VJ628XE-M-00
3.8.17 Replacing Carriage Assy
● Tools & Jigs & Maintenance part
Name No. Remarks
Carriage Assy DG-44688 Exploded View Head Base
Cutter Holder adjusting Jig DG-45003 Exploded View Other
PG adjusting Jig (1.1/1.3) DG-43193 Exploded View Other
Phillips screwdriver No.2 Generic
products
-
Ball point hexagonal wrench(2.5mm) -
Stainless bat -
Polyknit Wiper -
Bubble Wrap -
Thread locker Threebond 1401
dedicated cleaning fluid - Operation Manual
1 Perform ink discharge operation to discharge
ink entirely from ink path.
5.6.9 Longstore Menu
After ink discharge operation, make sure
that Ink cartridge is pulled out.
2 Removing L Side Cover.
3.2.2 Removing Side Cover
3 Move Carriage to the opposite side of Platen.
3.8.1 Releasing Carriage Lock
4 Remove CR Board Cover.
3.8.3 Removing CR Board Cover
5 Remove Carriage Cover.
3.8.2 Removing Carriage Cover
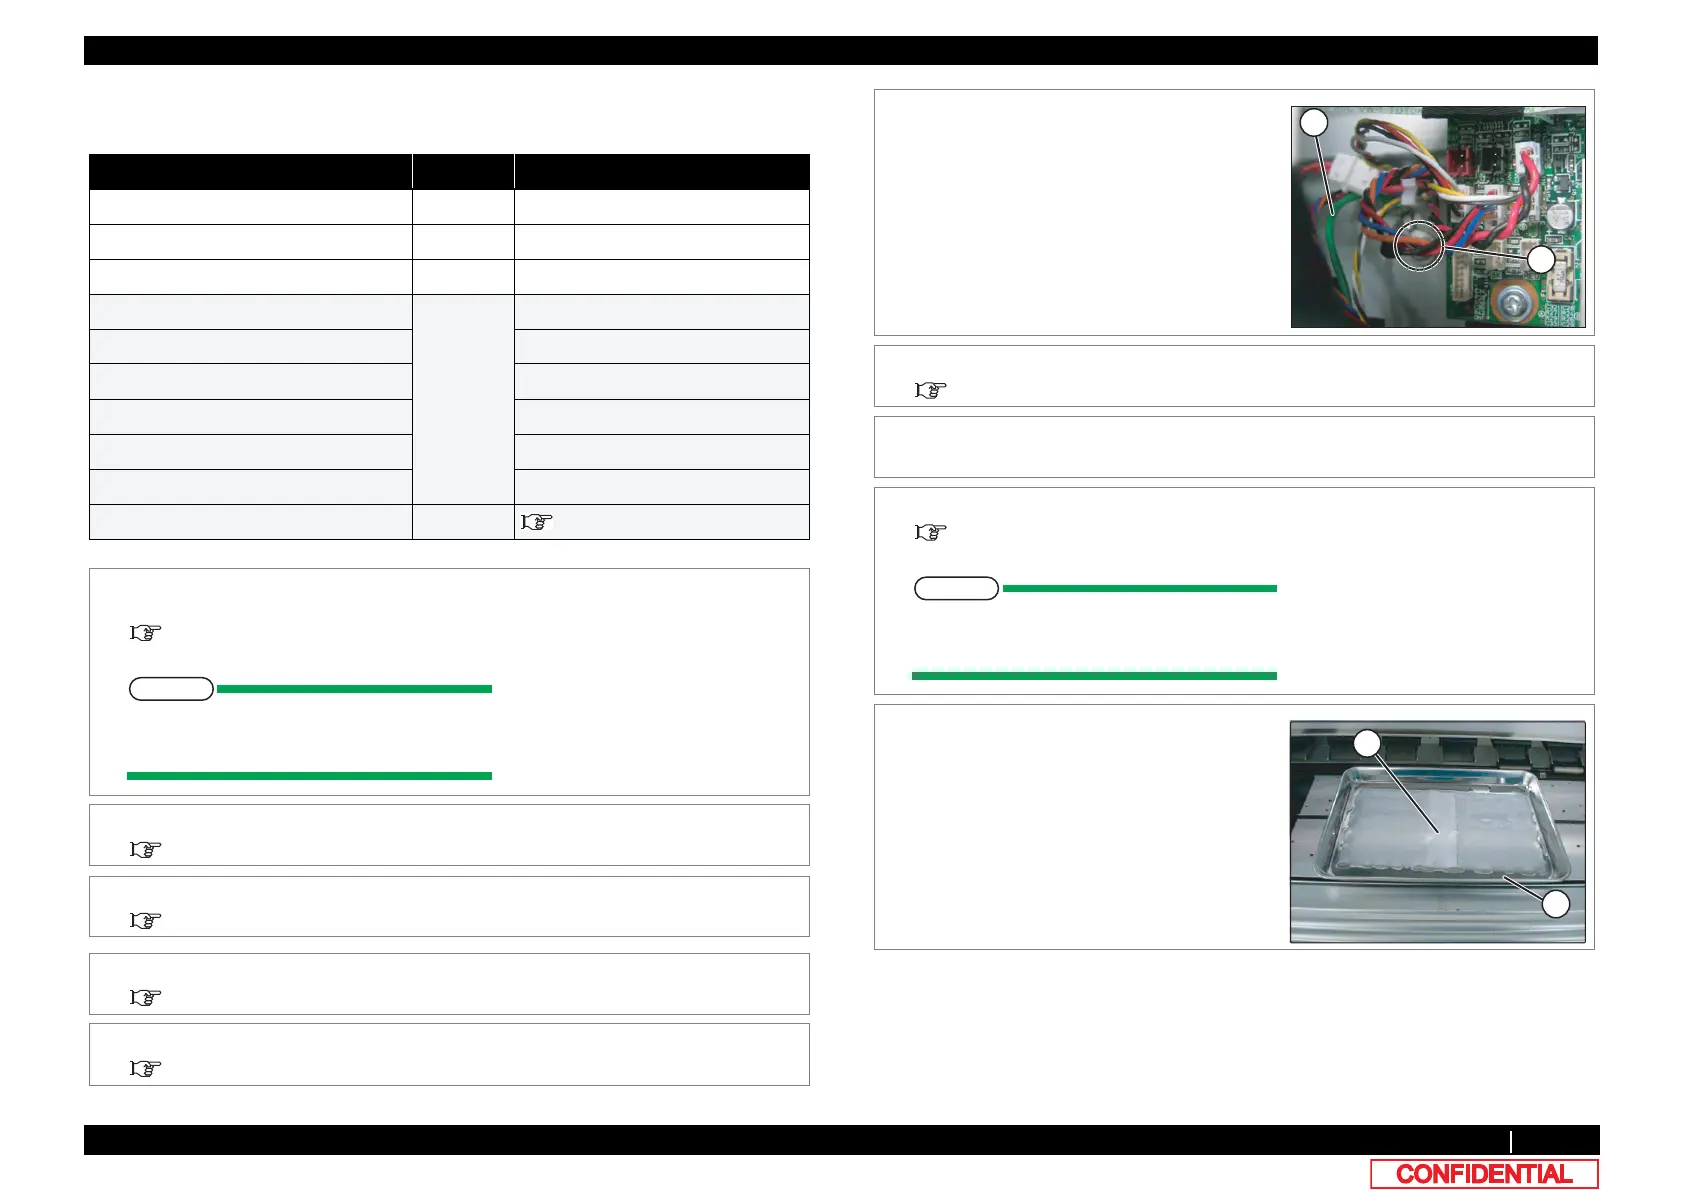
6 Remove the screw retaining Head FGCable.
A : Head FG Cable
B : Pan-head screw with spring washer and
flat washer M3x8
7 Remove Head FG Cable from the clamps on
the path.
8 Remove all the cables from CR Board.
3.8.4 Replacing CR Board
9 Remove the removed cables from the clamps
on the path.
10 Remove CR Board.
3.8.4 Replacing CR Board
Removed CR board is placed after an
Bubble Wrapping.
11 Pave Poly-knit wipers in stainless pan and fill
with cleaning fluid (dedicated cleaning fluid).
A : Stainless pan
B : Poly-knit wiper