Network Settings
126 ClareVision Plus Network Video Recorder User Manual
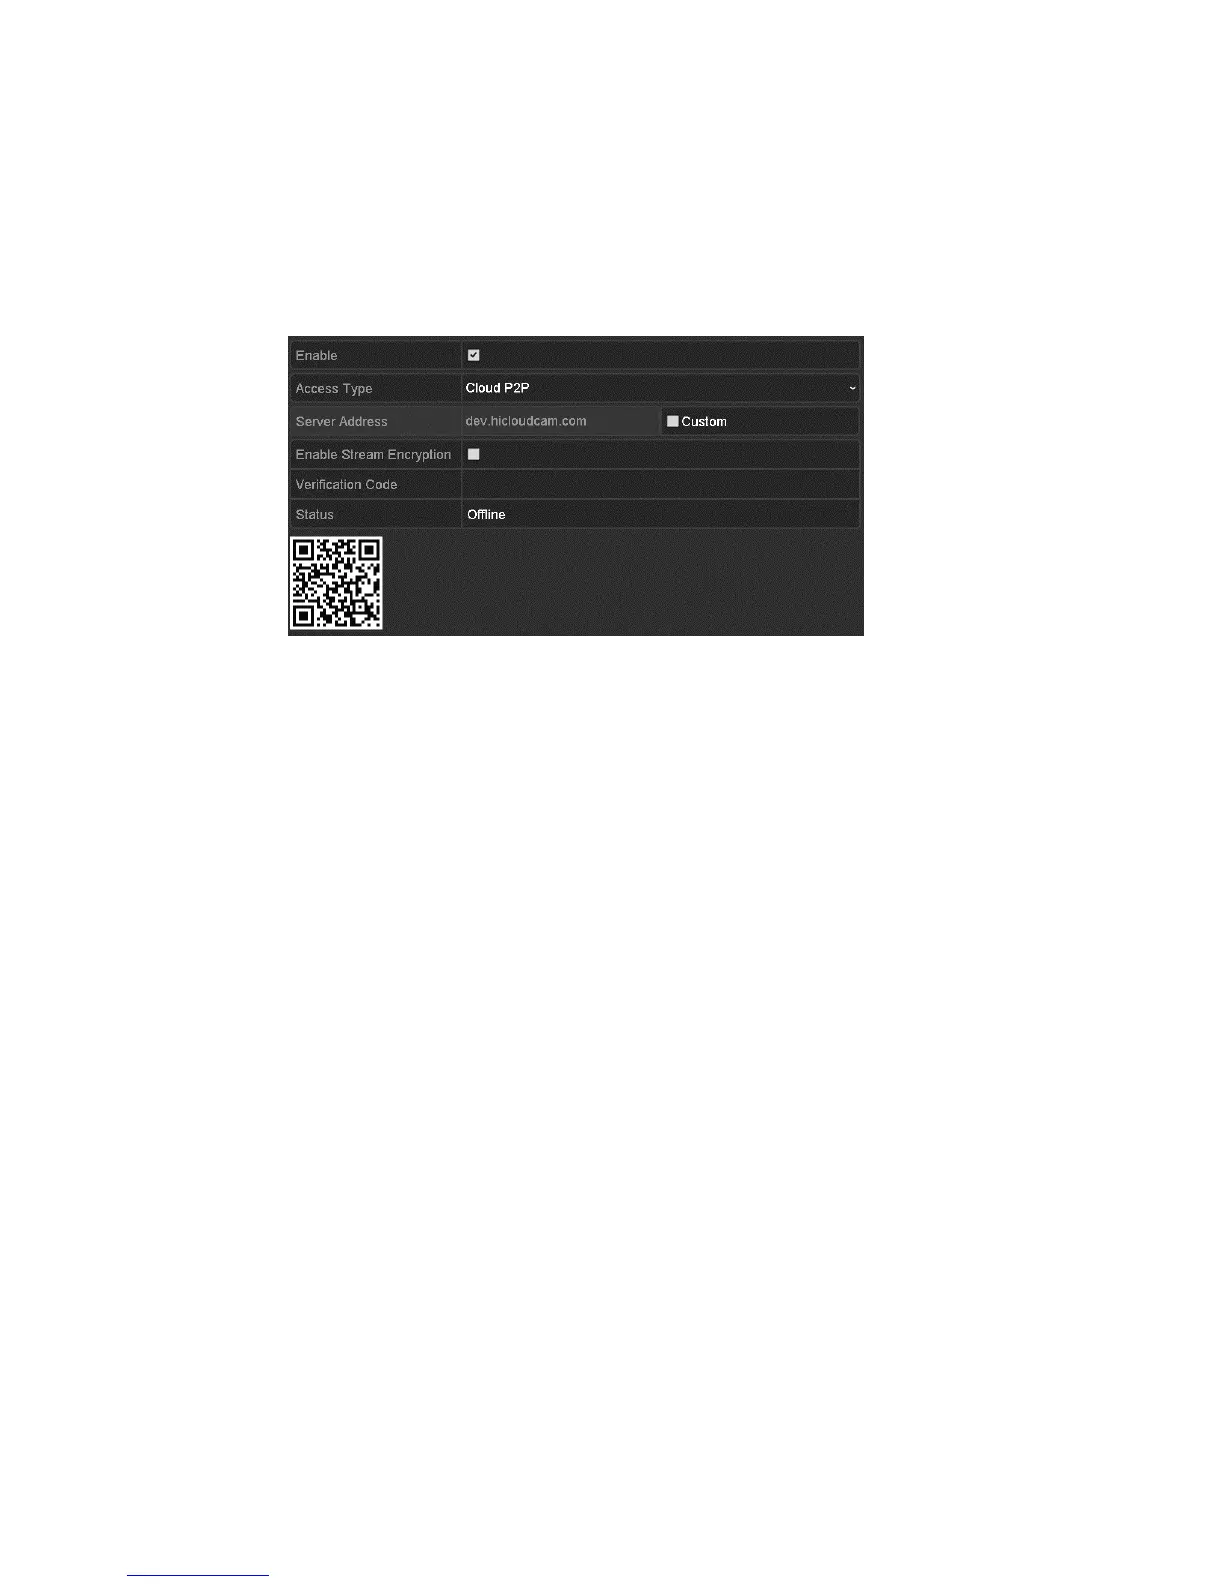
Notes
• The verification code, found on the bottom of the DVR, consist of 6 capital
letters.
• The verification code can also be obtained from scanning the device’s QR
code.
5. Click Apply to save the settings and exit the interface.
After configuring the Cloud P2P settings, you can access and manage the
NVR using their mobile phone.
Configuring DDNS
If your NVR is set to use PPPoE as its default network connection, set the
Dynamic DNS (DDNS) for network access. You must register with your ISP
before configuring the system to use DDNS.
To configure DDNS:
1. Enter the Network Settings interface.
Menu > Configuration > Network
2. Click the DDNS tab.
3. Select the DDNS checkbox to enable it.
4. Choose one of the four DDNS types: ClareVision DDNS, IPServer,
PeanutHull, and NO-IP.
5. Configure the DDNS type settings, and then click Apply.