Record and Capture Settings
58 ClareVision Plus Network Video Recorder User Manual
Configuring record/capture schedule
Set the record schedule to automatically start and stop the recording, based on
the configured schedule.
Note: In this section, we use the record schedule method as an example. Apply
the same process to configure a schedule for both recording and capture. To
schedule the automatic capture, you must use the Capture tab in the Schedule
interface.
To configure the schedule:
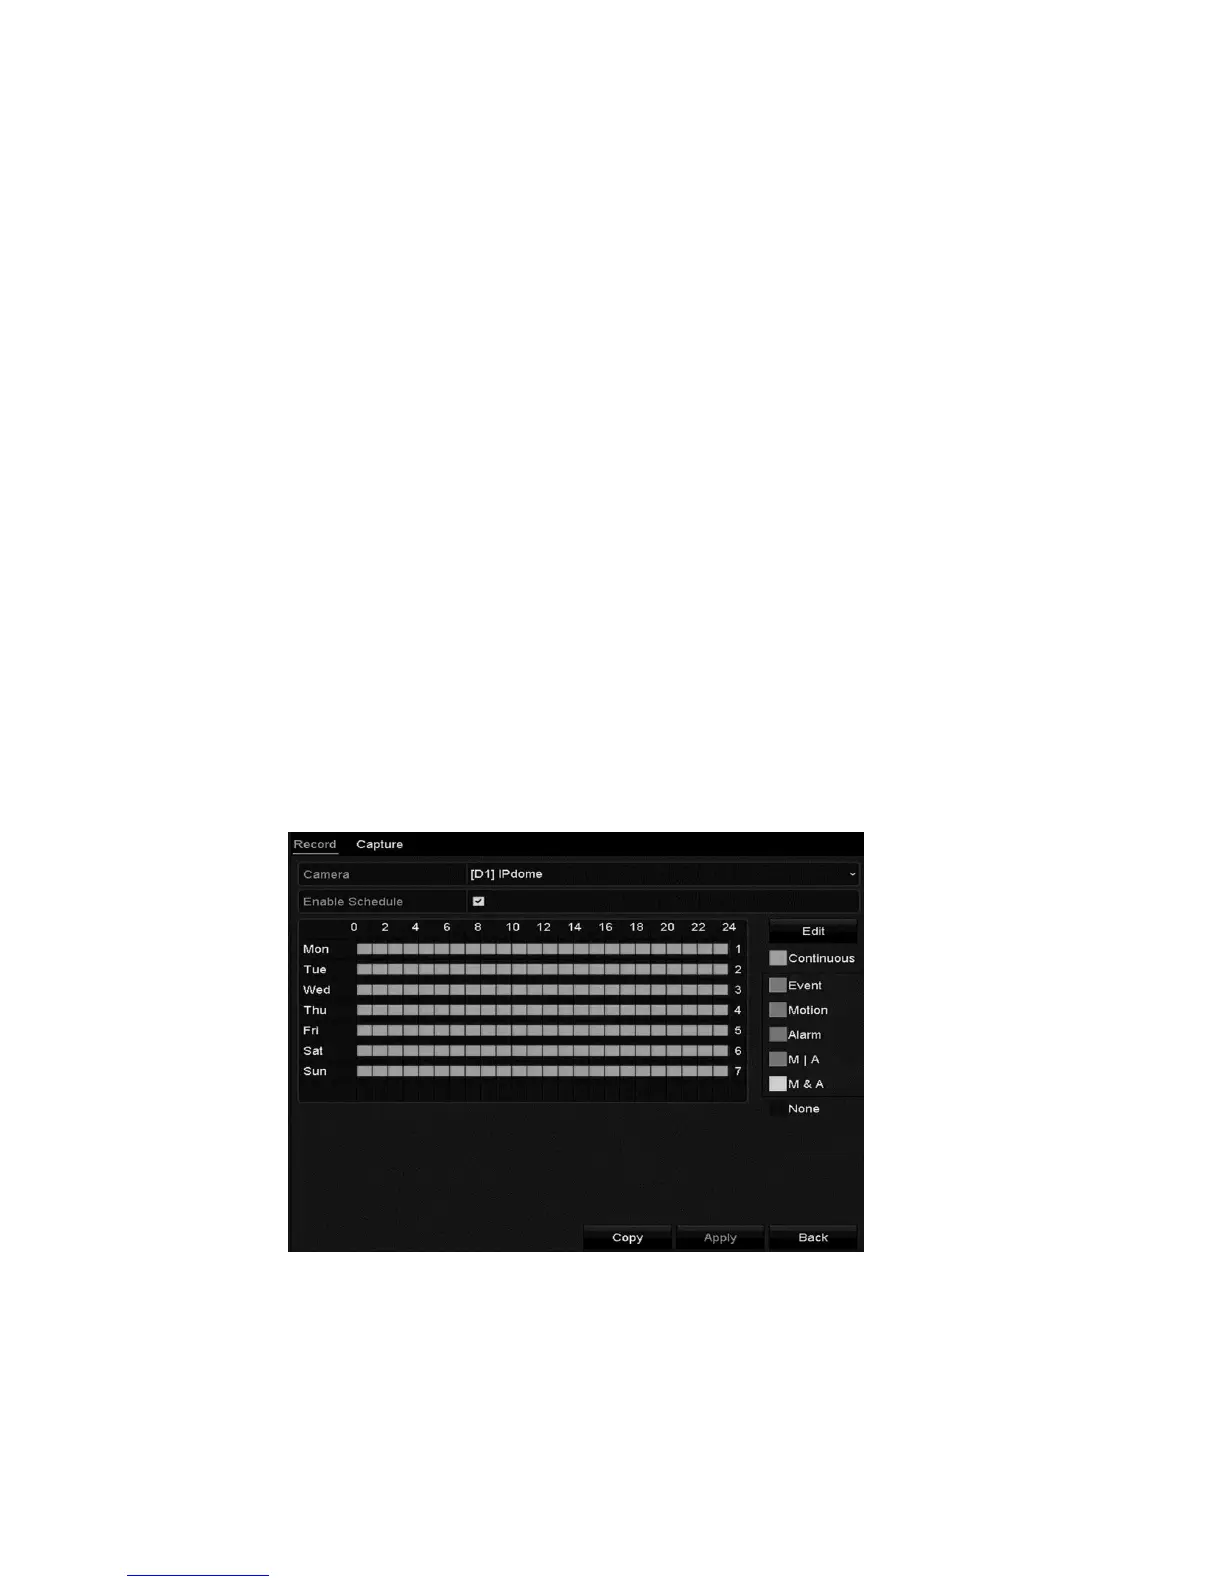
1. Enter the Record Schedule interface.
Menu > Record/Capture > Schedule
2. Select Record or Capture Schedule. There are 6 differed recording types.
Continuous: Scheduled recording
Event: Event triggered recording
Motion: Motion detection triggered recording
Alarm: Alarm triggered recording
M/A: Motion detection or alarm triggered recording
M&A: Motion detection and alarm triggered recording
3. Choose the camera to configure.
4. Select the Enable Schedule checkbox.
5. Click Edit or click on the color icon under the edit button and draw the
schedule line on the panel.