HDD Management
ClareVision Plus Network Video Recorder User Manual 155
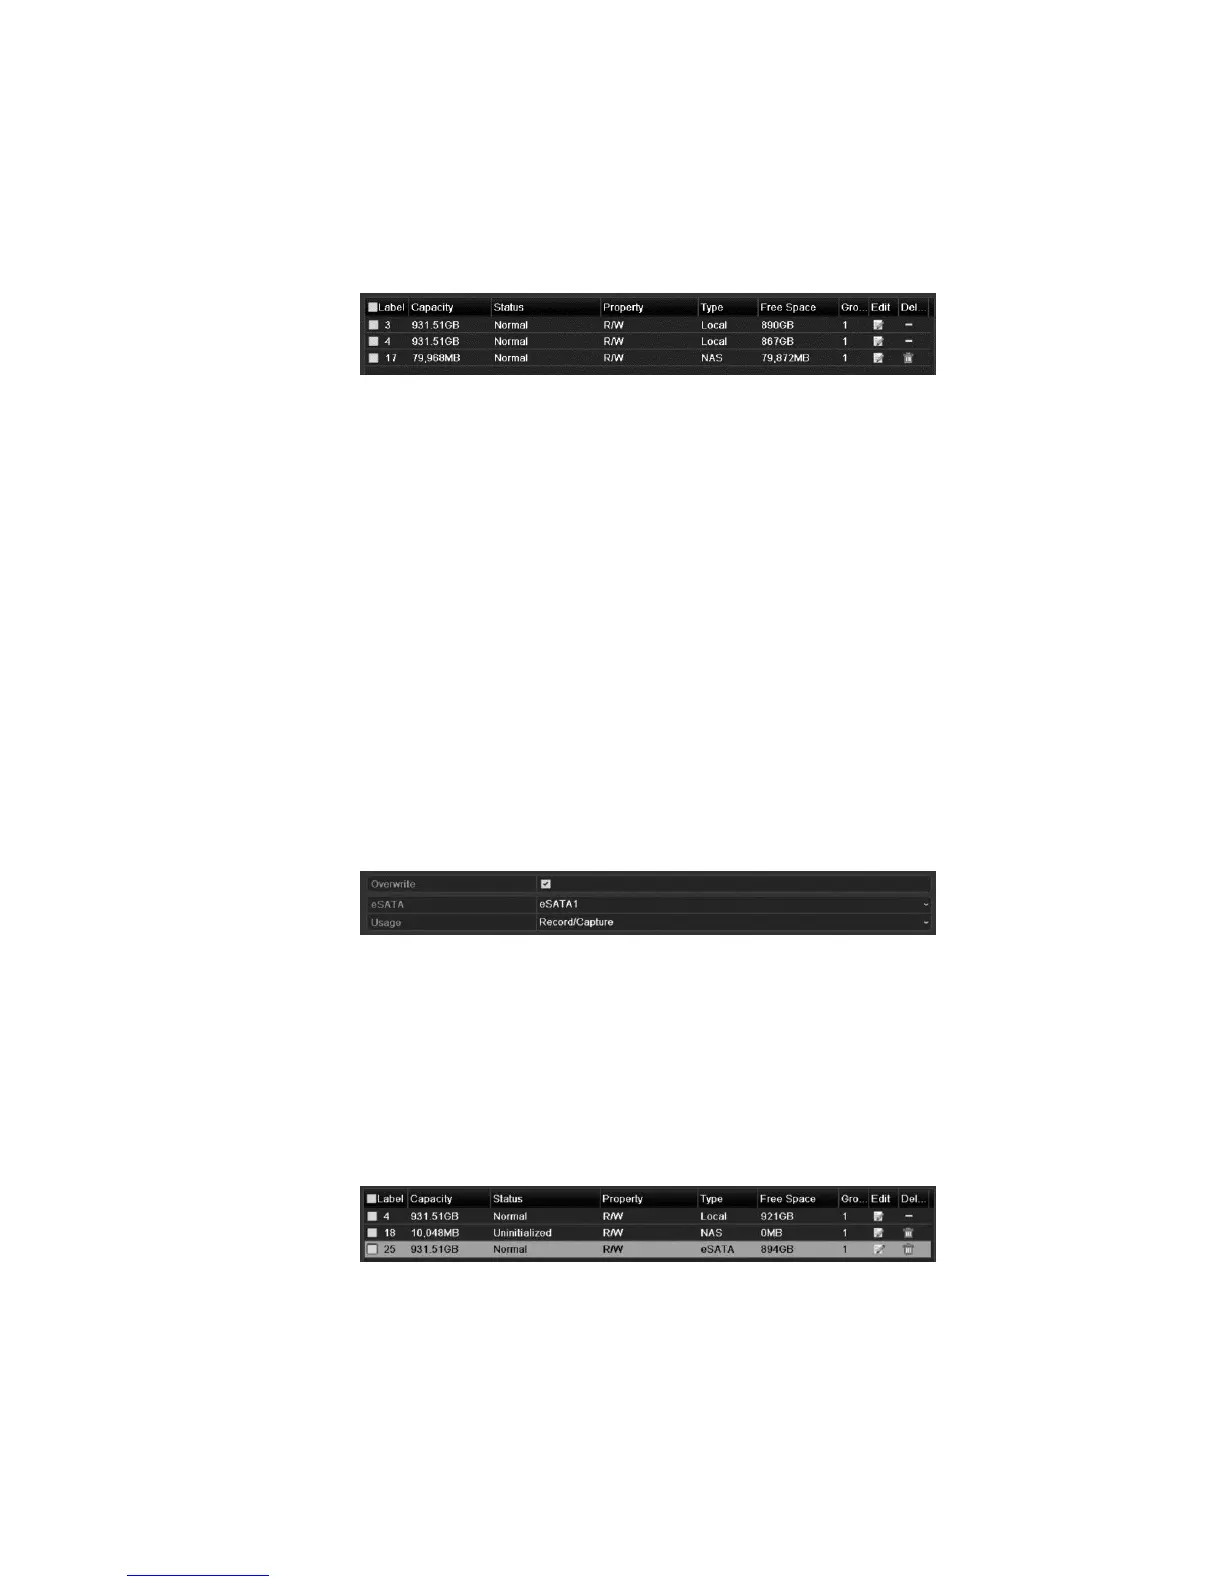
6. After successfully adding the NAS or IP SAN disk, return to the HDD
Information menu. The added NetHDD displays in the list.
Note: If the added NetHDD is uninitialized, select it and click Init for
initialization.
Managing eSATA
When there is an external eSATA device connected to NVR, you can configure
eSATA Record/Capture or Export, and you can manage the eSATA in the NVR.
To manage eSATA:
1. Browse to the Advanced Record Settings interface.
Menu > Record > Advanced
2. Select the eSATA type to Export or Record/Capture from the drop-down list of
eSATA.
Export: use the eSATA for backup.
Record/Capture: use the eSATA for record/capture. Refer to the following
steps for operating instructions.
3. Select Record/Capture, and then enter the HDD Information interface.
Menu > HDD > General
4. Edit the property of the selected eSATA, or initialization is required.
Note: When used for Record/Capture, two storage modes is configured for the
eSATA. Refer to “Managing the HDD group” on page 156 and “Configuring
Quota mode” on page 158 for details.