HDD Management
ClareVision Plus Network Video Recorder User Manual 159
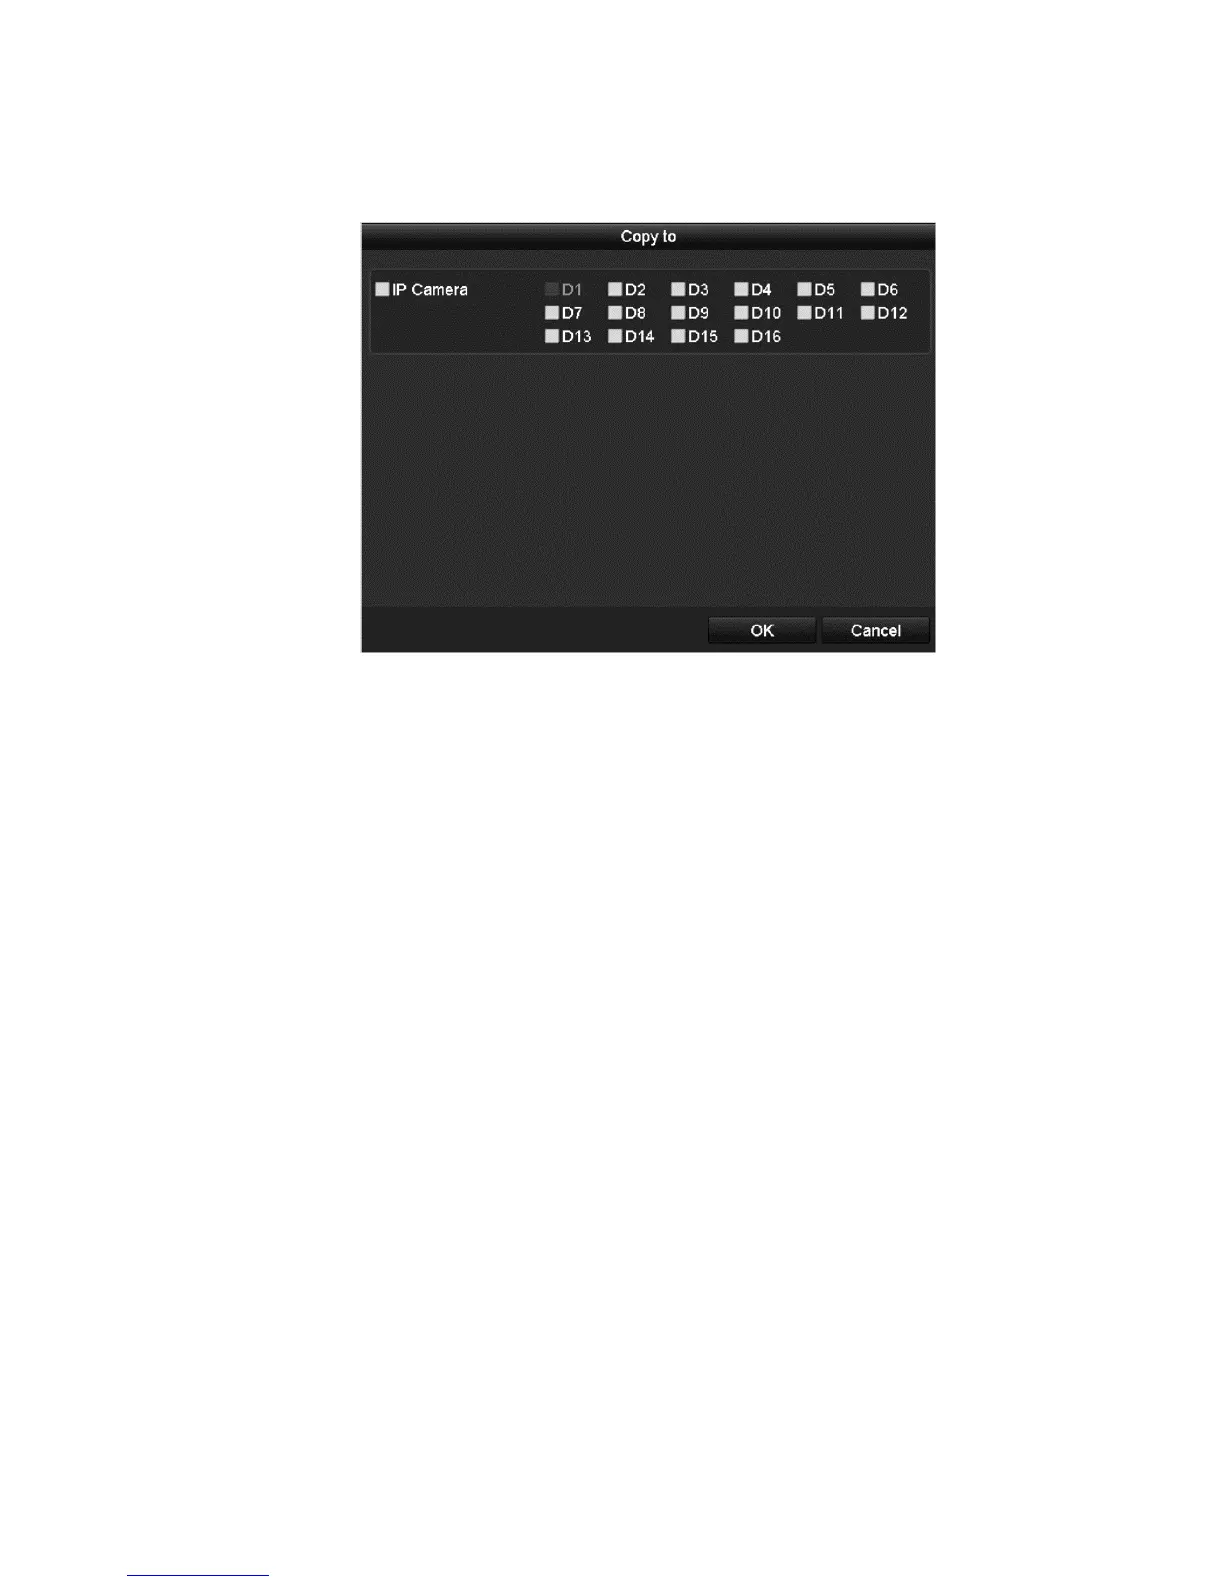
5. You can copy the quota settings of the current camera to other cameras if
required. Click Copy.
6. Select the camera(s) to configure with the same quota settings. You can also
check the check box of IP Camera to select all cameras.
7. Click OK to finish the Copy settings and return to the Storage Mode interface.
8. Click Apply to apply the settings.
Note: If the quota capacity is set to “0,” then all cameras will use the total
capacity of HDD for record and picture capture.
Configuring disk clone
If the S.M.A.R.T. detection result declares the HDD is abnormal, you can choose
to clone all the data on the HDD to an inserted eSATA disk manually.
Before you start, an eSATA device should be connected to the device.
To configure Quota mode:
1. Browse to the HDD Advanced Setting interface.
Menu > HDD > Advanced