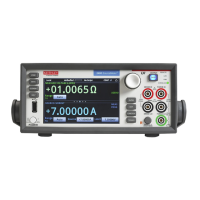
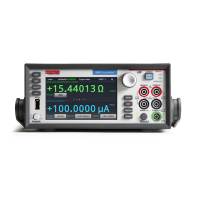
3: Functions and features Model 2450 Interactive SourceMeter® Instrument
3-68 2450-901-01 Rev. B/September 2013
Limit testing and binning
Limit testing allows you to set high and low limit values. When the reading falls outside these limits,
the instrument beeps and displays the "HI" or "LO" message.
The limit values are stored in volatile memory. The values are reset to zero when the instrument is
turned off. Limits can be used with all measurements (except continuity and diode measurements).
The Model 2450 can be set up for limit testing and binning. It can perform simple benchtop limit
testing using the front panel or sophisticated limit and binning operations using the trigger model and
digital I/O to control external component handling devices.
Some typical forms of limit testing include:
• Simple pass or fail testing
• Resistor grading: Inspect multiple limits until the first failure is received
• Resistor sorting: Inspect multiple limits until the first pass is received
• Complex testing, where multiple tests must be inspected, for applications like diode testing; in this
case you might do the following:
• Test only until you fail one of the tests; immediate binning
• Test all tests; bin on first failure, end binning
For binning applications, you use limit testing to determine placement of tested parts. To set up the
instrument to place the part in the correct bin, you do the following steps:
• Determine and record a bin number for later use
• Output a digital bit pattern to physically place the tested device in a bin
• If multiple tests are performed on the same part, determine when the part should be binned:
• Bin the part as soon as it fails a test
• Bin the part after all parameters are measured; bin according to the first failure or a combination of
failures
Limit testing using the front-panel interface
You can do pass or fail limit testing through the front panel. When limit testing and a test fails, the limit
(1 or 2) that failed is shown on the Home screen.
Using the front panel:
1. Press the MENU key.
2. Under Measure, select Settings.
3. Next to Limits, select View.
4. To enable limit testing, set the state to On.
5. The Auto Clear setting automatically clears the limit fail indicator when a new passing
measurement is made. To turn this feature off, select Off.
6. Set the Low Value. If the measurement is below the Low Value, the limit failure indicator is
displayed.
7. Set the High Value. If the measurement is above the High Value, the limit failure indicator is
displayed.
8. Select HOME to return to the operating display.
An example of using limit testing to check resistors is described in the following topics.
 Loading...

