Page | 80
2. Click the + (Add Media) button in the DDR 1 pane
(Figure 67) to open a Media Browser.
3. Click the heading named for your current TriCaster
session (Practice Session, if you’ve been following
along) beneath the Clips header in the Locations
column at left in the Media Browser.
Hint: Double-click an empty spot in the playlist instead of clicking the + button. When using
either method, hold down the Shift key to view a standard system file window instead of
the custom Media Browser.
4. The file pane at right displays icons for recordings made in the session. It
should list the file you recorded earlier (in Section 4.8.1) under a group
header labeled Capture – click the icon to select it, and then click OK.
5. You may wish to add several more files to experiment with – sample files are
provided. DDR 1 and 2 also support most popular audio file formats.
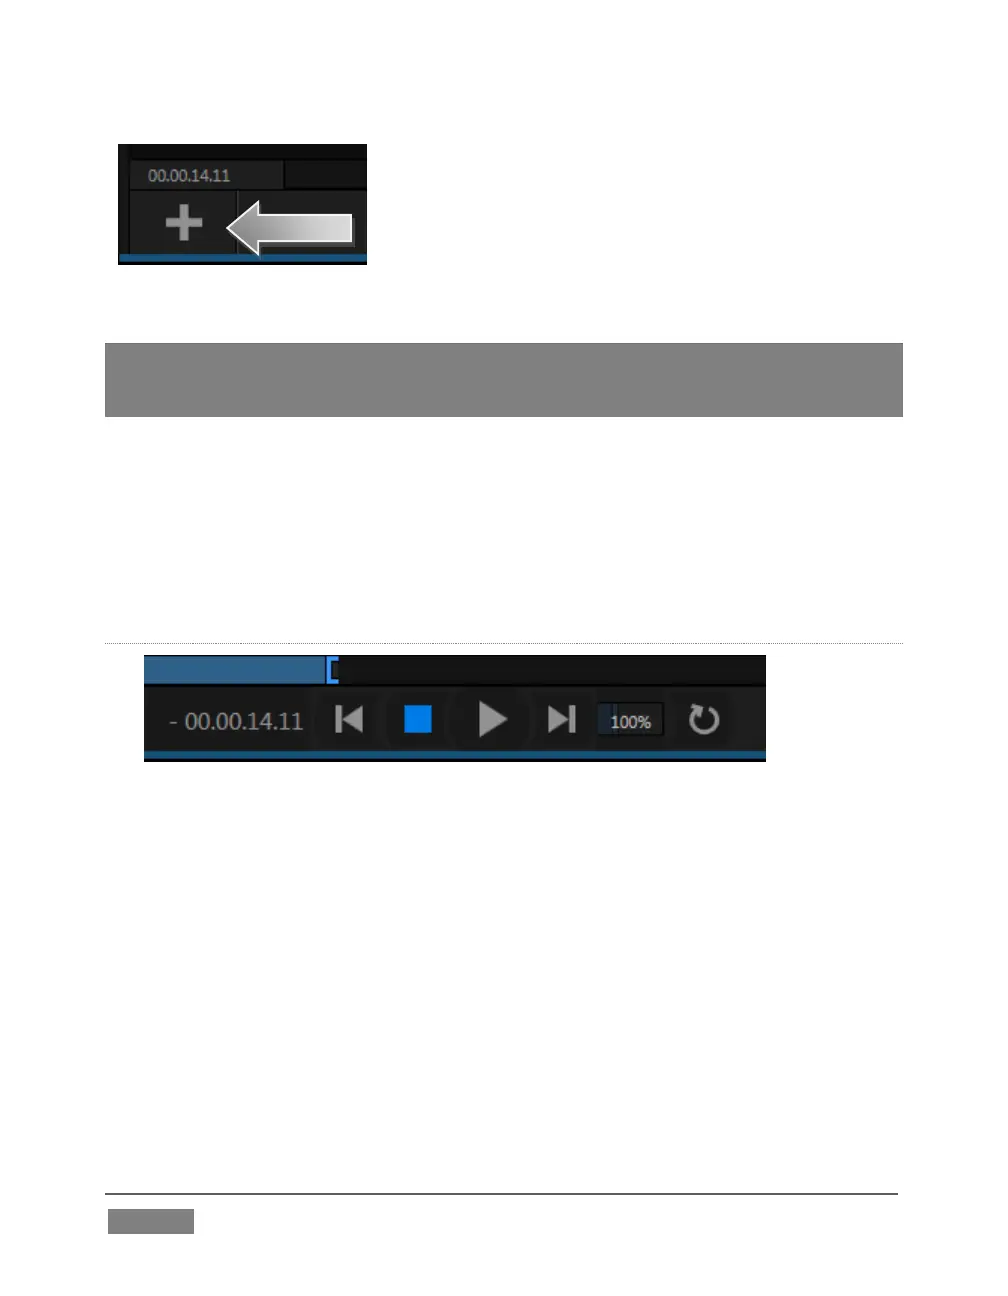
TRANSPORT CONTROLS
FIGURE 68
6. Select DDR 1 on the Switcher’s Program row.
7. Click the newly added icon in the playlist, and press the Play button in the
player’s footer (to the right of Stop in Figure 68). The video clip you recorded
should play on the Program monitor.
8. Click the Stop button.
Notice that if you move the mouse pointer over the Speed slider (shown as a
numeric percentage) it changes to a double-headed arrow, indicating you can
drag the slider to a new value if you wish.