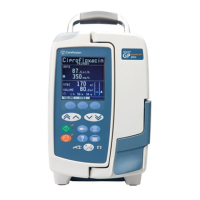
Chapter 4—Alaris™ PCA Module Model 8120
206 BD Alaris
TM
System with Guardrails
TM
Suite MX User Manual
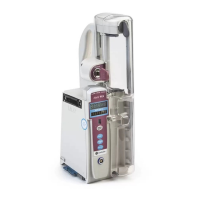
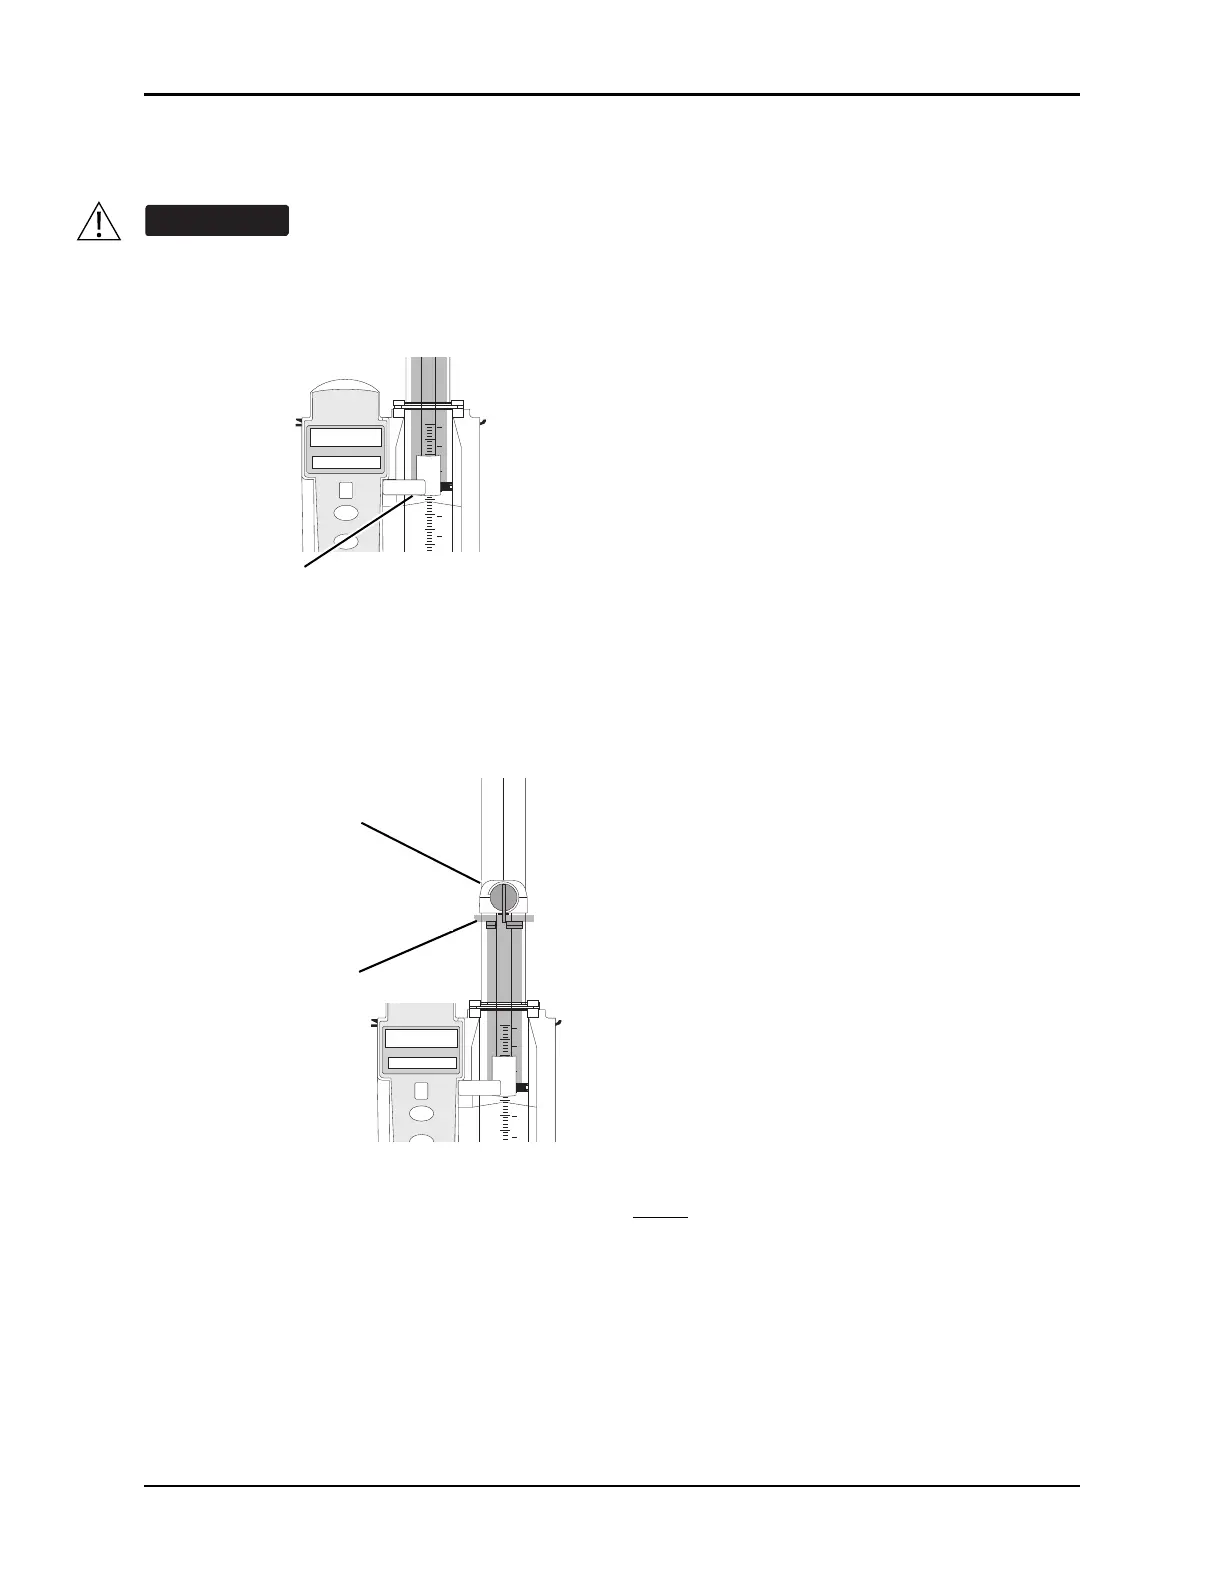
4. Lock syringe in place.
a. Pull syringe barrel clamp out and hold.
b. Rotate clamp to right (clockwise or counter clo
ckwise) until it lines up with syringe.
c. Gently release clamp against syringe.
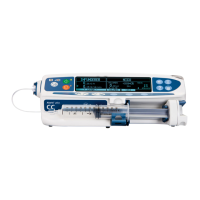
5. Lower drive head and lock plunger in place with plunger grippers.
a. Twist gripper control clockwise and hold in position.
b. While holding gripper control in open position, gently lower drive head until it makes contact with
plunger flange.
c. Gently release gripper control.
d. Ensure that plunger grippers lock and hold plunger in place.
NOTE:
The gripper control is spring loaded. When twisted to the open position and then released, gripper
control (and the plunger grippers) returns to the closed position.
Ensure that syringe barrel, flange, and plunger are installed and secured correctly. Failure to
install syringe correctly can result in uncontrolled fluid flow to the patient, and can cause
serious injury or death.
A
L
A
R
M
IN
FU
S
E
S
T
A
N
D
B
Y
CHANNEL
SELECT
PAUSE
RATE (mL/h)
20
25
30
1
oz
oz
60
35
40
45
50
1½
55
2
Syringe Barrel Clamp Closed
A
L
A
R
M
IN
FU
S
E
S
T
A
N
D
B
Y
CHANNEL
SELECT
PAUSE
RATE (mL/h)
25
30
1
oz
oz
60
35
40
45
50
1½
55
2
Plunger Grippers Closed
Gripper Control in
Closed Position
Drive Head Flush
with Plunger Flange
 Loading...